⚠️ Important Guidelines Before Uploading
To avoid errors and ensure a smooth upload, please follow these rules:
- Create categories first – The category names in your CSV must match exactly with the ones already created in your POS system (case-sensitive).
- Clear formatting – If copying data from Excel or Google Sheets, use “Clear Format” to remove hidden styles or characters.
- No duplicate product codes – Every product must have a unique product_code.
- Error messages – If an error occurs, the system will display the row, column, and issue.
- Shop-specific format – Each CSV file is unique to a shop. Do not reuse the same file for other shops.
- No emojis or special characters – Avoid using emojis, symbols (%, &, @, etc.), or quotes in any fields.
- Don’t change headers – The CSV has 30 column headers. Do not rename, delete, or move them; just fill in the required data.
- Max 2000 rows per file – For more than 2000 products (e.g., 5500), split into multiple CSV files.
- Trim spaces – Remove extra spaces at the beginning or end of product names, codes, or prices.
- Correct number format – Prices and stock values should be plain numbers (no currency symbols).
- Don’t leave key fields blank – At minimum, fill in the 5 basic columns (product_code, product_name, category, unit_selling_price, available_for_sale[SHOP NAME]).
- Correct file type – Save the file as CSV UTF-8 (Comma delimited).
- Using non-English language? – Ensure the file is saved as CSV UTF-8 (Comma delimited) to prevent upload errors.
- Try a test upload – If new to CSV uploads, try uploading 5 products first to confirm everything works correctly.
Step-by-Step Guide to Bulk Upload Products
Step 1: Login & Go to Product Import
Login to Back Office → Go to Products → Select Product List → Click Import.
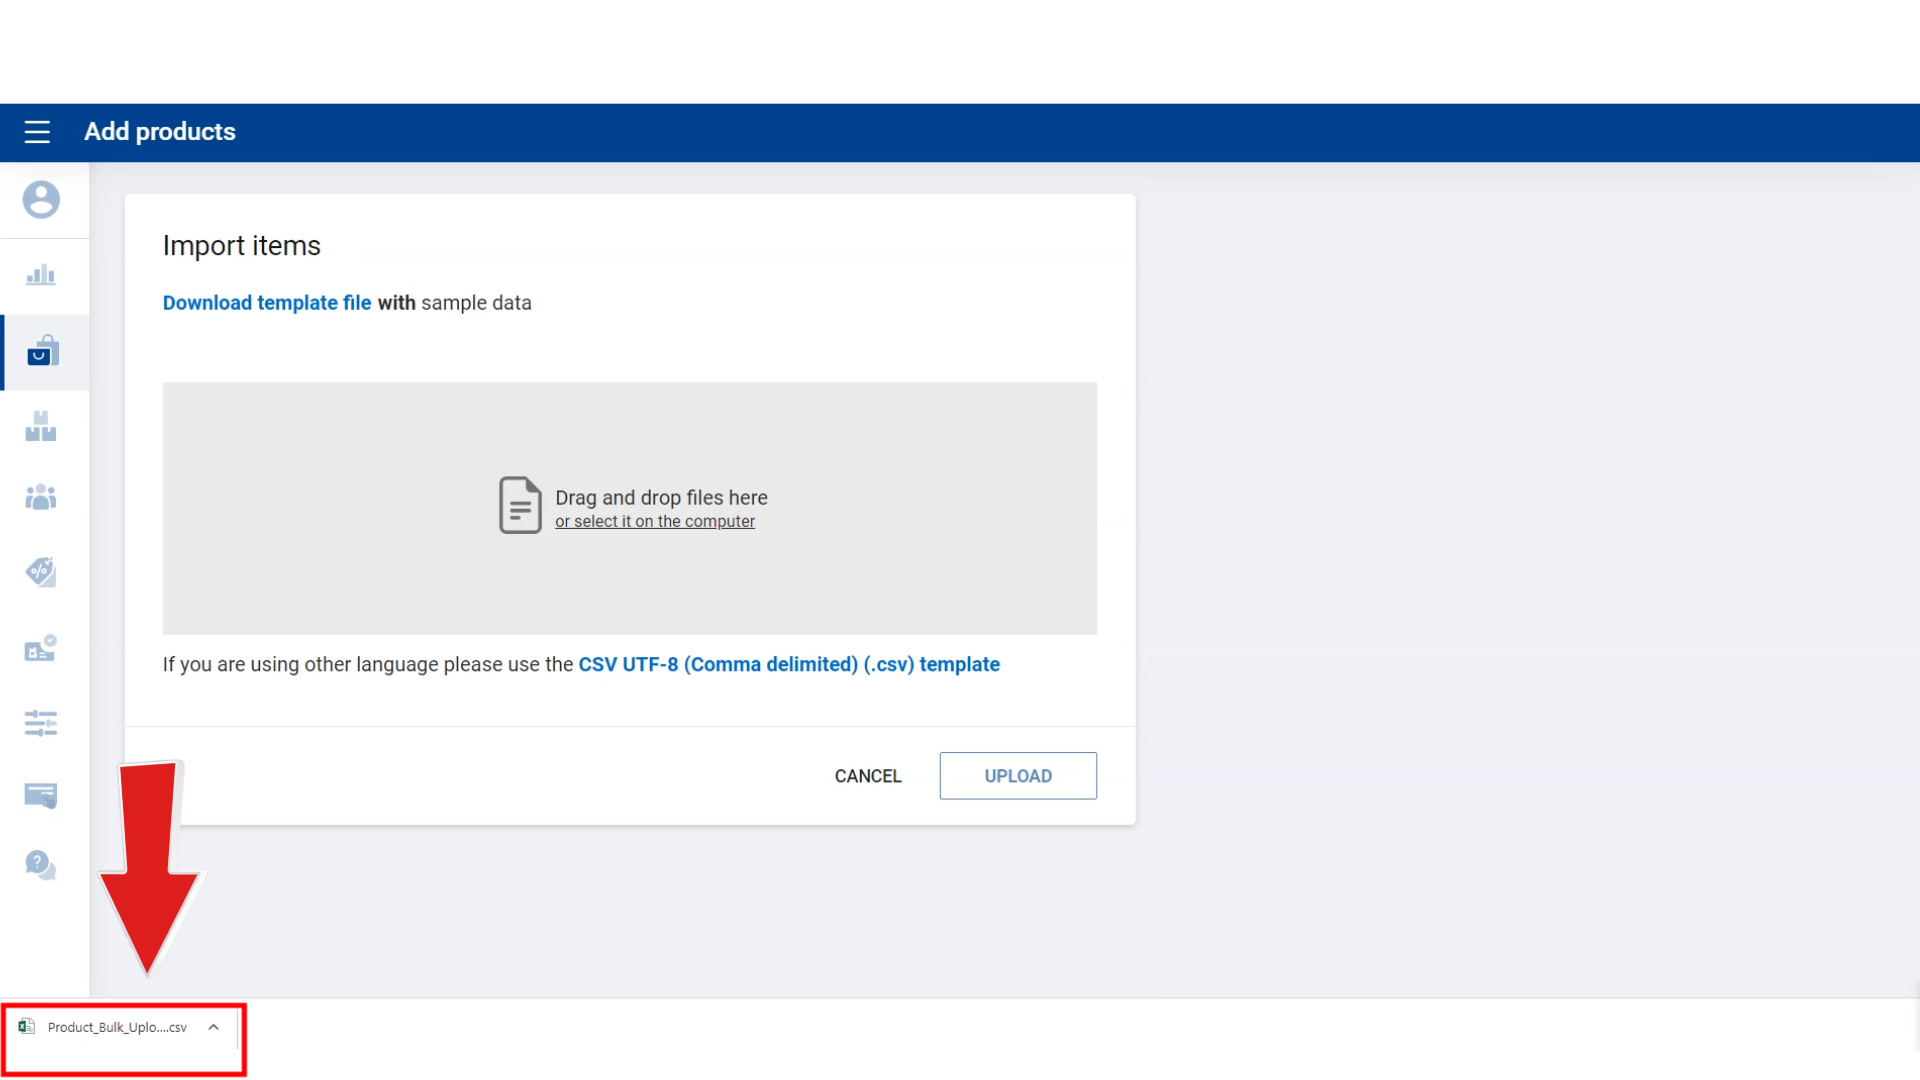
- Click Download Template File to download the CSV file.
Step 2: Use Correct CSV Format
If you are using another language, make sure to use CSV UTF-8 (Comma delimited) format.
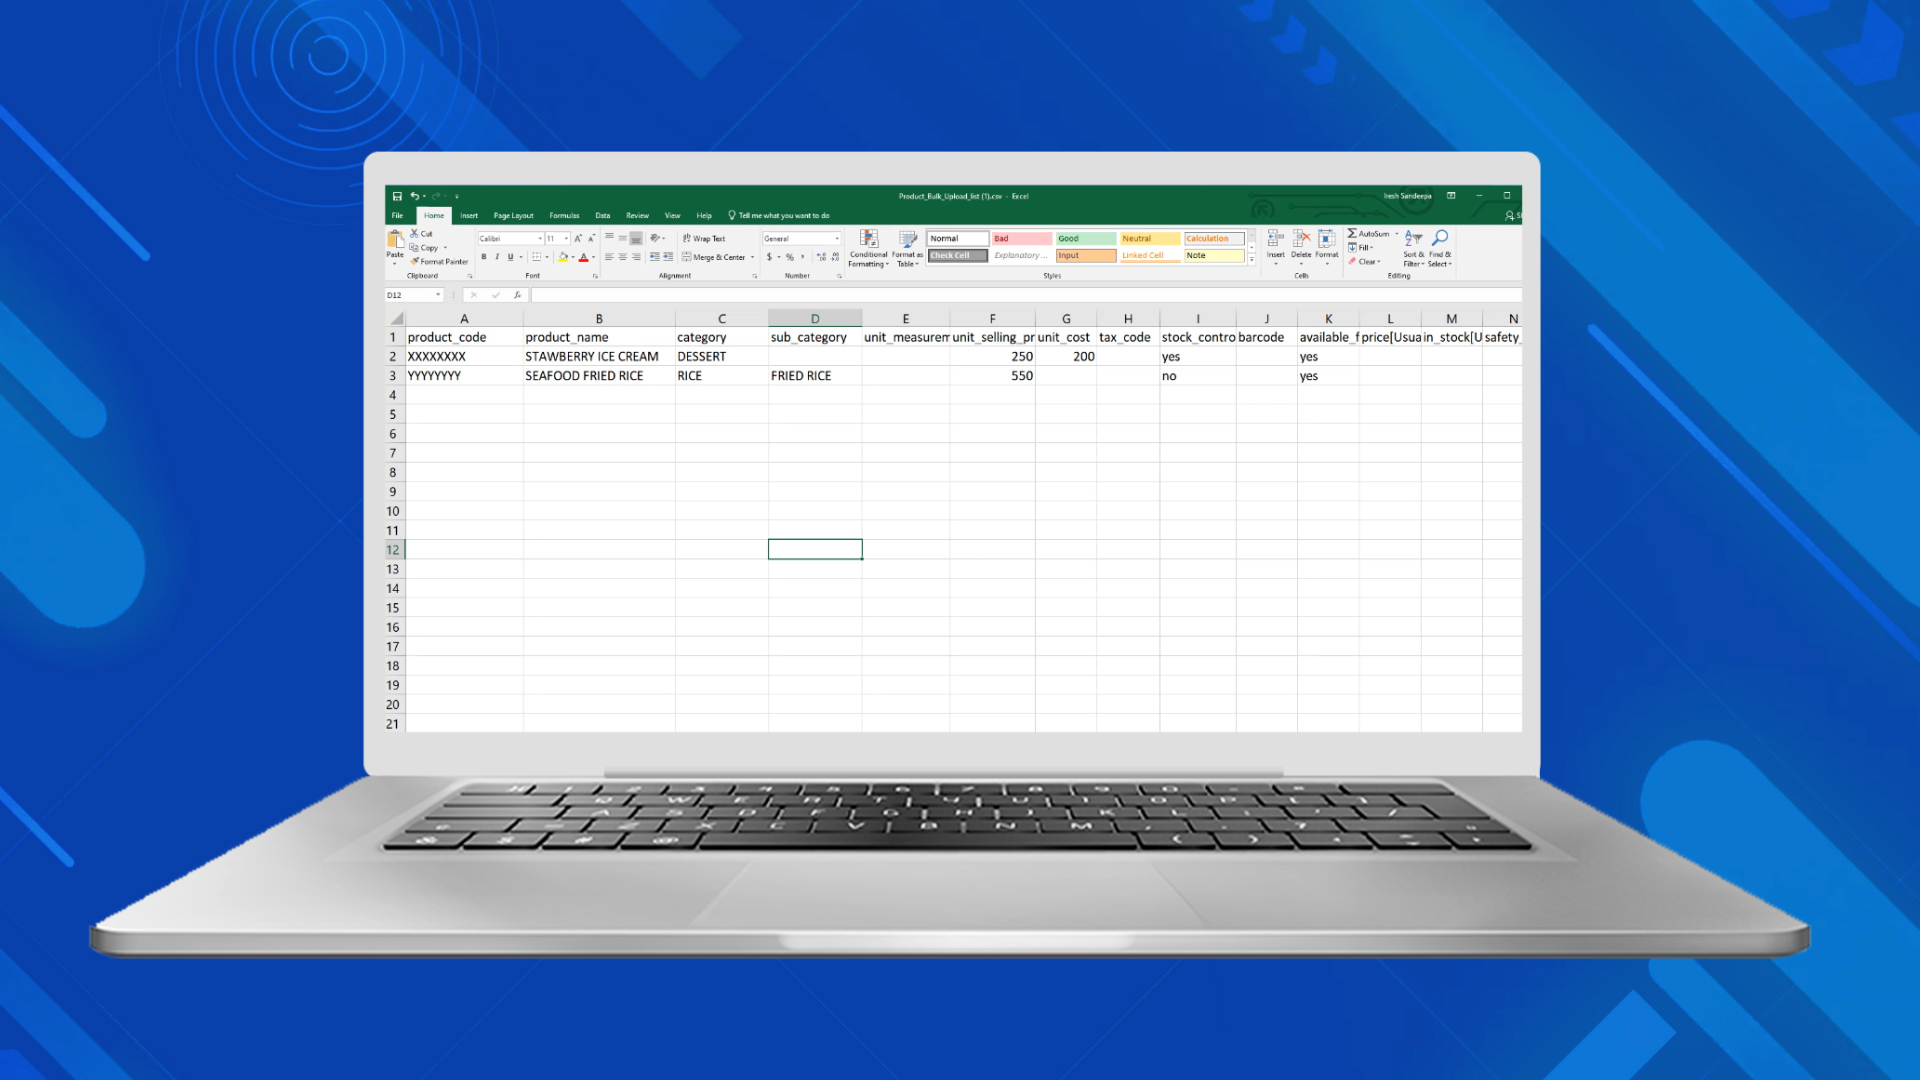
Step 3: Fill the CSV File
Open the downloaded CSV file and enter relevant product details. A sample row is already included for guidance.
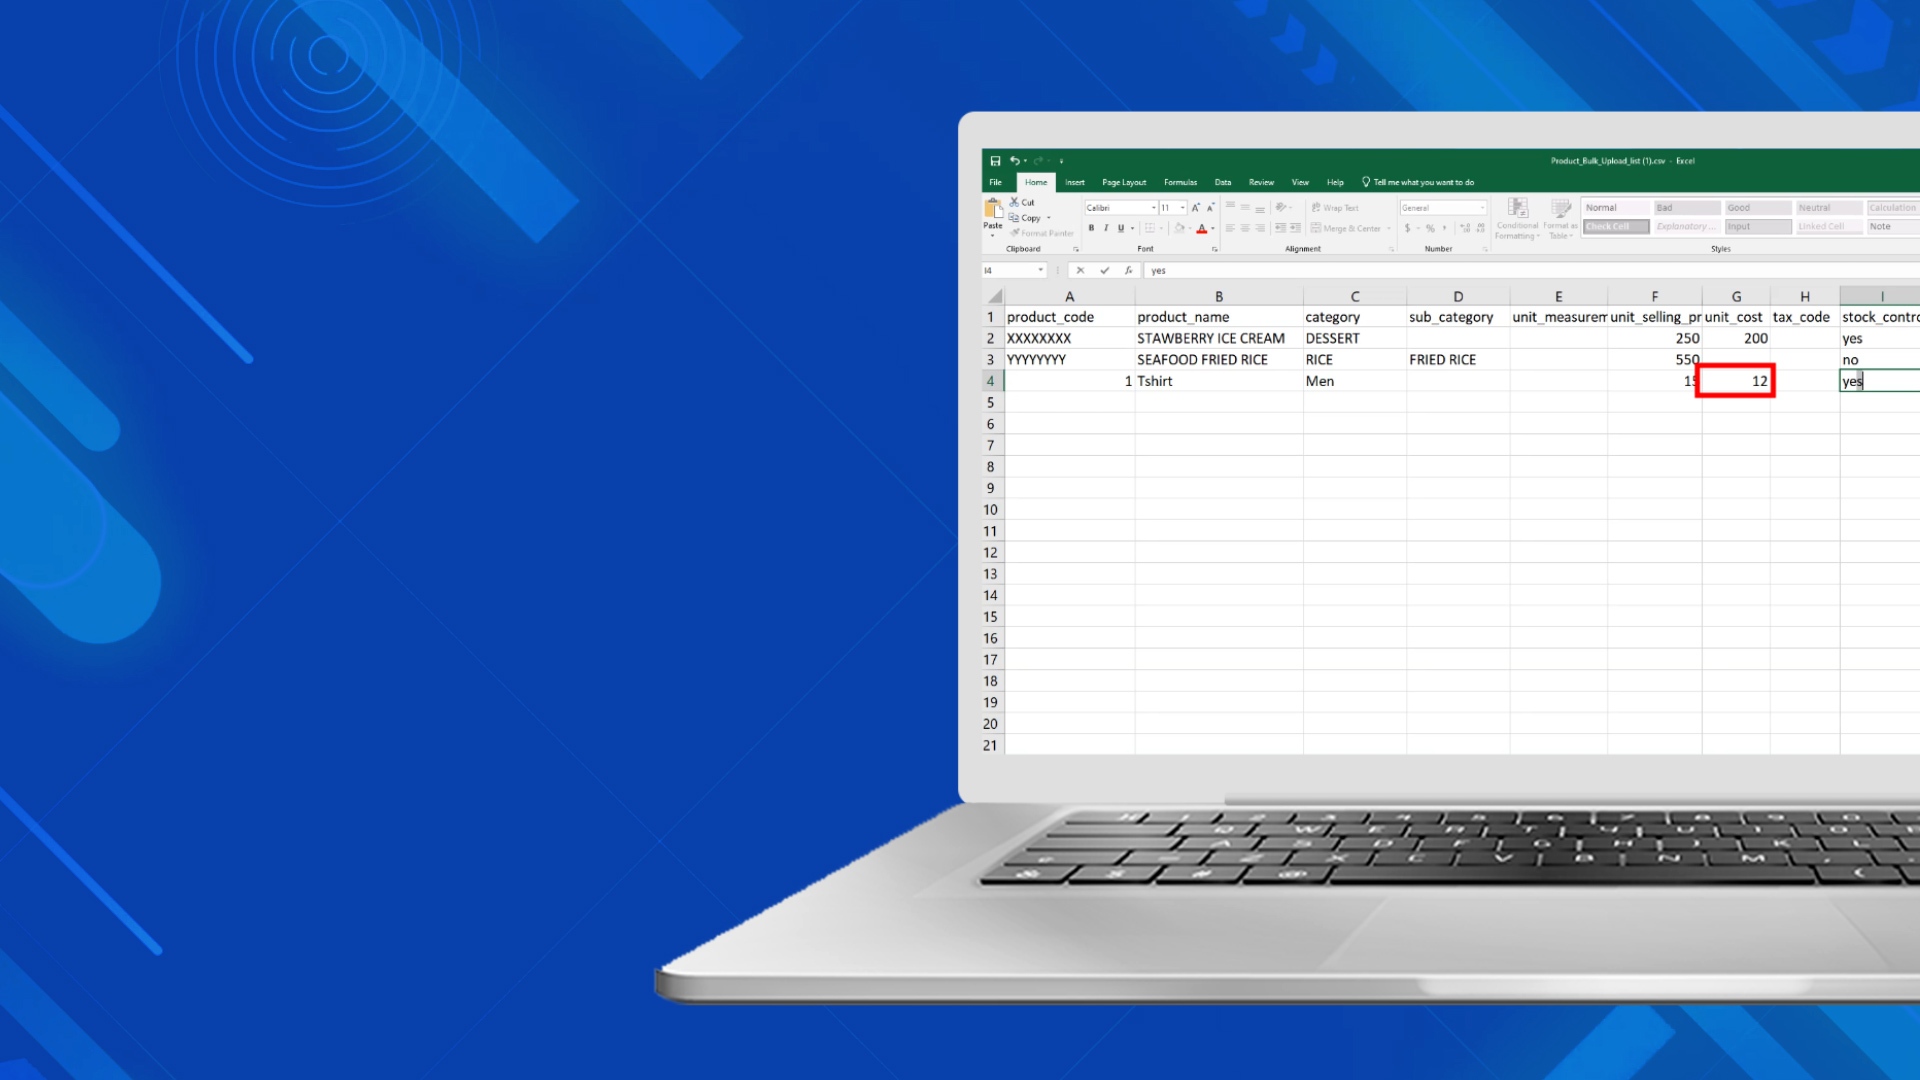
Step 4: Open the CSV File and enter relevant fields
sample has done for you

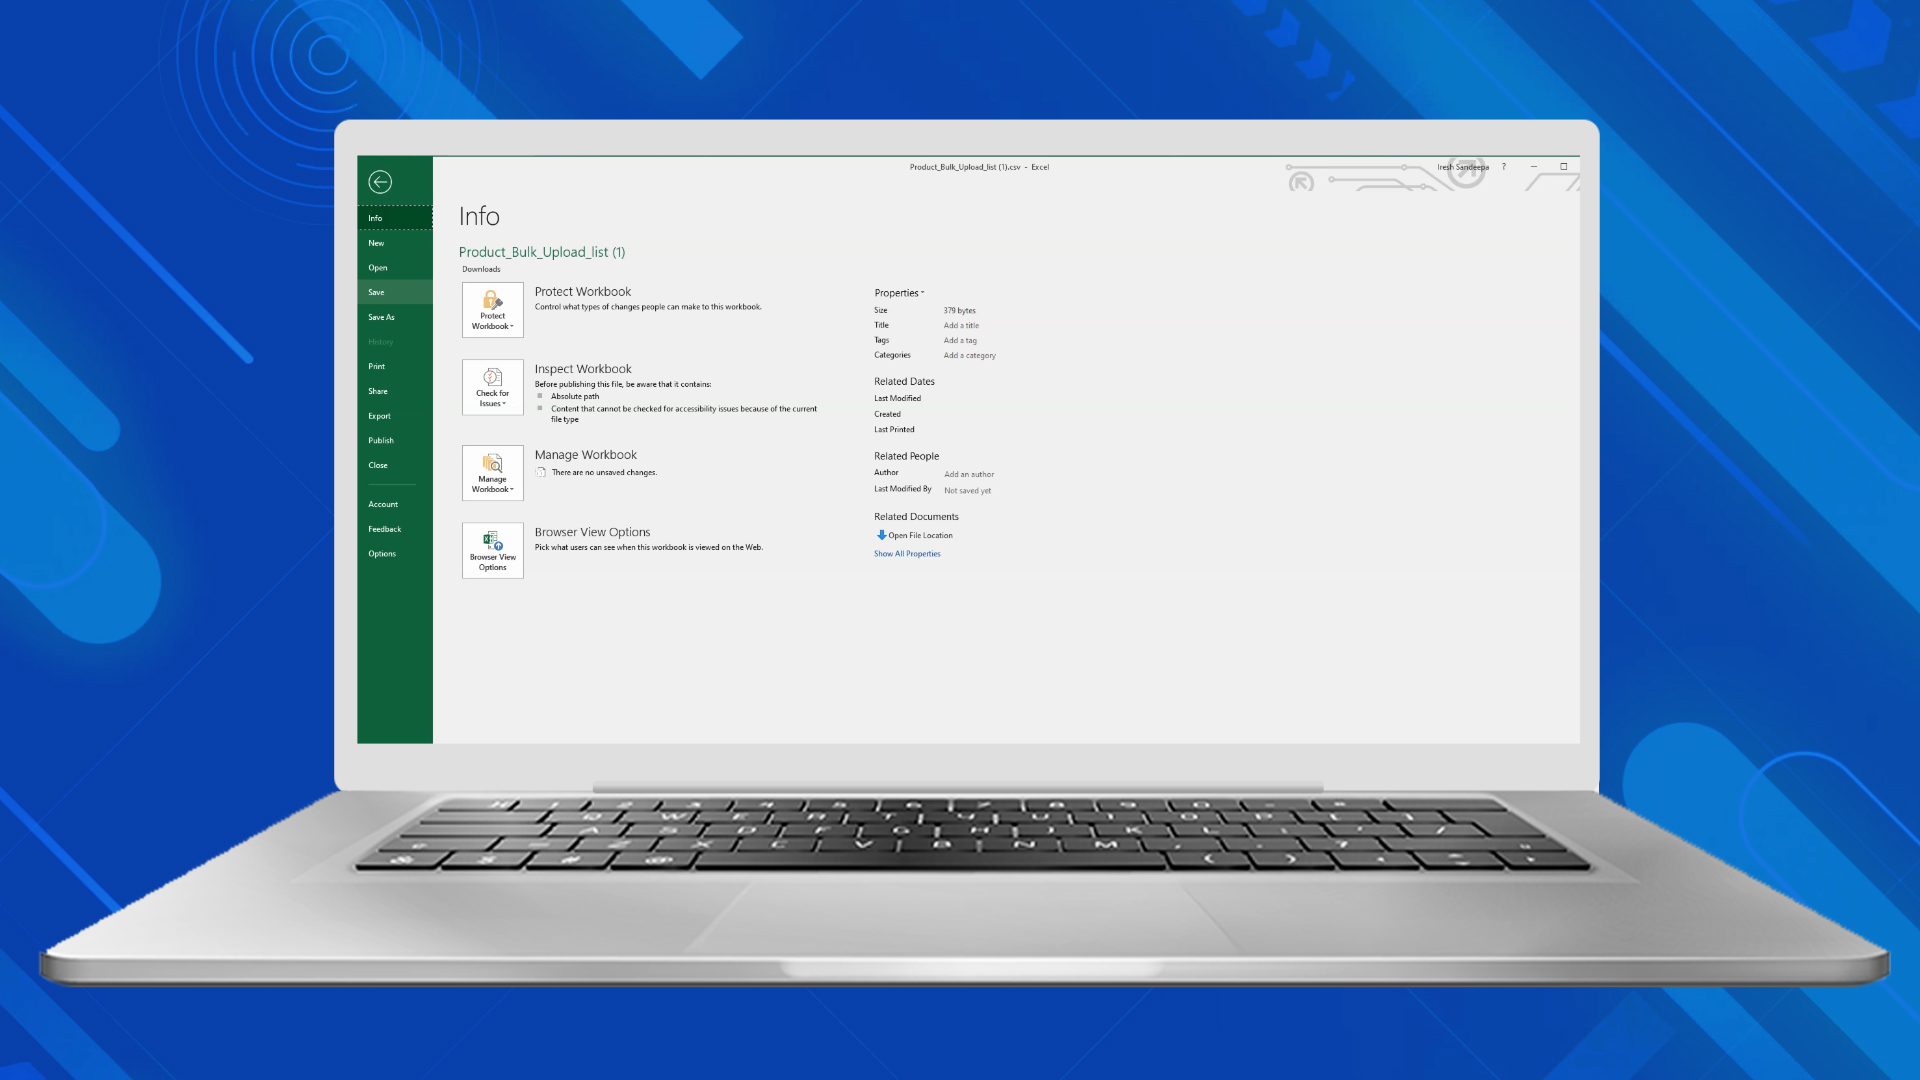
Step 5: Save the File
After entering product details, save the file as CSV UTF-8 (Comma delimited).
Step 6: Upload CSV File
Click the Drag and Drop Files area and upload your saved CSV file.
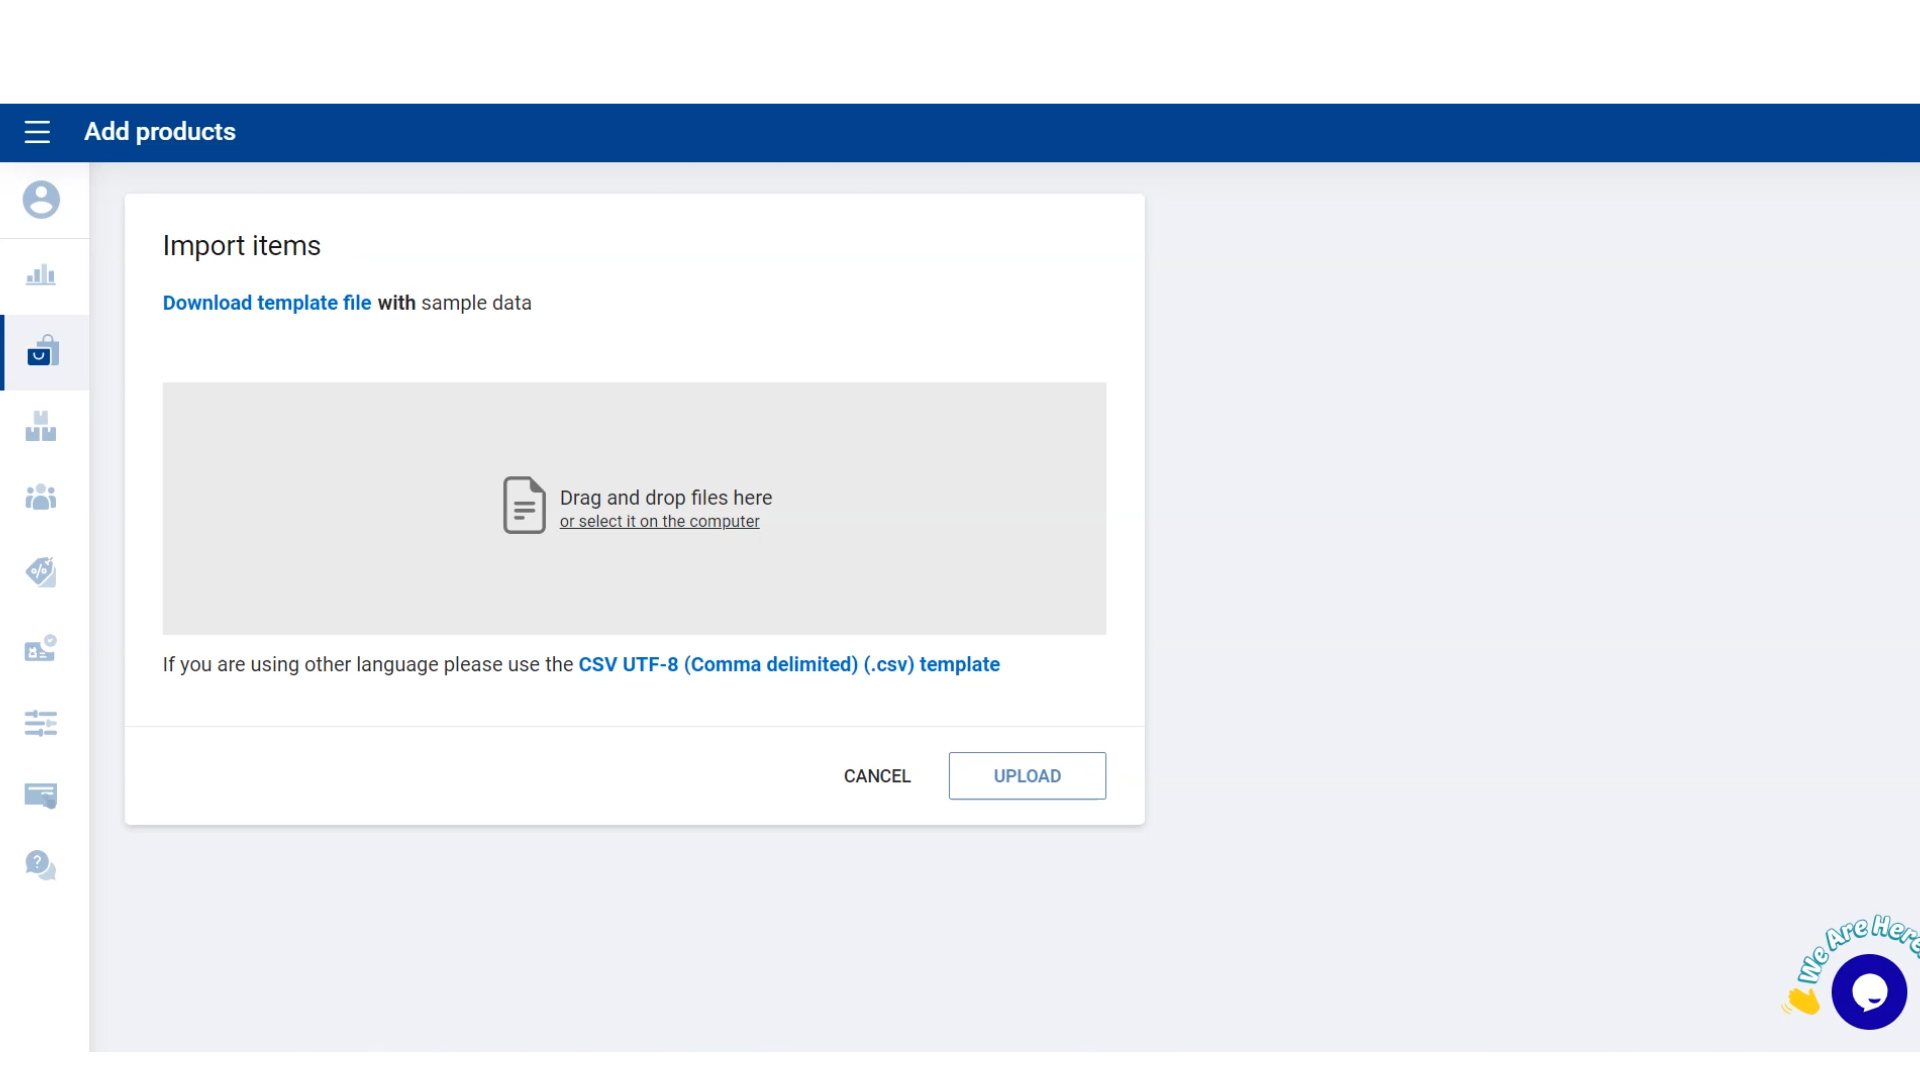
Step 7: Confirm Import
Click UPLOAD → Then click Confirm Import.
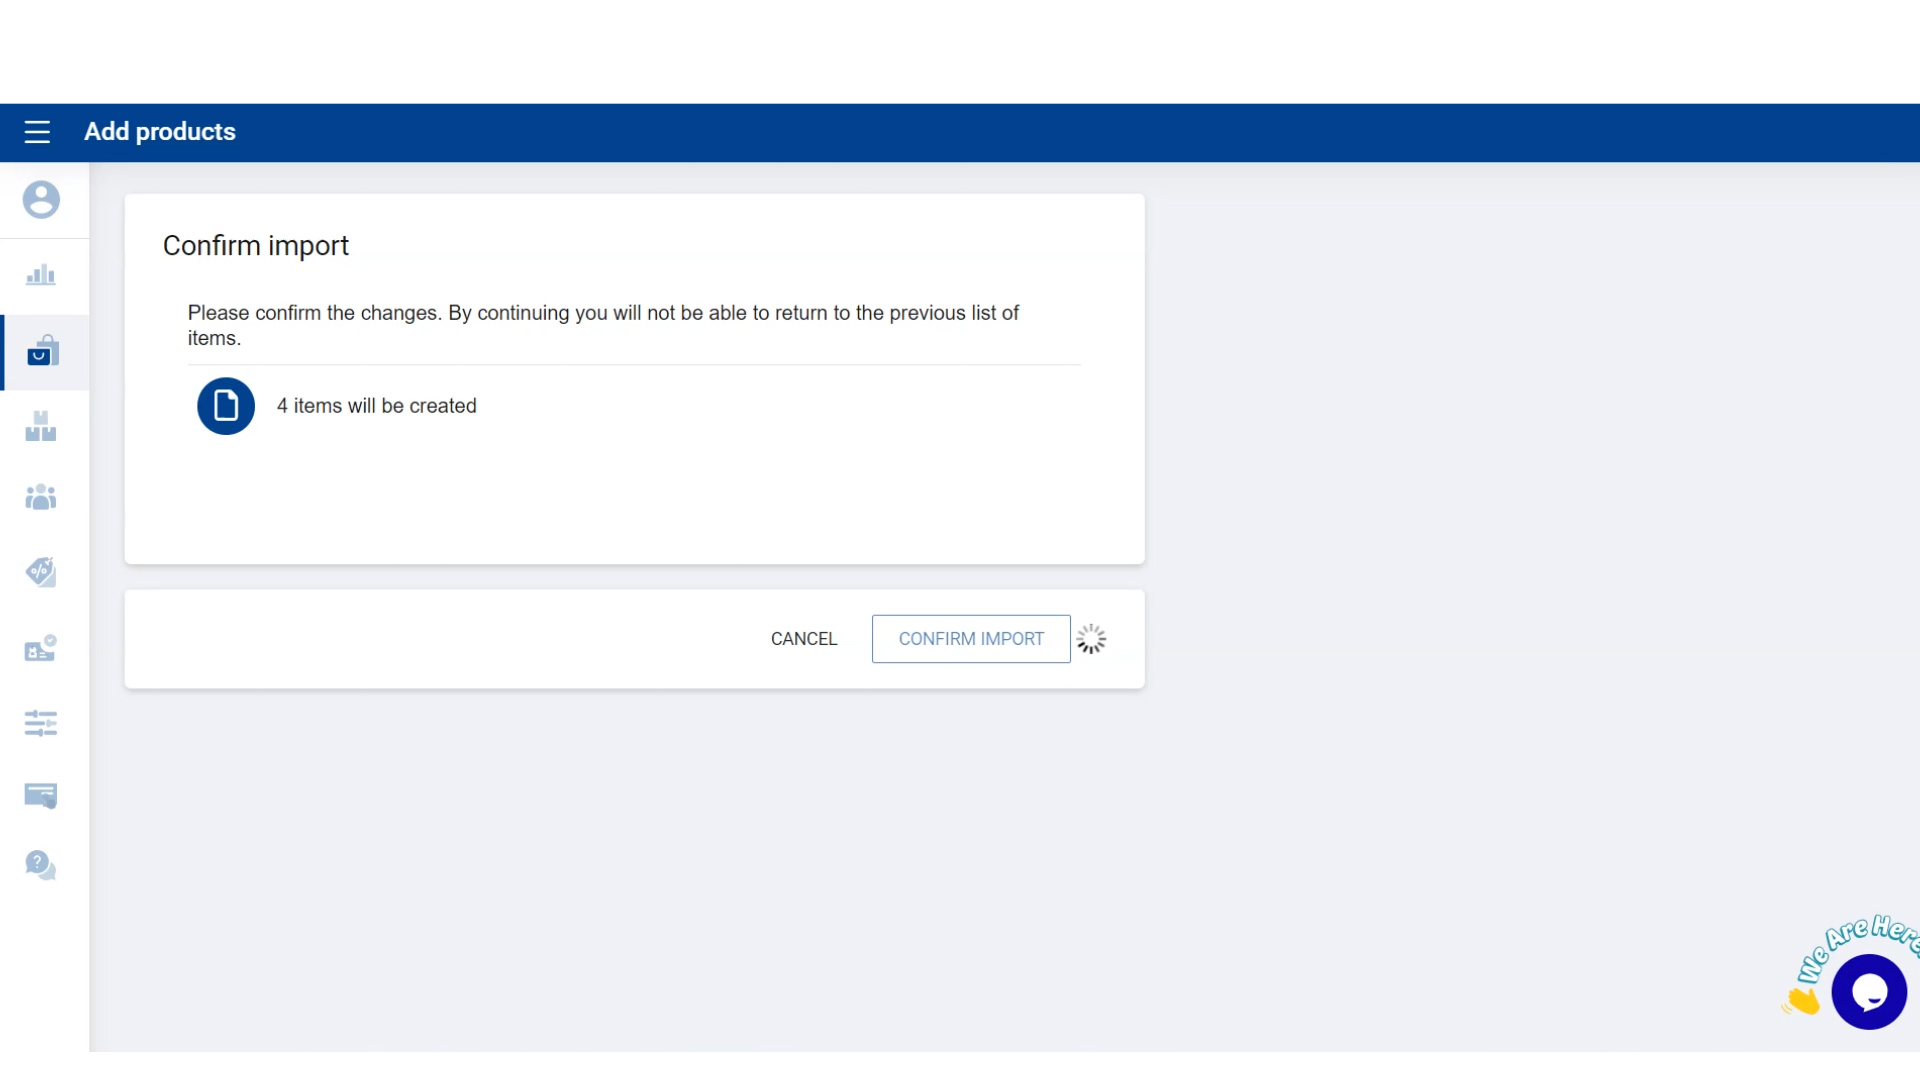
Once completed, products will appear in the Back Office Product List and POS App.
semmery All Simple Steps – How to Bulk Upload Products via CSV
Step 1: Log in to Backoffice
Sign in to your SalesPlay Backoffice account.
Step 2: Go to Product Section
Navigate to Products > Product List, then click the IMPORT button.
Step 3: Download and Fill the Template
- Click Download Template File to get the sample CSV.
- Open the file and enter your product details (refer to the sample row for guidance).
- Save the file as CSV UTF-8 (Comma delimited) when finished.
Step 4: Upload the CSV File
- Drag and drop your completed file into the upload area.
- Click UPLOAD, then click Confirm Import.
Once the upload is successful, your products will appear in both the Backoffice and the POS App
Quick Upload – Only 5 Required Columns
For a quick and simple upload, you only need to fill 5 columns in the CSV file:
- product_code – A unique product ID (letters and numbers only, no spaces, maximum 16 characters).
- product_name – Name displayed to customers and printed on receipts (no emojis or special characters, maximum 128 characters).
- category – Product category name (shown in the POS App). Must match an existing category. If left blank, it will appear under “no category”.
- unit_selling_price – The price shown to customers. If left empty, it will default to 0 during billing.
- available_for_sale[SHOP NAME] – Enter “yes” to make the product visible in the POS App
⚠️ If left blank or set to “no”, the product will only appear in the Backoffice, not in the POS App.
Complete CSV Column Guide (30 Columns)
➡️ Do not rename, delete, or rearrange any columns doing so will cause an error during the upload process.
Below is a clear explanation of each column and how to complete it correctly:
- product_code – A unique SKU for the product. Maximum 16 alphanumeric characters. Spaces are not allowed.
- product_name – The product name displayed to customers and printed on receipts. Maximum 128 characters. Do not use emojis or special characters.
- category – The product category (visible in the POS App but not printed on receipts). Maximum 32 characters. It must match an existing category name. If left blank, the product will be assigned to “no category”.
- sub_category – Optional sub-category shown in the POS App. Maximum 32 characters.
- variant_product – If the product has variants (such as size or color), enter “yes”. Otherwise, enter “no” or leave it blank.
- handle – Optional field used to group or link variant products together.
- option_1_name – Name of the first variant type (e.g., Size).
- option_1_value – Value of the first variant (e.g., Small).
- option_2_name – Name of the second variant type.
- option_2_value – Value of the second variant.
- option_3_name – Name of the third variant type.
- option_3_value – Value of the third variant.
- unit_measurement – Unit of measurement (e.g., “g”, “kg”). Maximum 3 characters. Leave blank if the unit is “each”.
- unit_selling_price – The selling price shown to customers during billing. If left blank, the price will default to 0 and be treated as a variable price.
- mrp_enable – Enable MRP? Enter “1” for yes or “0” for no. Leave blank for no.
- mrp_price – Maximum Retail Price (required only if MRP is enabled).
- unit_cost – The purchase or cost price of the product (not visible to customers).
- stock_control – Should the system track stock for this product? Enter “yes” or “no”. Leave blank for no.
- barcode – Product barcode. Maximum 50 characters.
- product_code_of_included_item – For combo products, enter the SKU of the included item.
- quantity_of_included_item – Quantity of the included item in the combo.
- price_change – Can the cashier modify the price during billing? Enter “yes” or “no”.
- quantity_change – Can the cashier modify the quantity during billing? Enter “yes” or “no”.
- expiry_mode – Does the product have an expiry date? Enter “yes” or leave blank. If yes, the expiry date must be entered during stock entry (GRN).
- ingredient_item – Is this product a raw material or ingredient (not sold directly)? If set to “yes”, it will only appear in the Backoffice and not in the POS App.
- description – Optional field for product details or additional information.
- available_for_sale[SHOP NAME] – Should the product be visible in the POS App? Enter “yes” to make it available. If left blank or set to “no”, it will only appear in the Backoffice.
- price[SHOP NAME] – Shop-specific selling price.
- in_stock[SHOP NAME] – Current stock quantity available in the specified shop.
- safety_stock[SHOP NAME] – Minimum stock threshold. A low stock alert will trigger when inventory falls below this level.