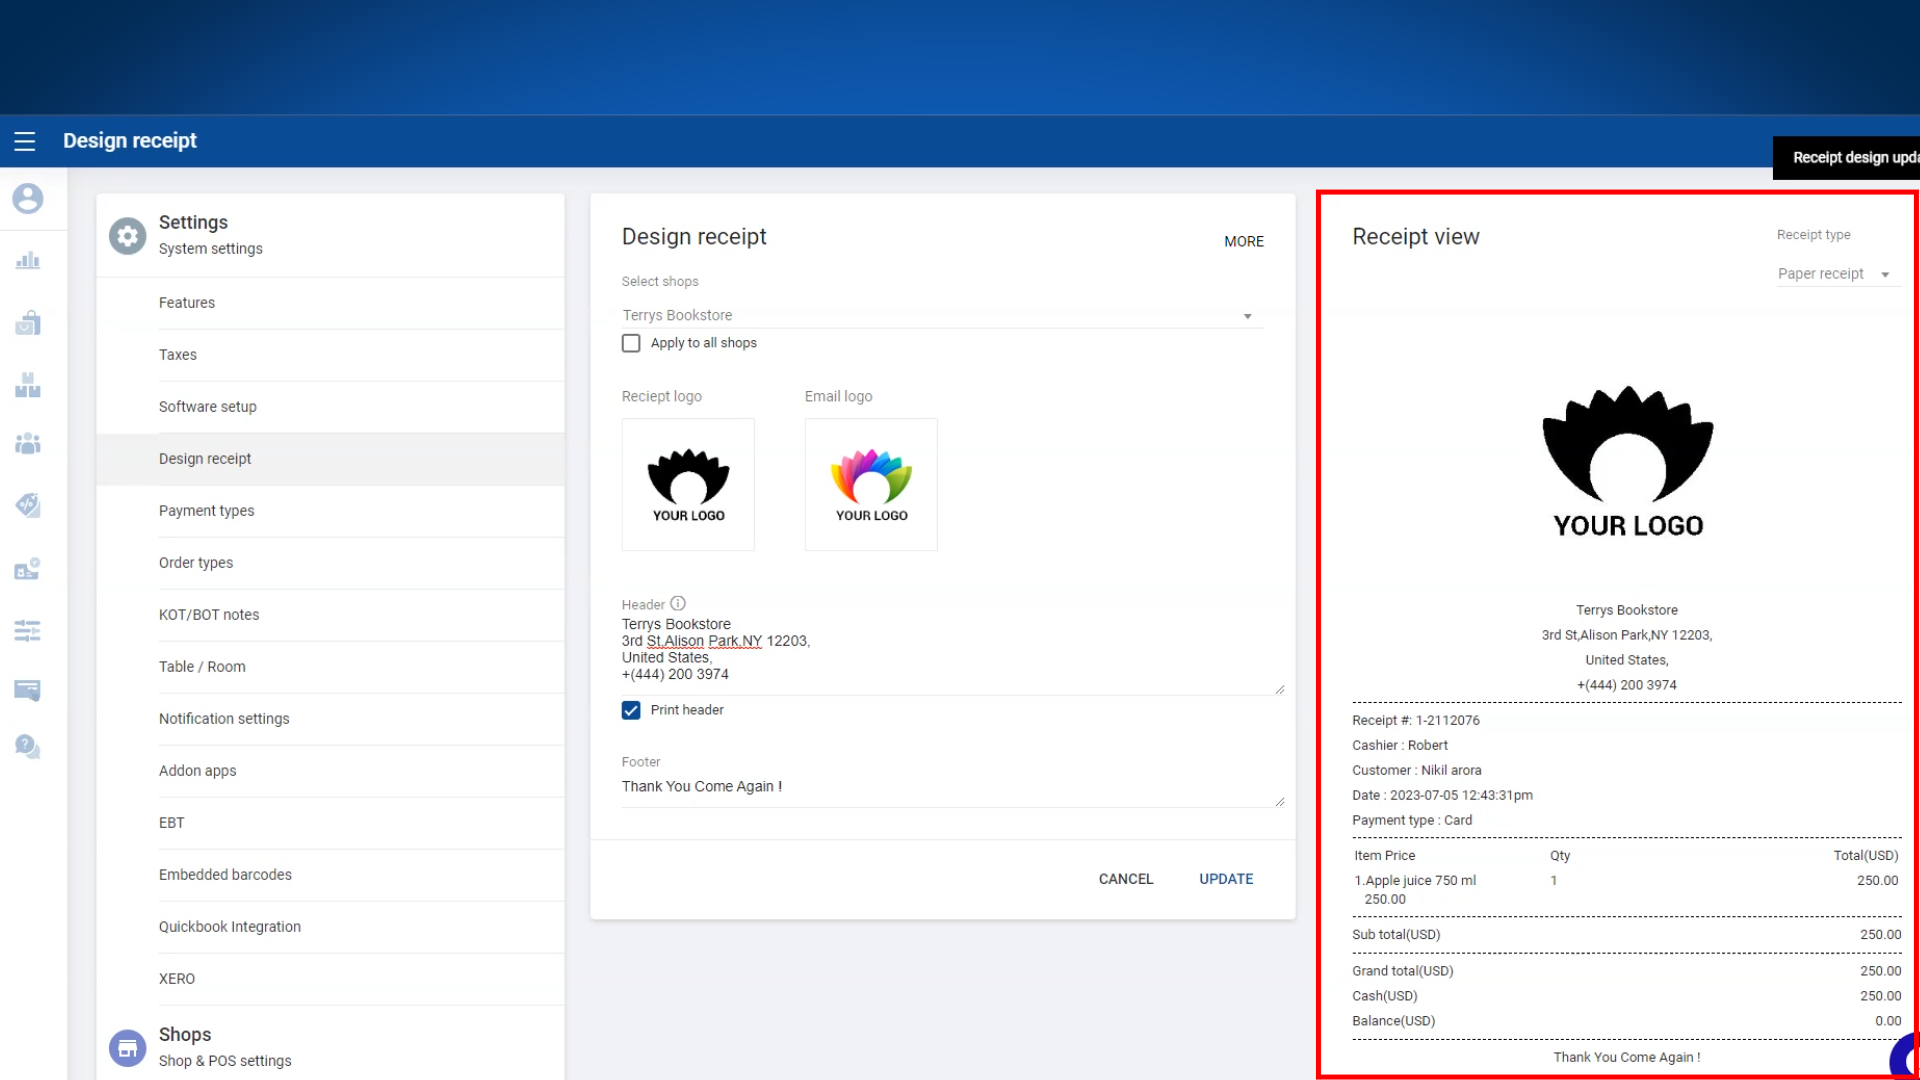
Customize your receipts for both paper and e-receipts in SalesPlay Back Office. You can add logos, header and footer text, and preview the receipt layout before saving.
1. Access the Receipt Design
Login to your SalesPlay POS Back Office:
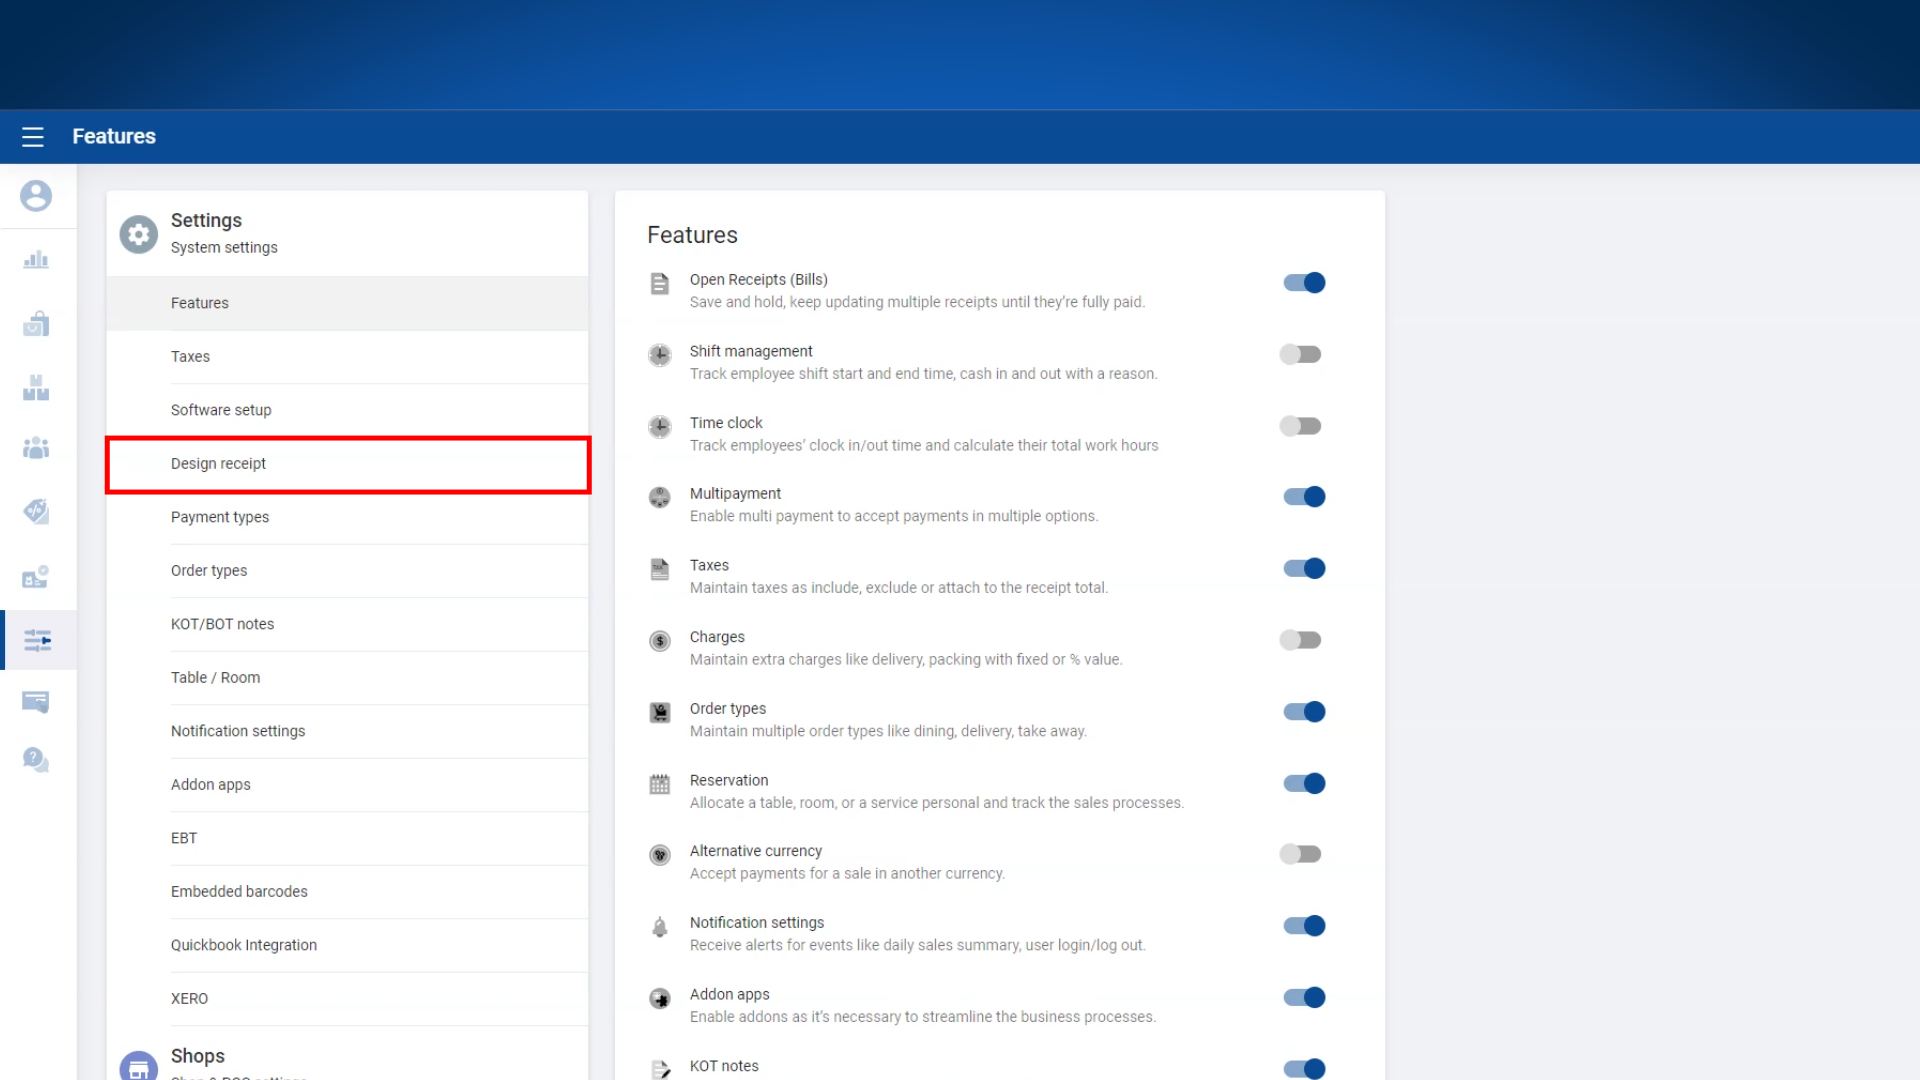
- Select Settings from the main menu.
- Click on Design Receipt.
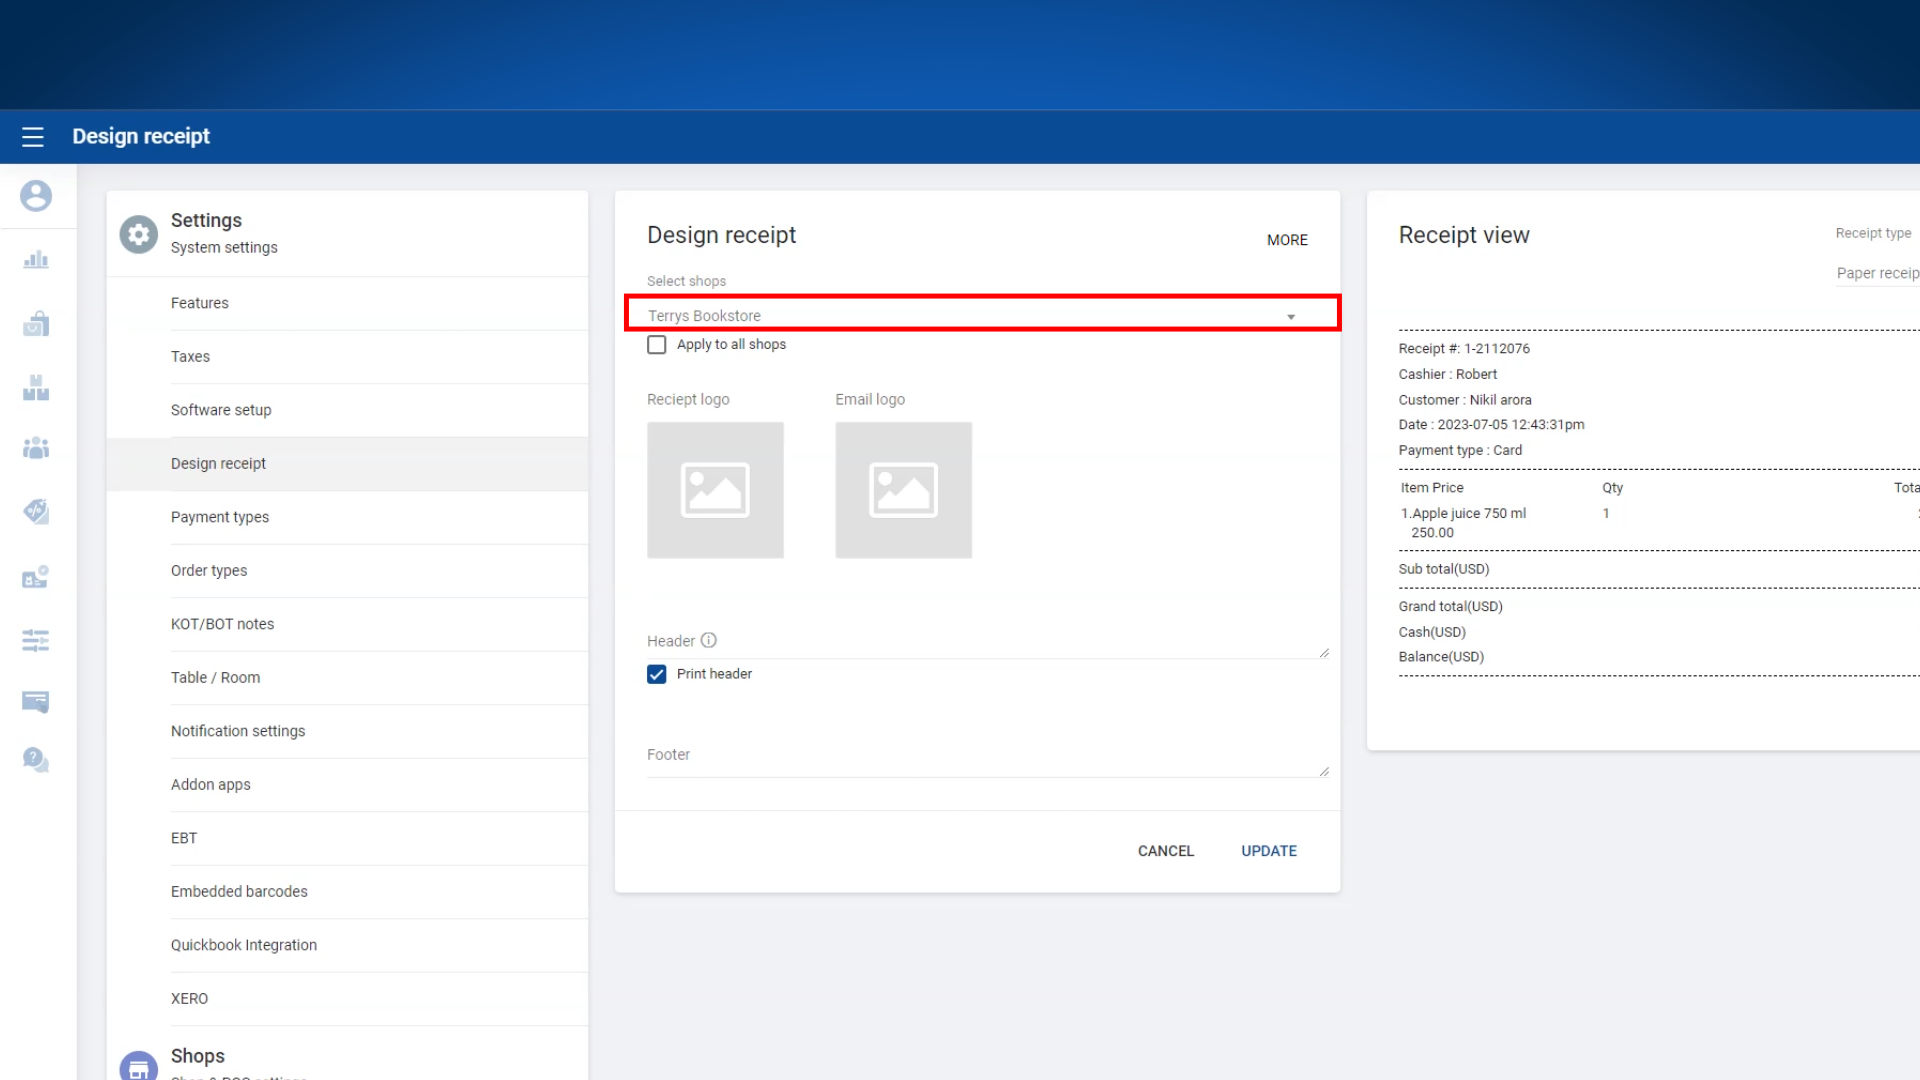
2. Select Relevant Shop(s)
Choose the shop or shops for which you want to design the receipt from the dropdown menu.
3. Receipt Logos
- For the paper receipt, upload a black and white logo for best printing results.
- For the e-receipt, you can use a color logo.
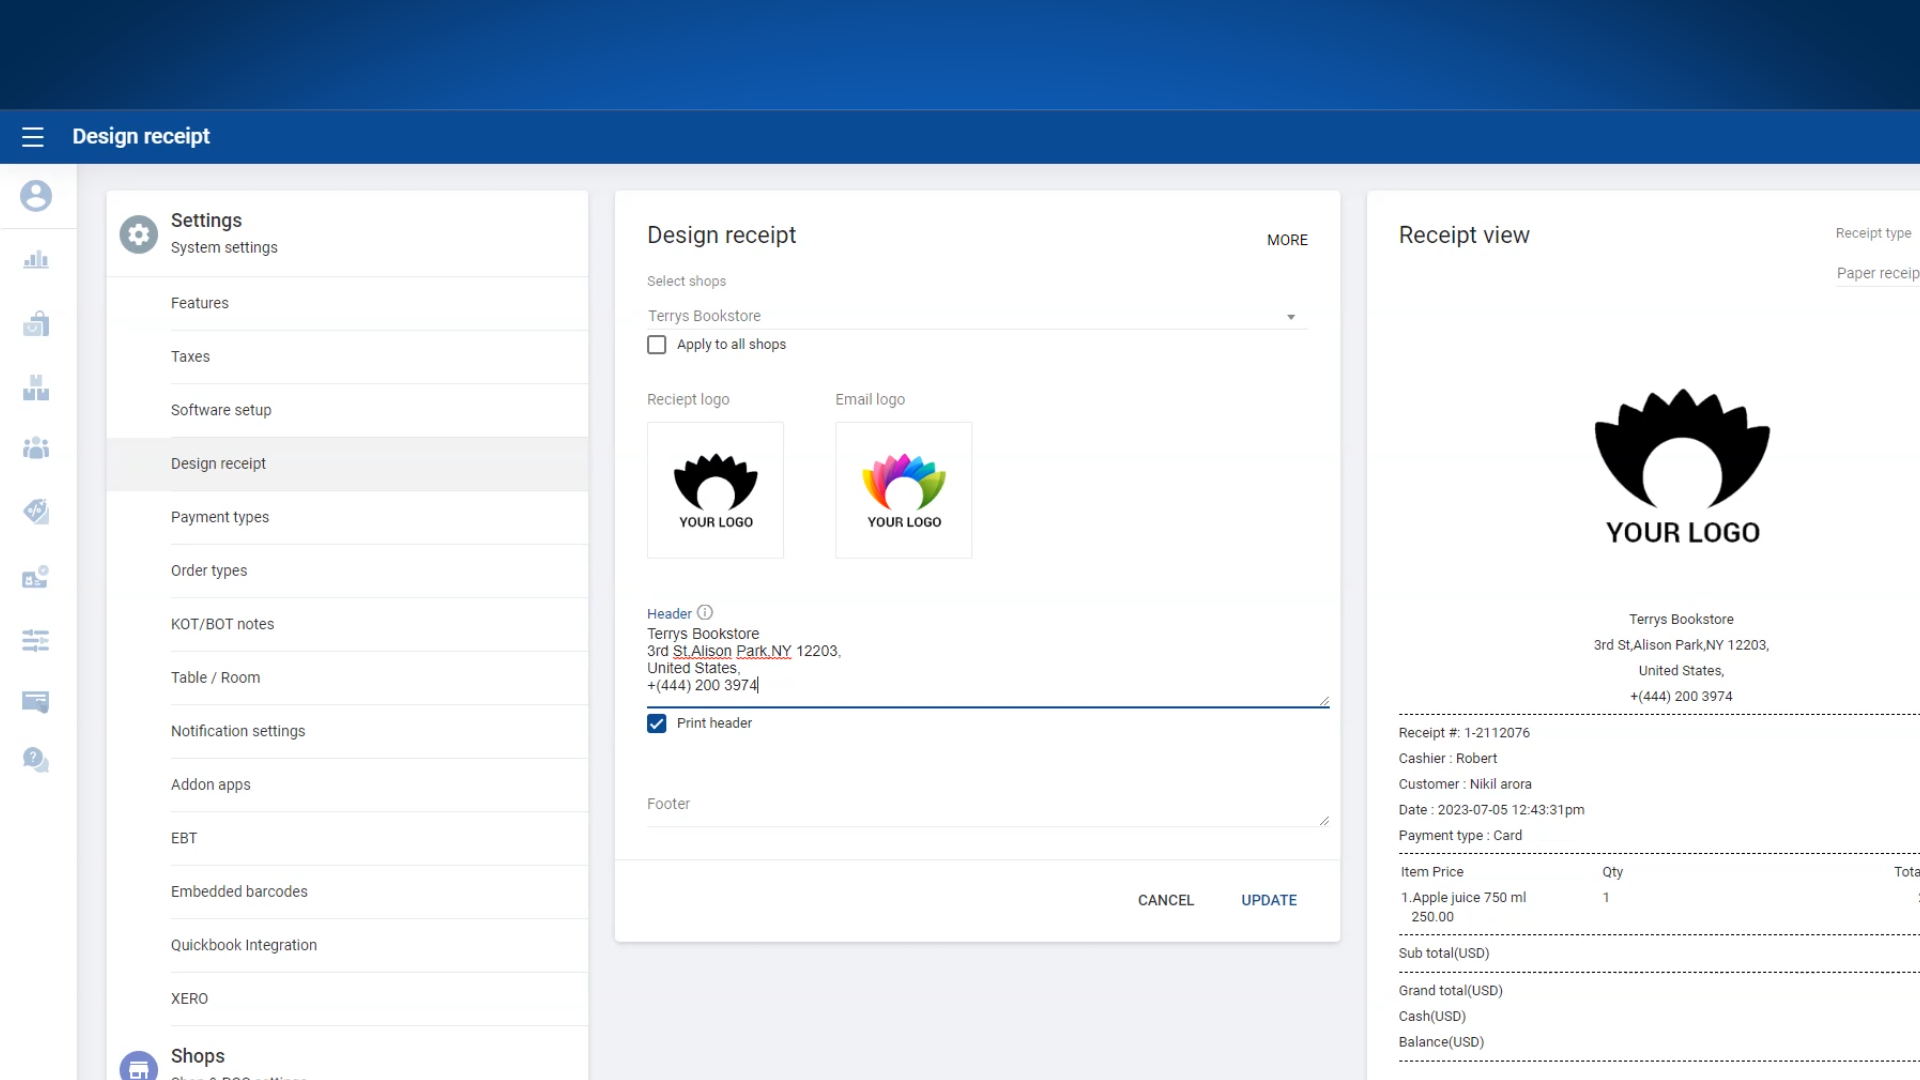
4. Enter Header and Footer Text
- Enter the desired Header Text for your receipt.
- Enter the Footer Text including contact info, slogan, or promotional message.
- Click UPDATE to save your changes.
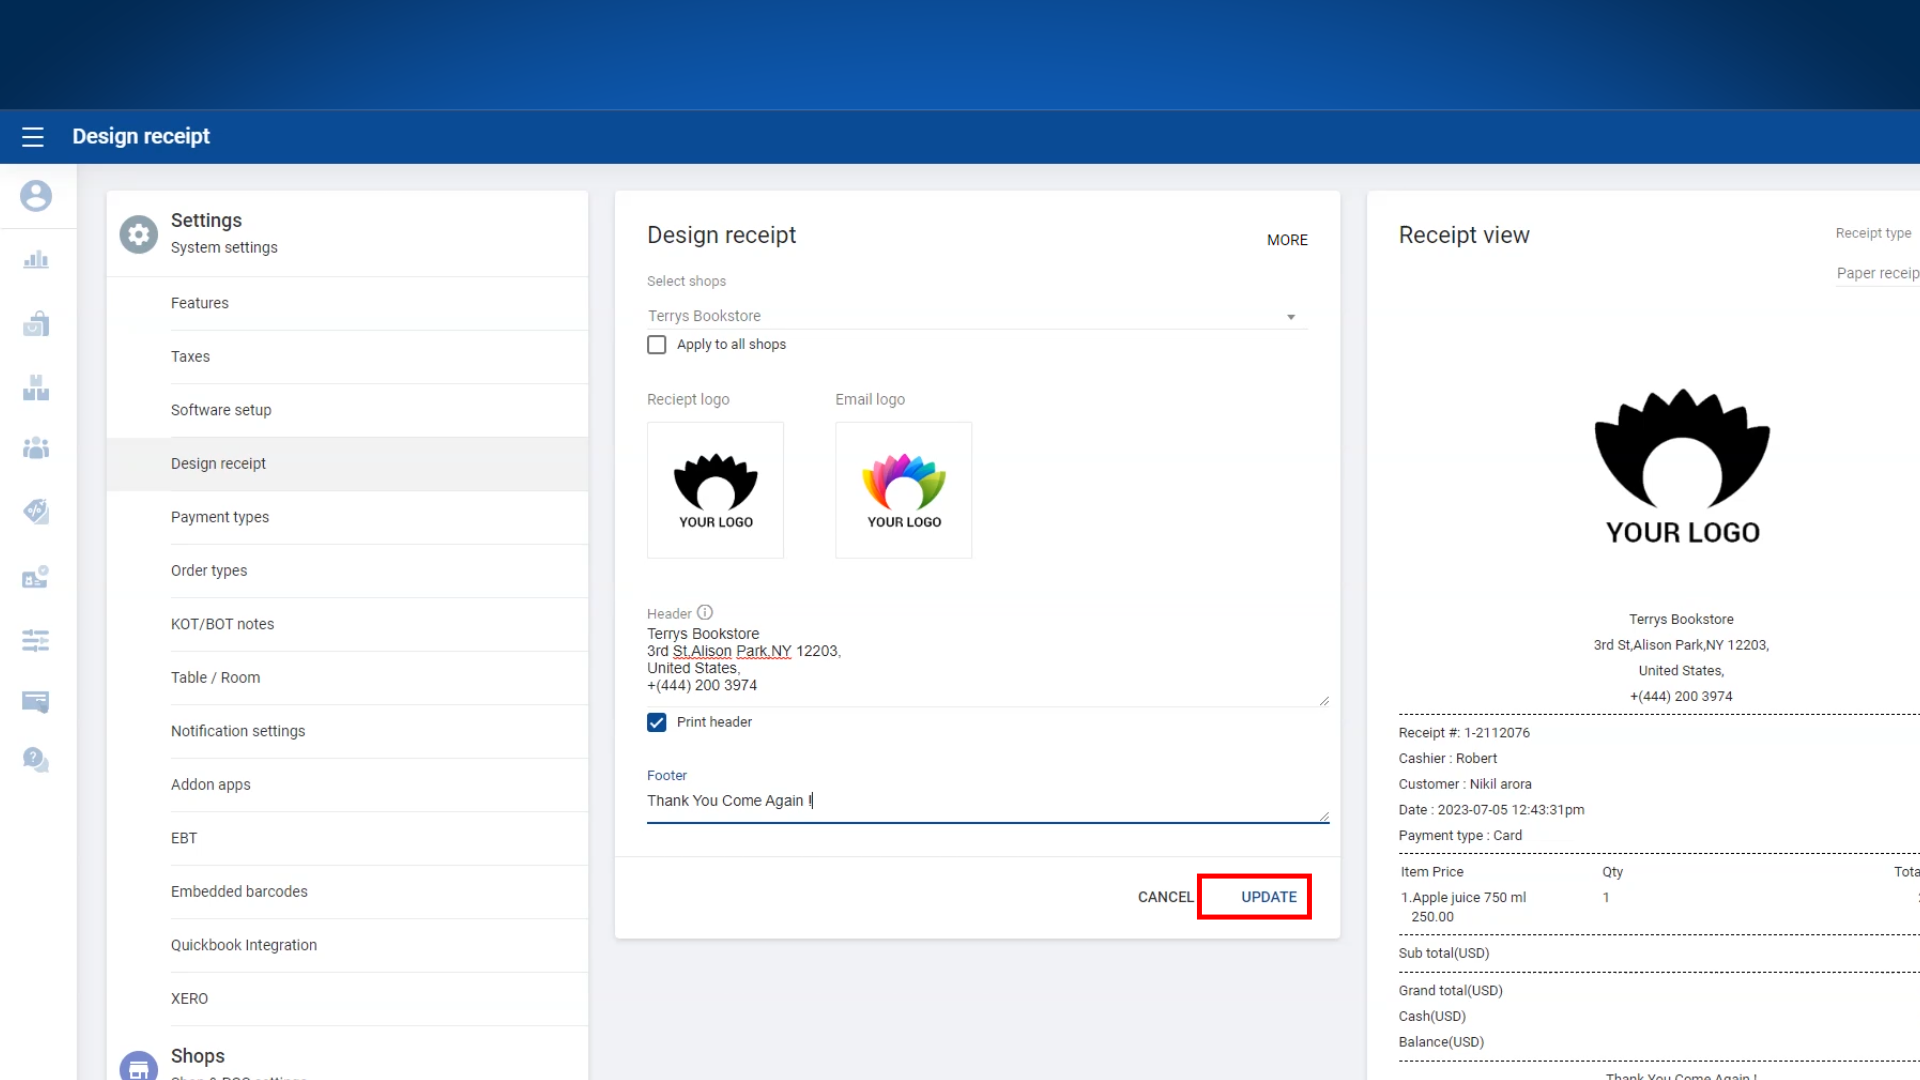
5. Preview Receipts
You can preview how your receipts will look:
- Paper Receipt View:
- E-Receipt View:
Tip: Regularly update your receipt design to reflect your brand identity, offers, or changes in contact information.