SalesPlay - Help Center
Top Searches:
Product
Stock
Invoice
Payment
SalesPlay POS App
Was this helpful?
You can download the SalesPlay POS app from:
System Requirements:
Note:
The SalesPlay POS app helps you process sales, manage products, accept payments, and serve customers quickly.
The Back Office gives you control over products, pricing, staff access, reports, and system settings, allowing you to customize how SalesPlay POS works for your business.
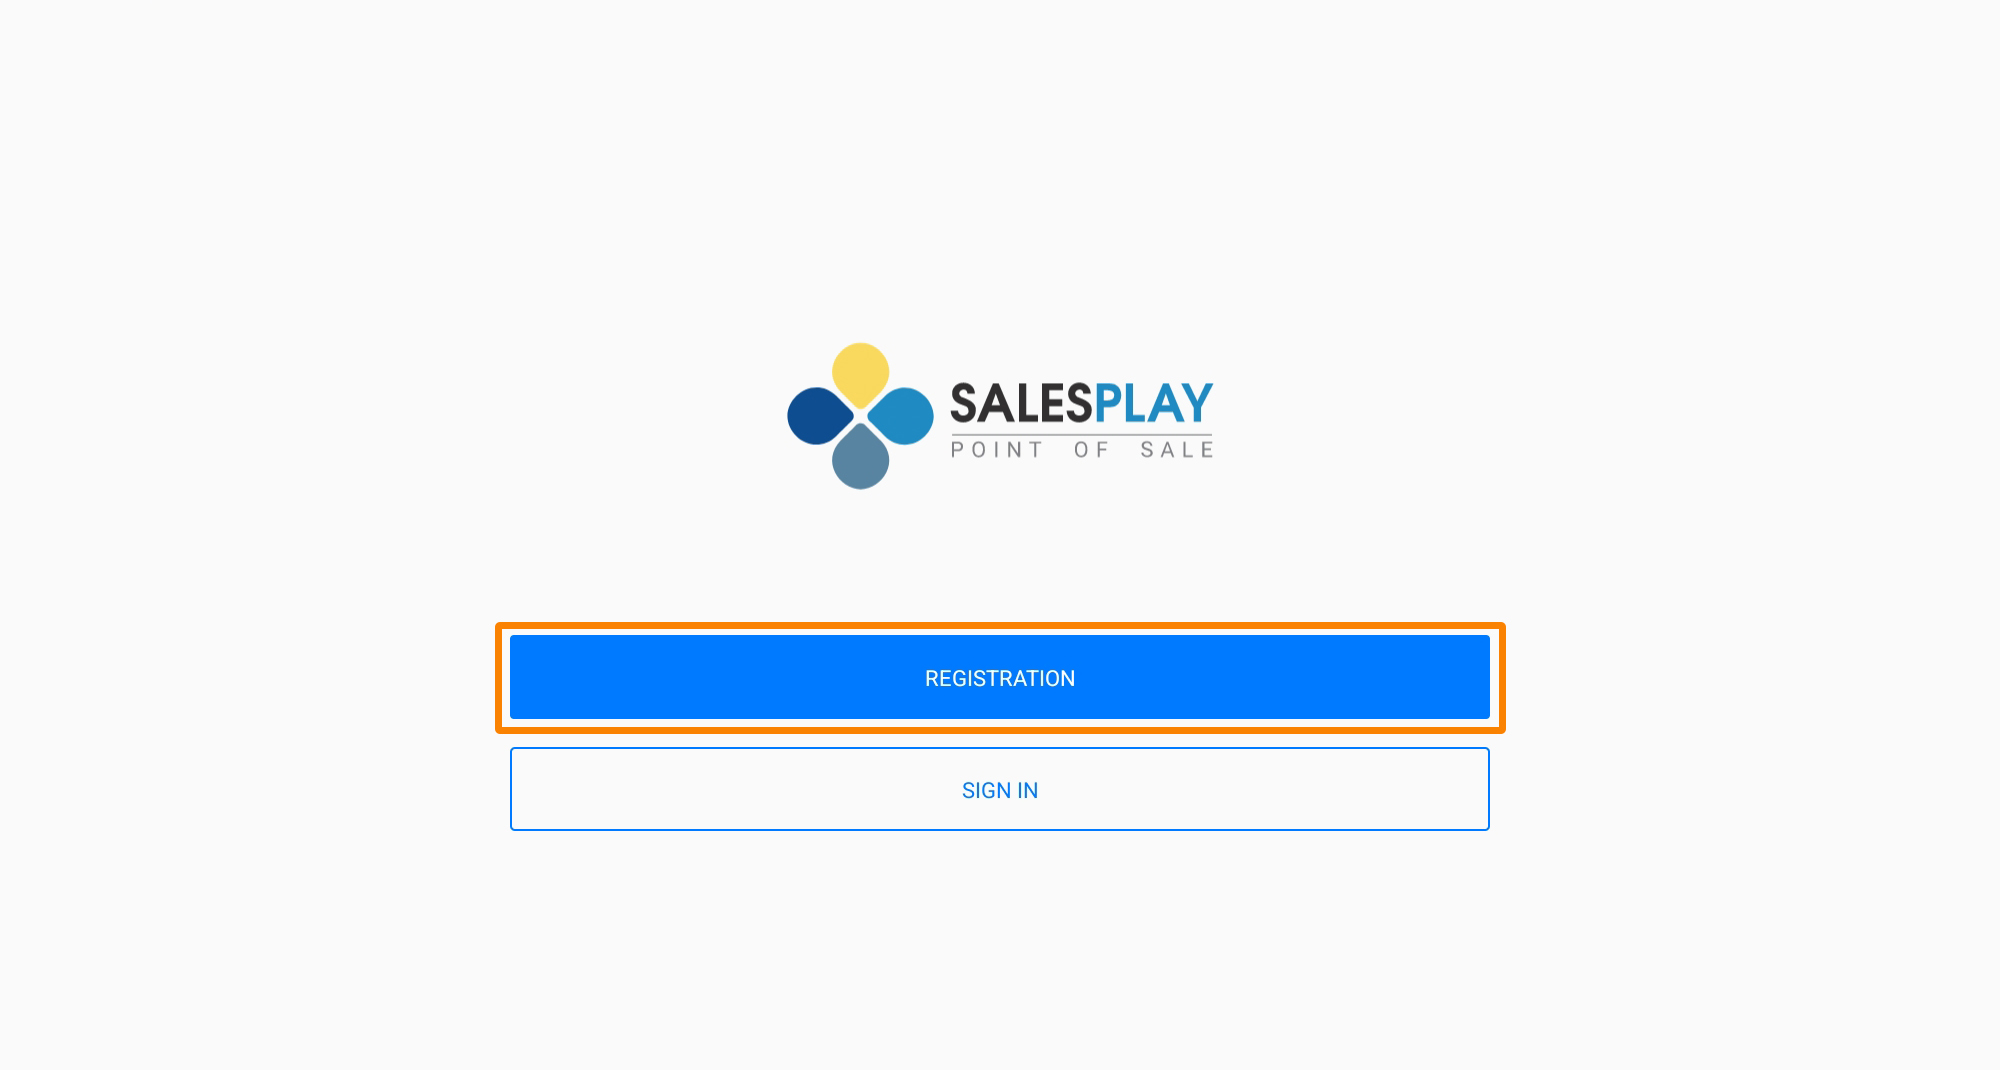
After installation, open the SalesPlay POS app. You will see the Welcome screen.
If you don’t yet have an account, tap the ‘REGISTRATION’ button to create one.
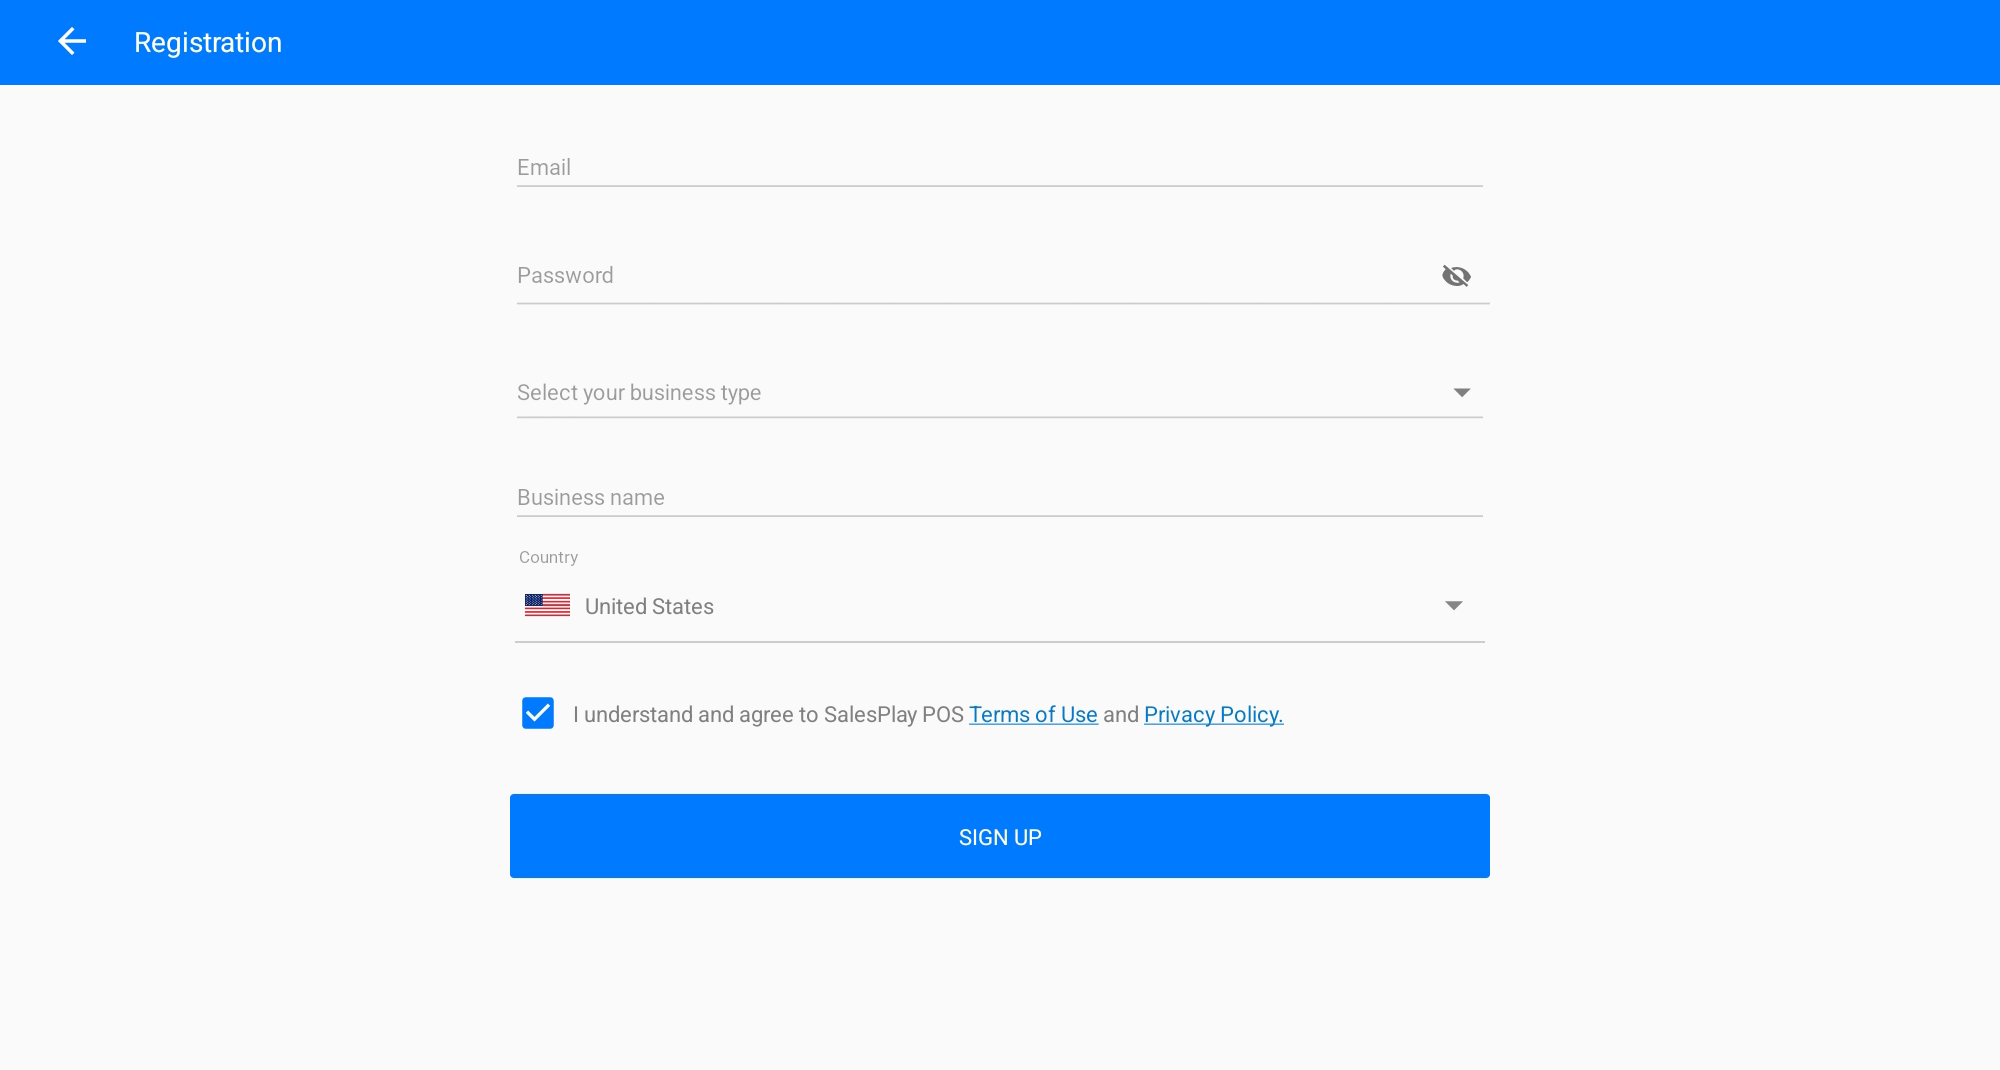
Fill in the simple registration form with your details.
Enter a valid email address and a secure password. Then select your business type and fill in the required details.
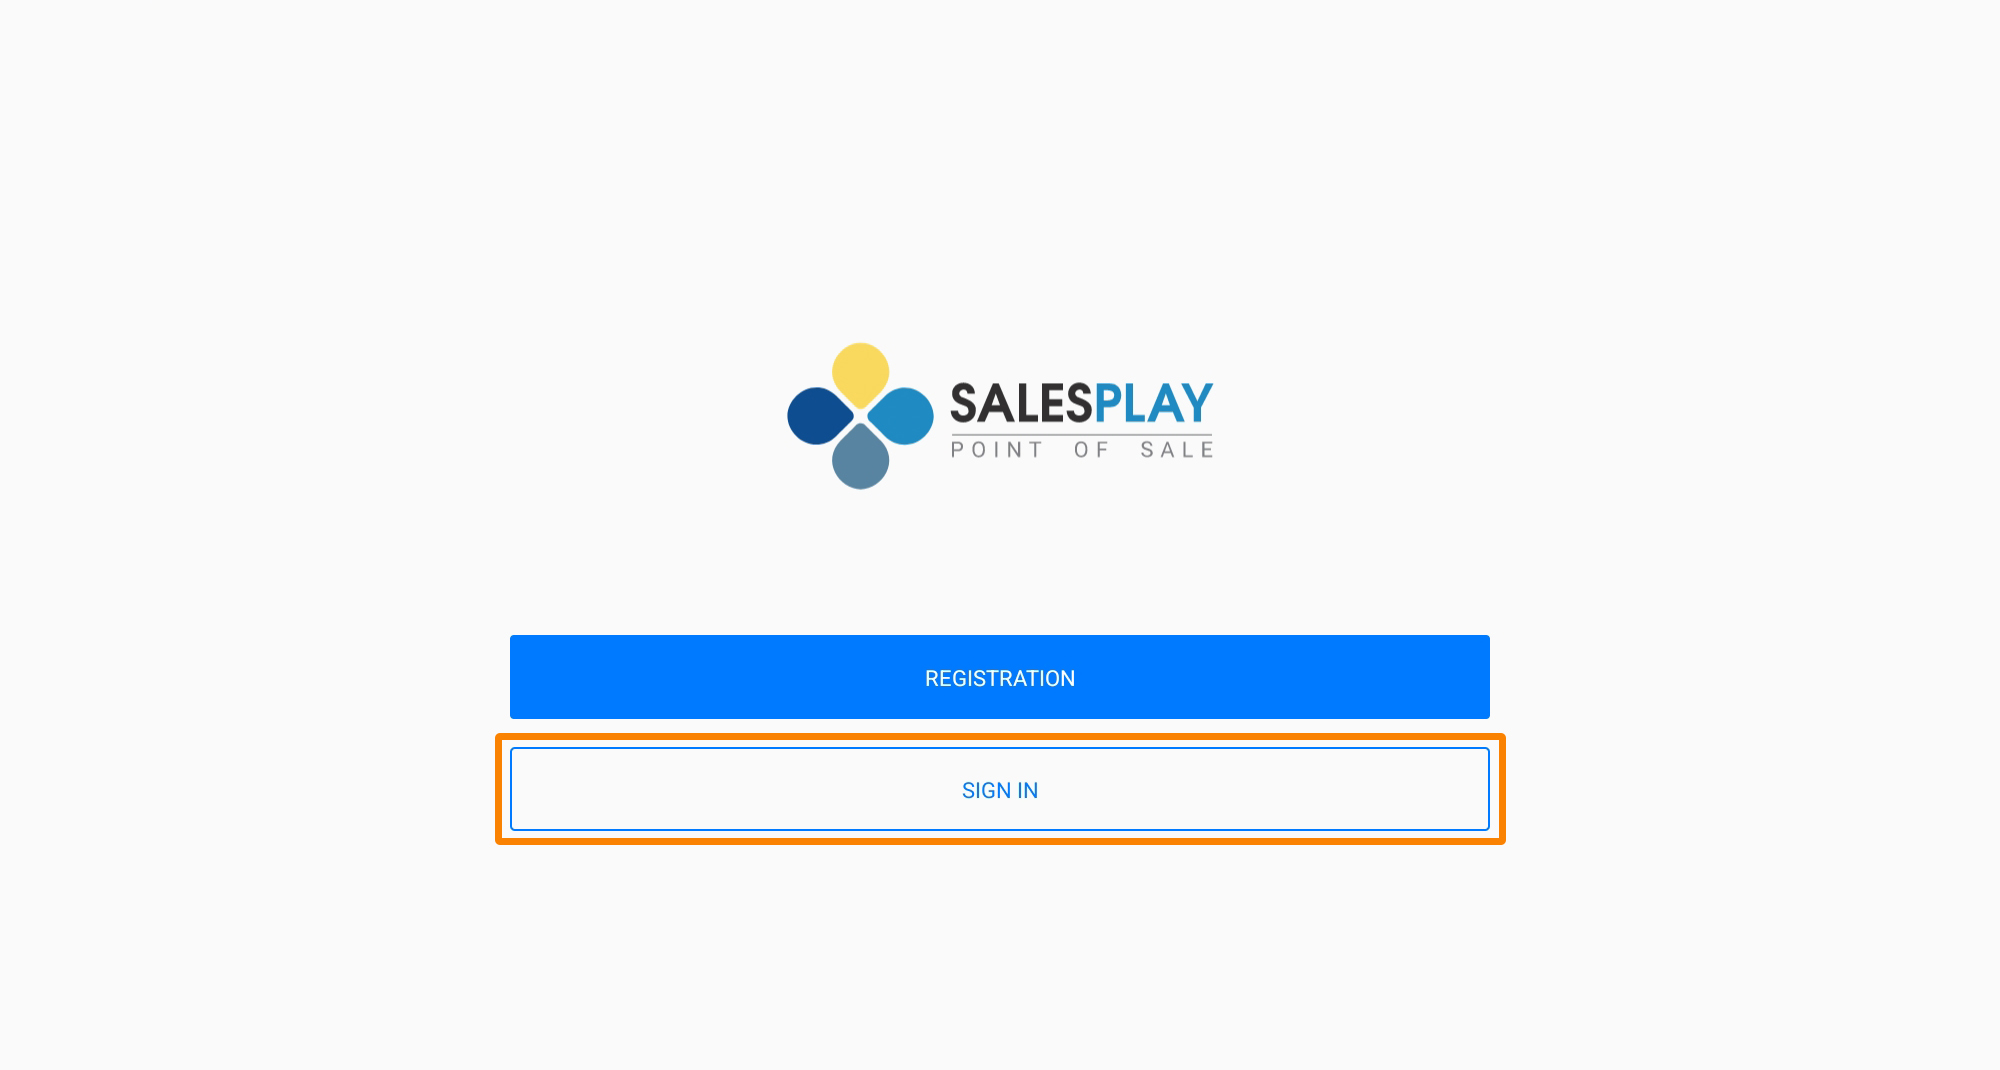
Once your email address is verified, return to the app and tap 'SIGN IN’.
NOTE:
If you forget your password, tap Forgot Password. SalesPlay POS will send a password reset email to your registered email address.
To begin using SalesPlay POS, follow these steps to download, install, and set up the app on your device.
NOTE:
After submitting the form, check your email inbox. You will receive a verification email from SalesPlay POS.
Open the email and click the “Verify the Email” button to confirm your email address and complete the registration.
When you SIGN IN for the first time,
You’ll see a quick overview of SalesPlay POS to help you get started.
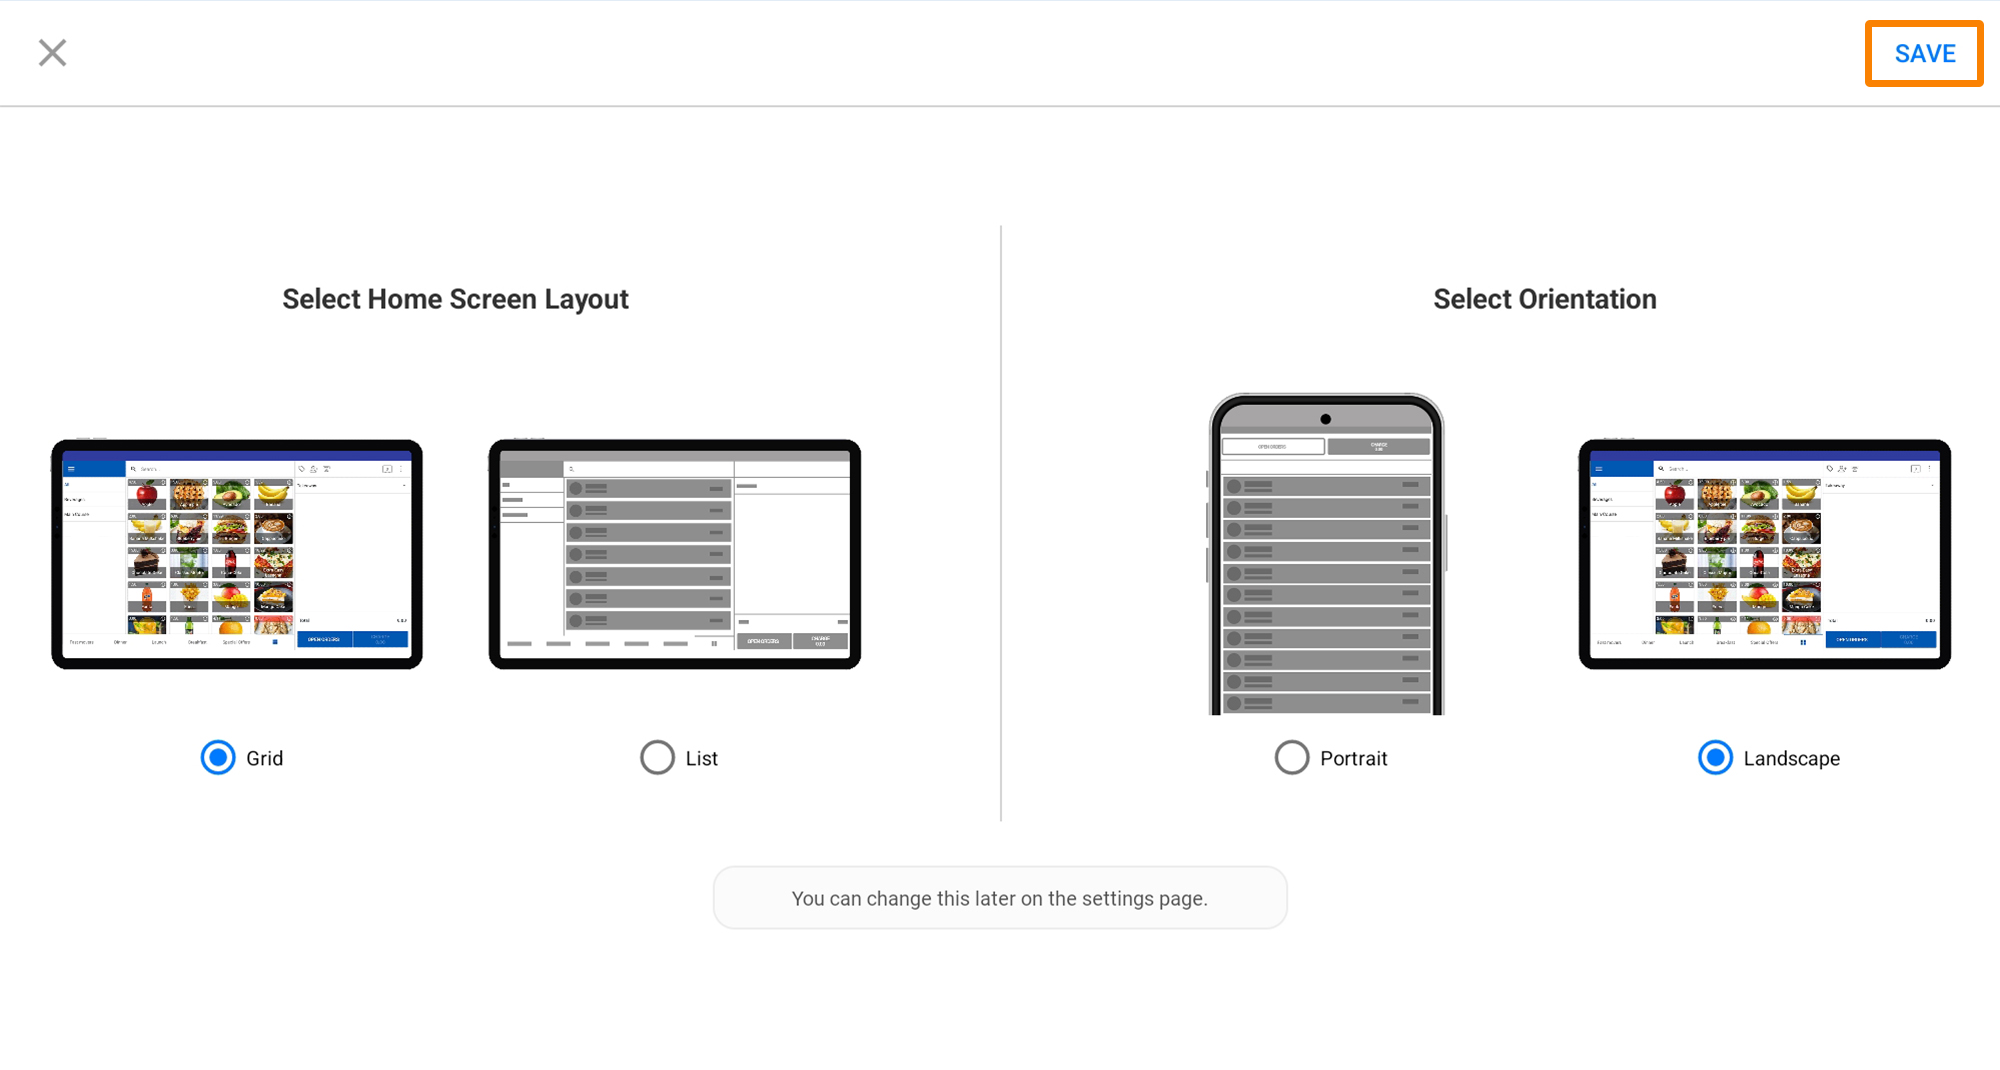
SalesPlay POS offers customizable screen layout settings and orientations to suit your preferences
These settings can be changed at any time after logging in;
You are now successfully logged into SalesPlay POS!
Was this helpful?