Learn how to efficiently set up Kitchen Order Ticket (KOT) printers in your SalesPlay POS system with this step-by-step guide. Follow along to ensure smooth order management between your kitchen and bar.
Step 1: Key Considerations
- You can set up multiple KOT/BOT printers in your POS system.
- If your business has multiple POS terminals, it is recommended to use more than one KOT printer.
- Example: A restaurant can have one KOT printer in the main kitchen and another in the bar area.
- Create “KOT Groups” via the Back Office to organize your order items correctly.
- For food items, create a KOT Group named “Foods” and attach all food items.
- For drinks, create a KOT Group named “Drinks” for liquor and soft drinks.
- When setting up the KOT printer on the POS app, ensure you select the correct KOT Group for accurate printing.

Step 2: Login to Back Office
- Log in to your SalesPlay Back Office.
- Select “Settings” from the main menu.
- Click the “Addon Apps” section.
- Select the “KOT/BOT Groups” tab.

Step 3: Create a New KOT Group
- Click the “New Group” icon.
- Provide a group name (e.g., Foods or Drinks).
- Click Save.

Step 4: Attach Products to KOT Group
- Select the newly created group.
- Click the “Attach” button.

Step 5: Assign Categories or Products
- Tick the categories or products to add them to the KOT/BOT group.
- Click Save.
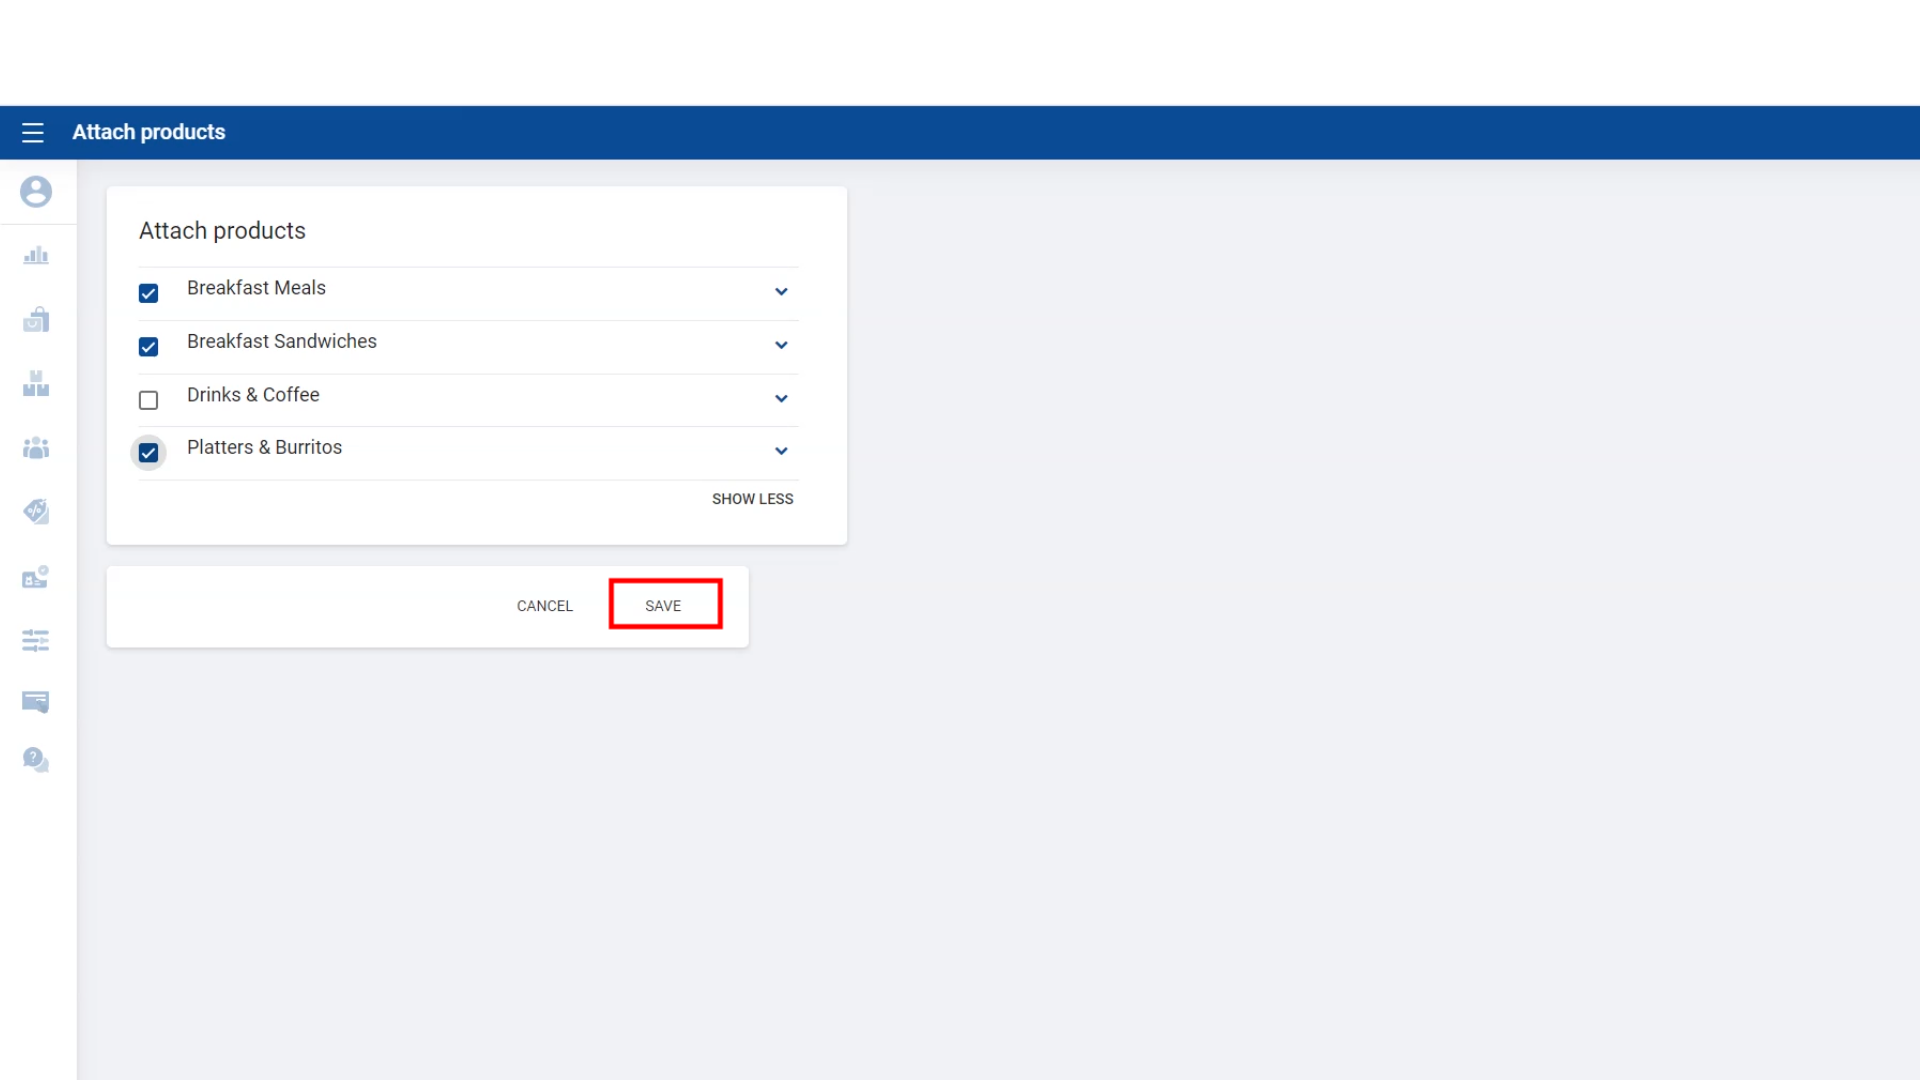
Step 6: KOT/BOT Group Added Successfully

Step 7: POS App – KOT Printer Setup
- Open the POS App main menu.
- Select Settings → Printers.
- Click Add New (+).

Step 8: Configure Printer Details
- Enter a Printer Name.
- Select other printer details (type, connection, etc.).

Step 9: Enable KOT/BOT Printing
- Tick “Print KOT/BOT”.
- Select the correct Printer Groups.
- Click Save.

Step 10: Create a Sale and Generate KOT
- Click New Sale.
- Select the products.
- Click Save.

Step 11: Add Description and Print KOT
- After saving, the Kitchen Order Ticket appears.
- Add a description if needed.
- Click Create.

Step 12: Kitchen Receipt
The KOT will print in the kitchen with assigned items and table details.

Step 13: Large KOT Number and Table Number
- Log in to POS Back Office → Select Settings.
- Navigate to Software Setup.
- Tick “Styled KOT Print” and click Update.
Once enabled, KOT numbers, Table Numbers, Item Names, and Customer Names will appear in larger font size for easy visibility.
Step 14: Reset KOT Number Sequence
SalesPlay POS allows resetting KOT numbers based on shifts:
- Open POS App Main Menu → Manage Sale → Cash Management → Shift End.
- Tick “Reset KOT number sequence”.
- Click Run Shift End Process → Complete.
The KOT sequence will reset at the start of the next shift.
Note: Ensure the Shift function is activated in Back Office.
Key Tips
- Use multiple printers for larger operations (kitchen and bar).
- Organize items into KOT Groups for accurate printing.
- Enable Styled KOT Print for clear visibility.
- Reset KOT numbers for a fresh start each shift.