Why Integrate Xero with SalesPlay POS?
- Integration provides a comprehensive and streamlined solution for managing financial operations directly from your POS system.
1. Login to POS Back Office
- Select Settings from the main menu.
- Go to Feature.
- Tick Xero Integration.
- Click Save.
Note: Once enabled, Xero Integration will appear as a sub-menu under Settings.
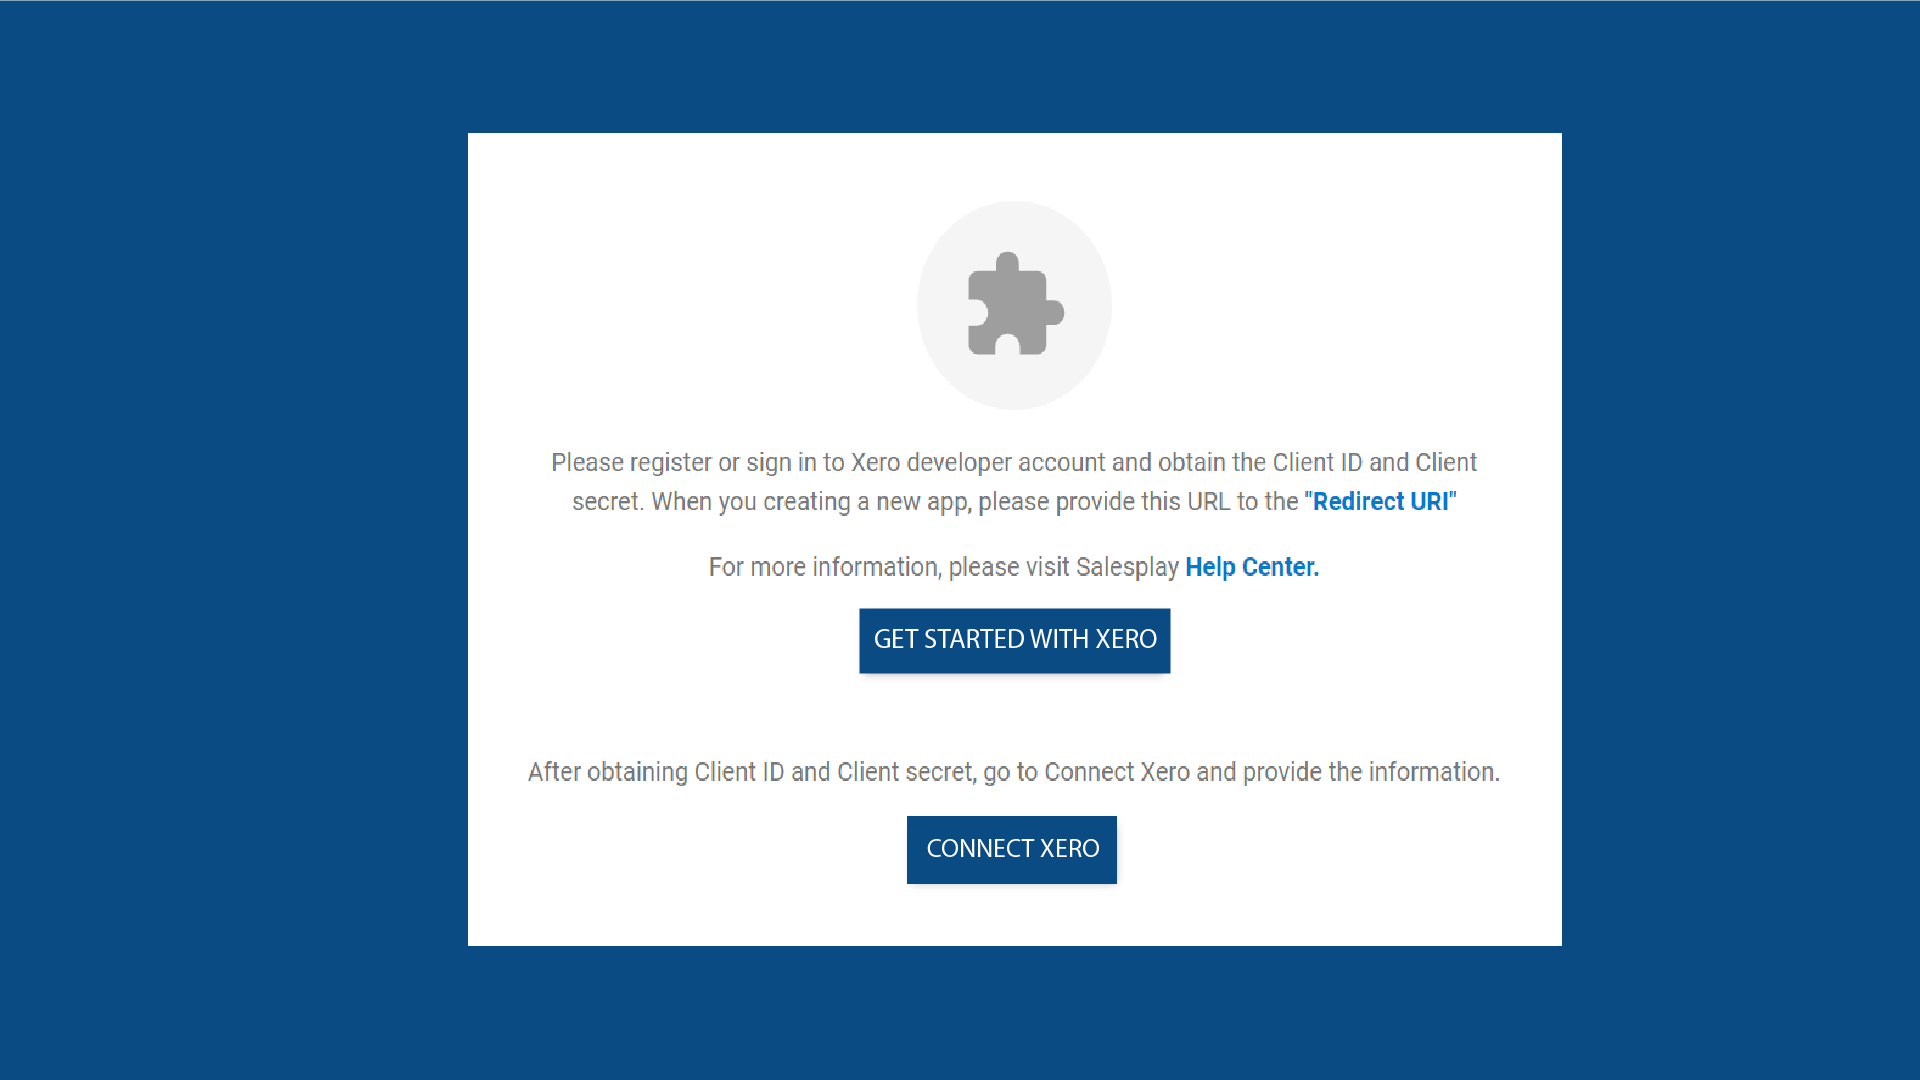
2. Select XERO from Settings and Click “GET STARTED WITH XERO”
3. Register or Sign in to Your Xero Account
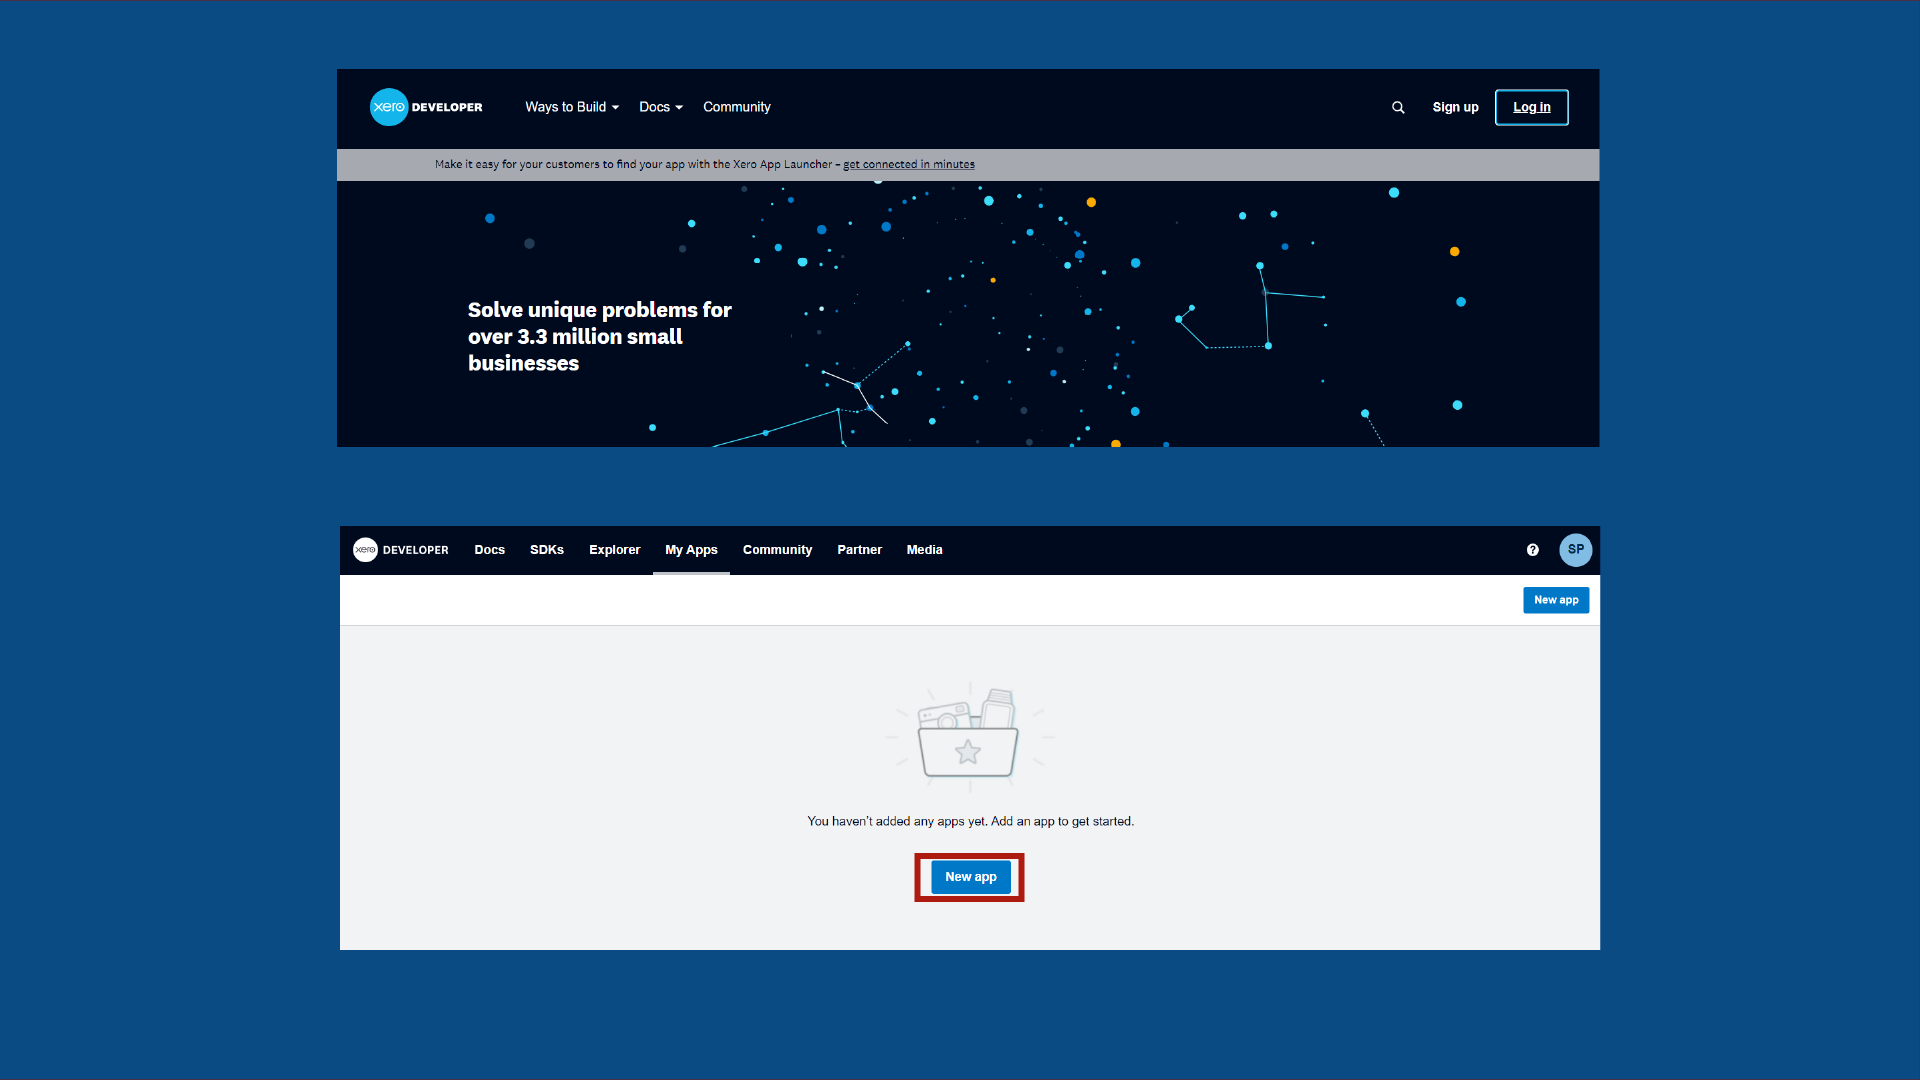
- Visit https://developer.xero.com/
- Click Login and log in to your Xero developer account.
- Click New App.
4. Provide Required Details
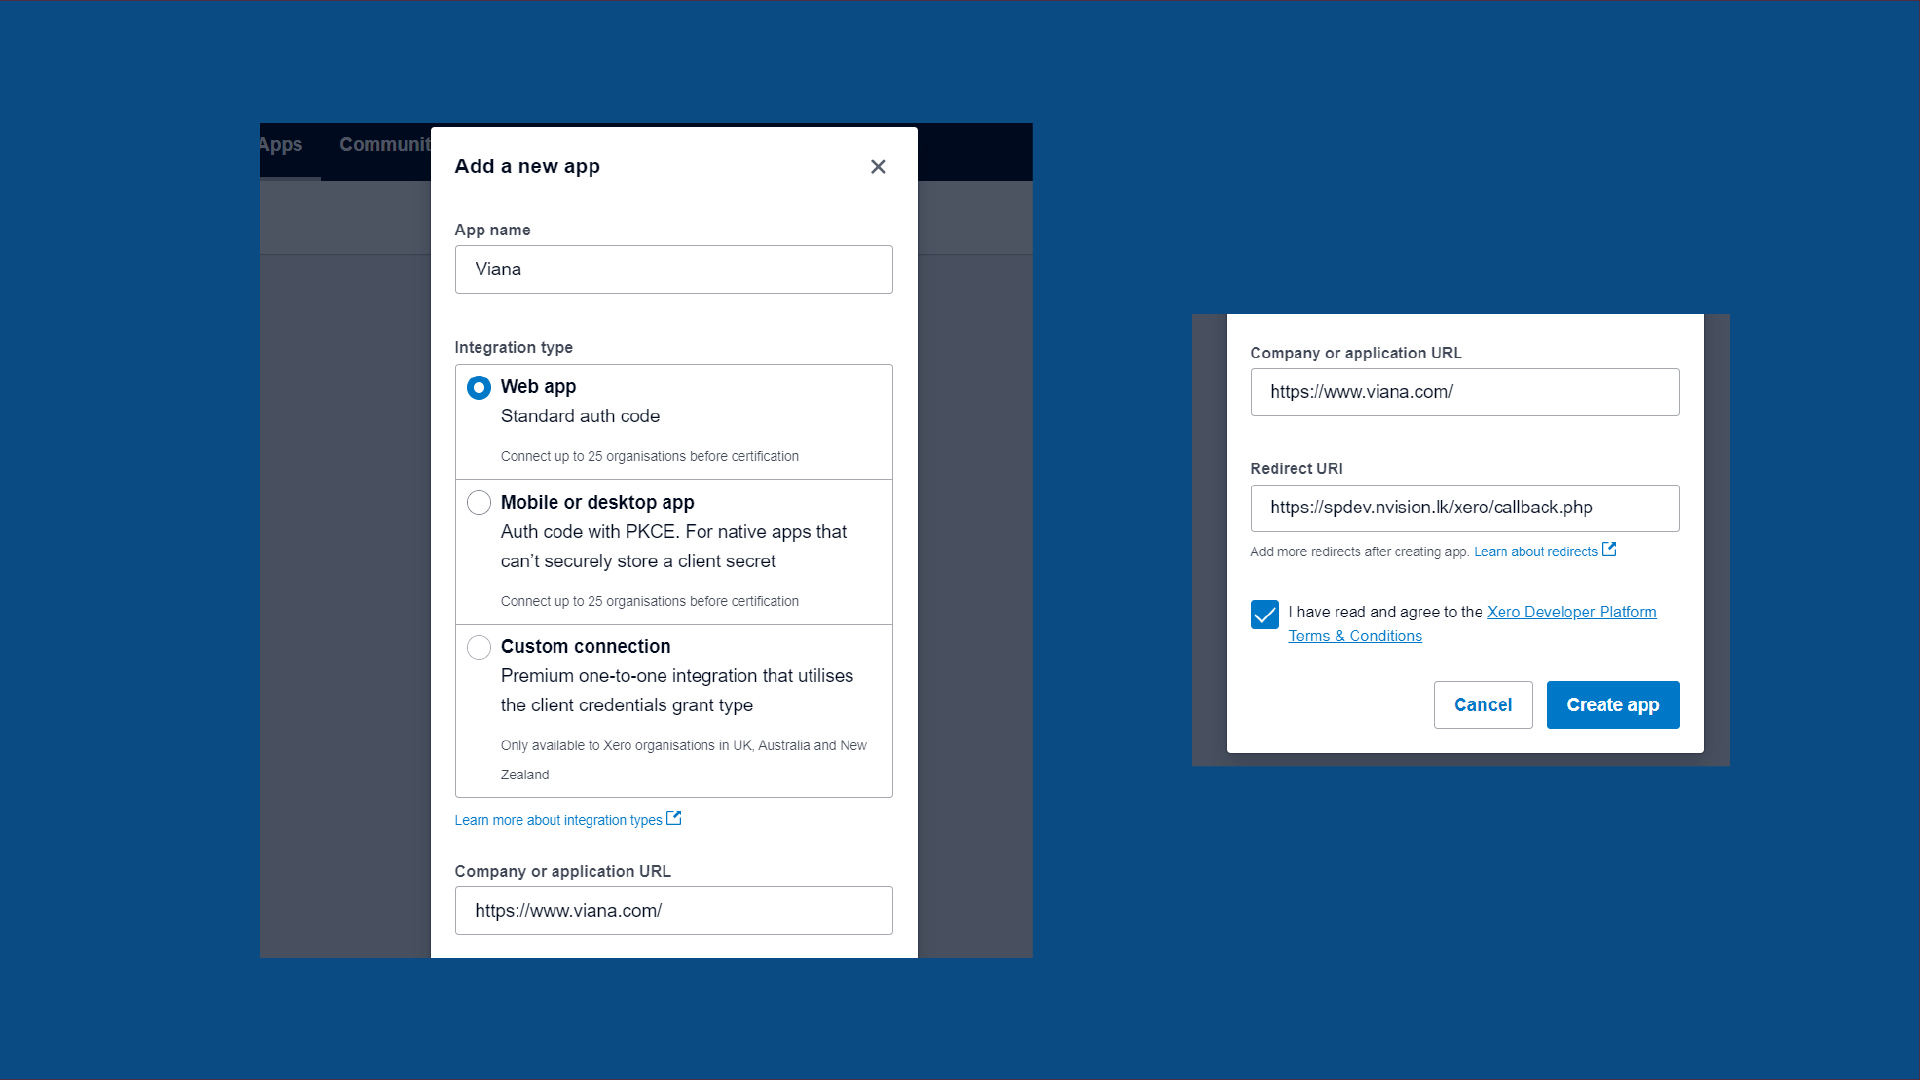
- Enter the Shop Name.
- Select Web App as the integration type.
- Add your company website.
- Add Redirect URI (copy from the Back Office Xero section).
- Agree to Terms & Conditions and click Create App.
5. Configuration
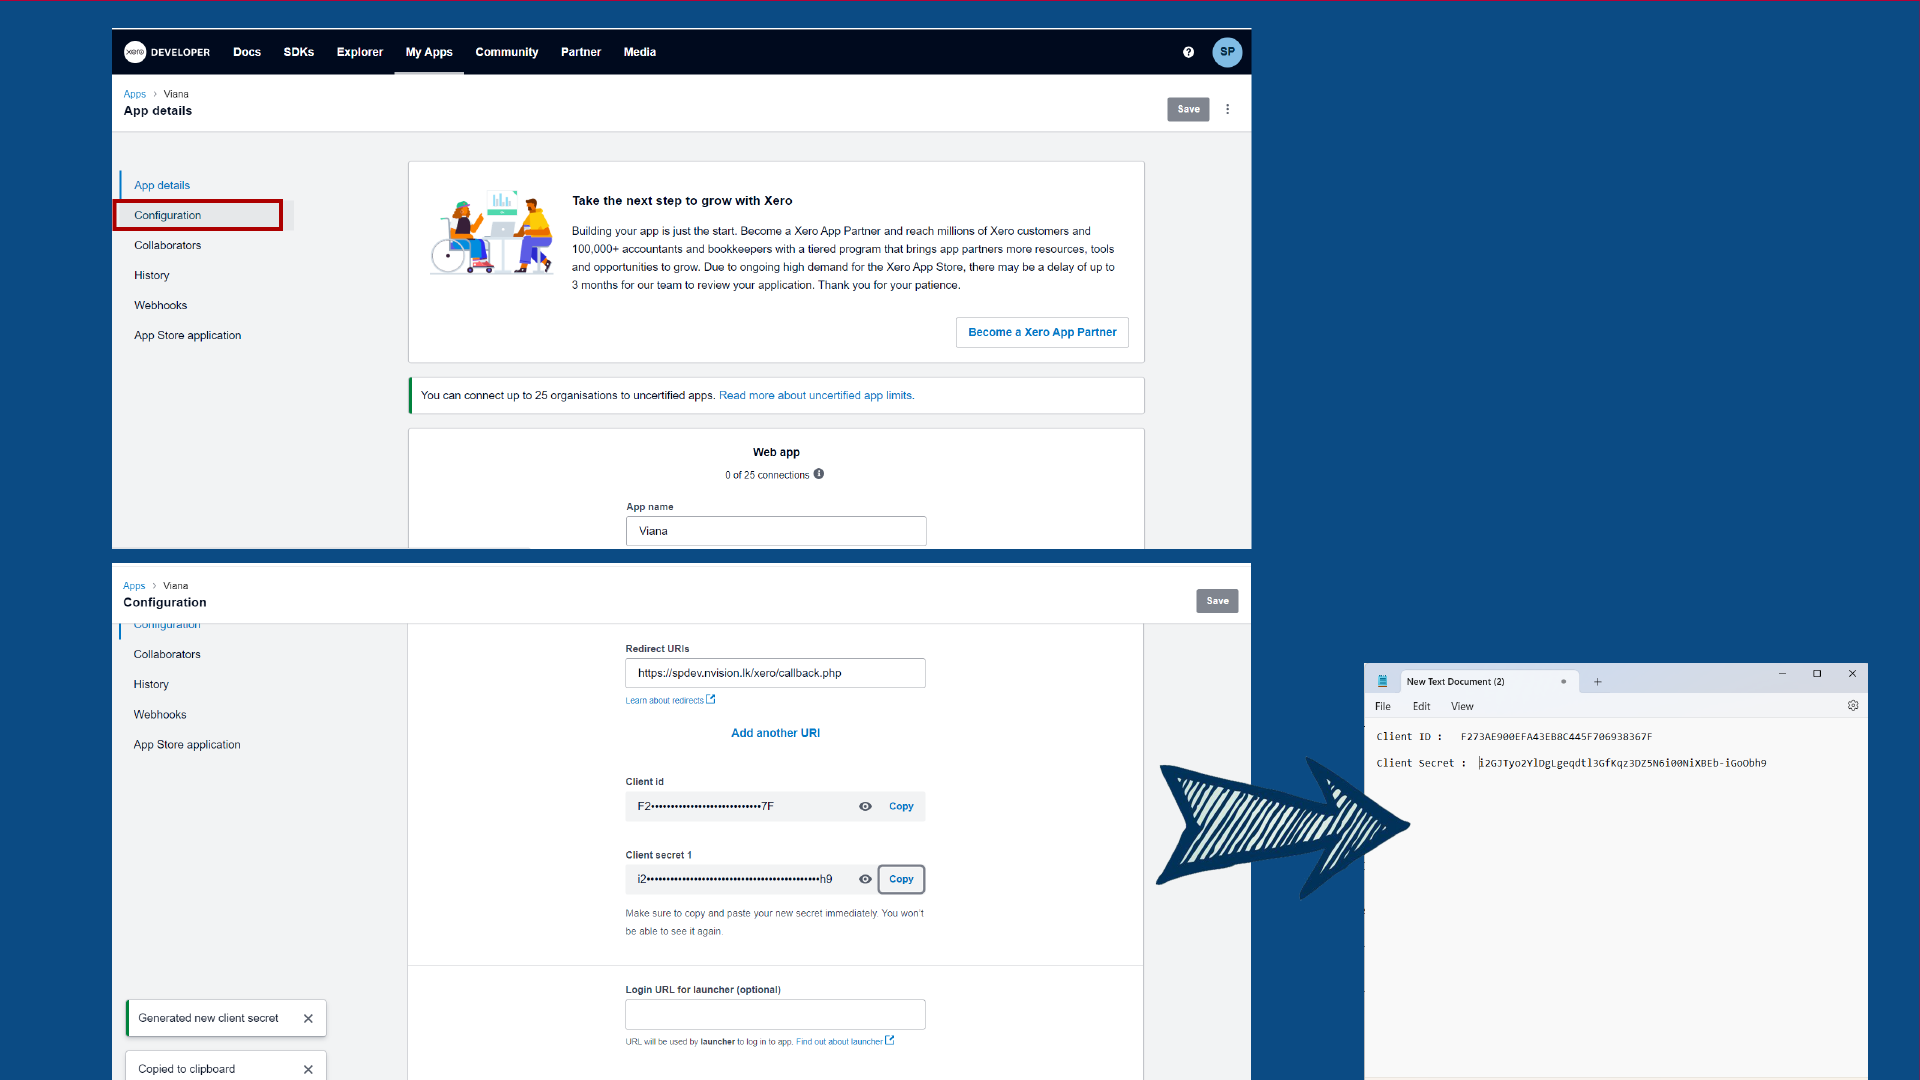
- Click the Configuration tab in developer.xero.
- Copy the Client ID and save it in a secure document.
- Click Generate a Secret.
- Copy Client Secret 1 and save it securely.
6. Click “CONNECT XERO” in Back Office
- Enter the Client ID (from your saved document).
- Enter the Client Secret.
- Enter the Transaction Scheduled Time.
- Ensure Is Enable is ticked ON.
- Click Save.
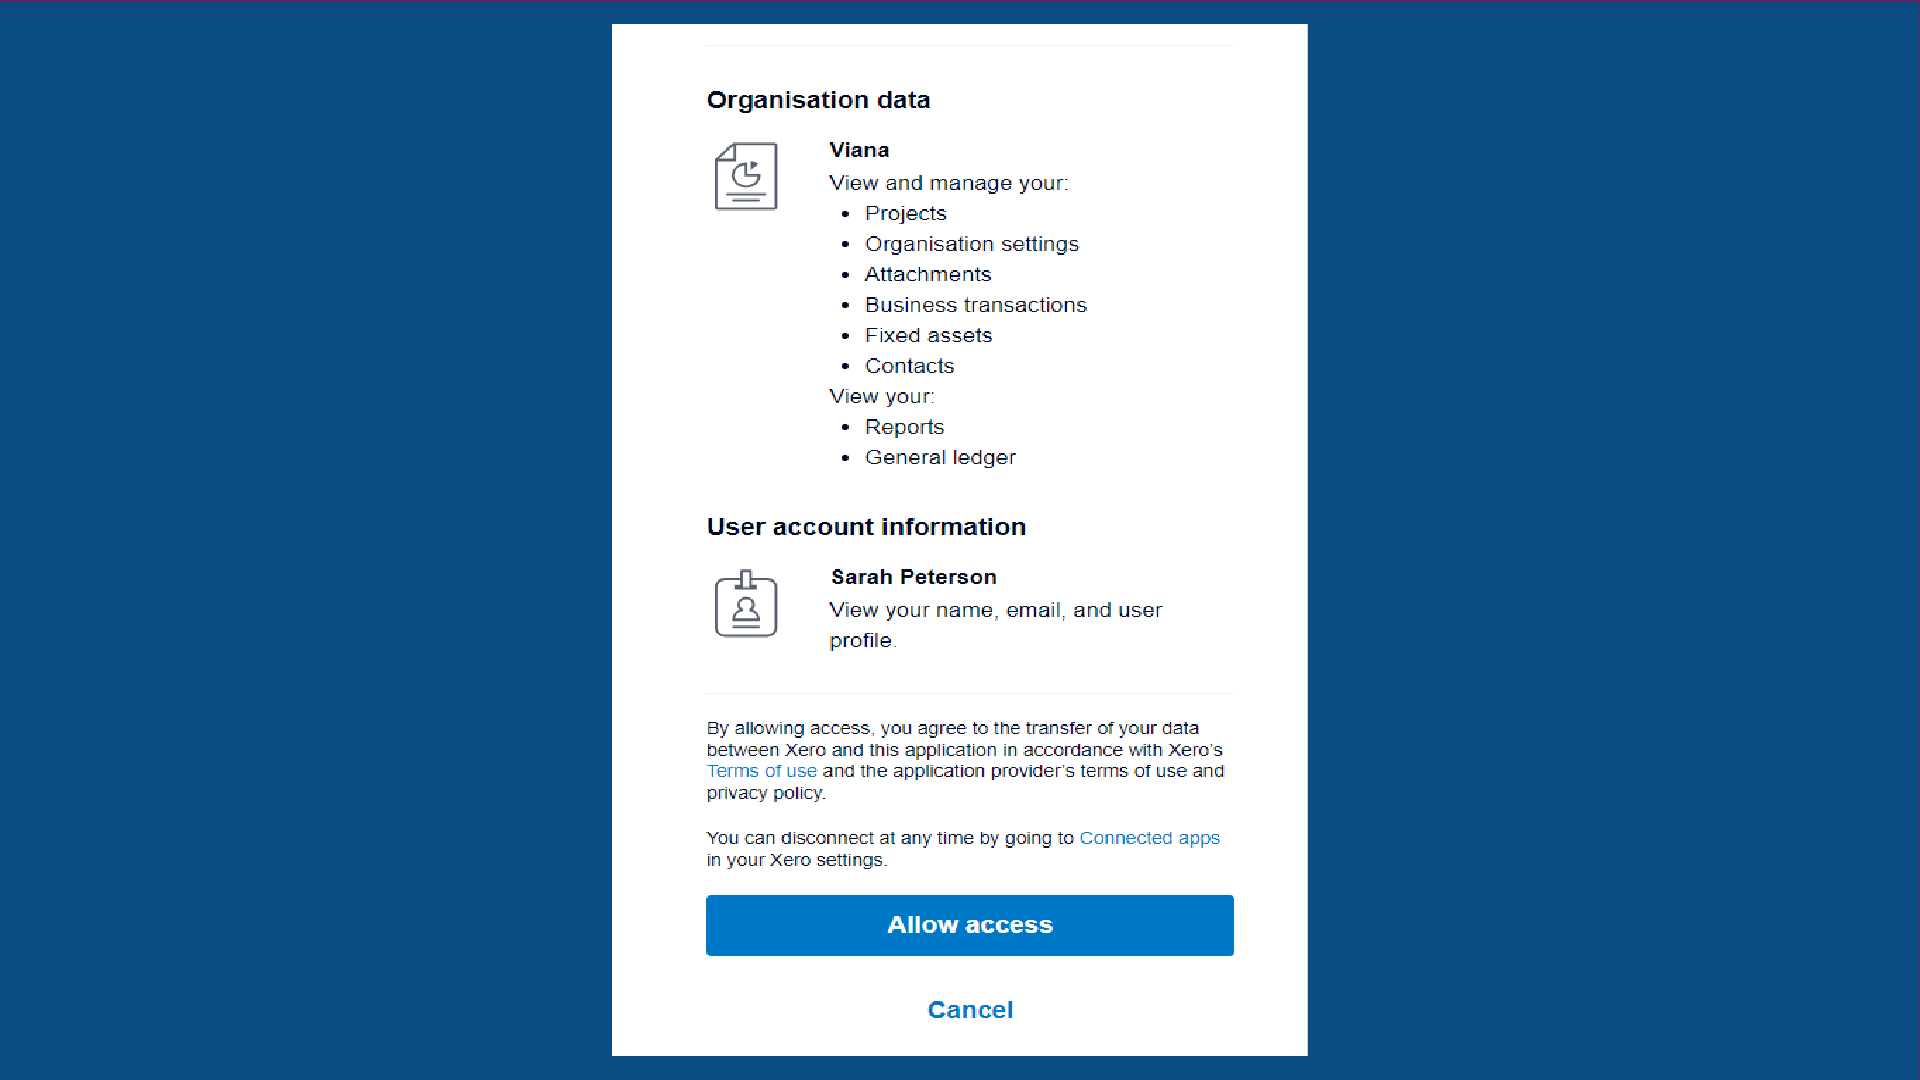
- Click Allow Access.
Once completed, a message will appear: “Integration setup completed”.