1. How to Enable Table Layouts
This feature allows businesses to manage reservations for resources such as rooms, tables, and seats, helping to schedule and allocate availability efficiently.
- Login to the POS Back Office Web Portal.
- Select Settings from the main menu.
- Go to the Features section.
- Tick the Reservations checkbox.
- Click Save.
2. How to Setup Standard Table Layout
- Select Table / Room.
- Click Add Table / Room.
- Click Select Option and choose Standard Layout.
- Enter the Table / Room Name.
- Select a Type.
- Click Save.
Related Help Article: Graphical Table Layout
3. Standard Table Layout in the POS App
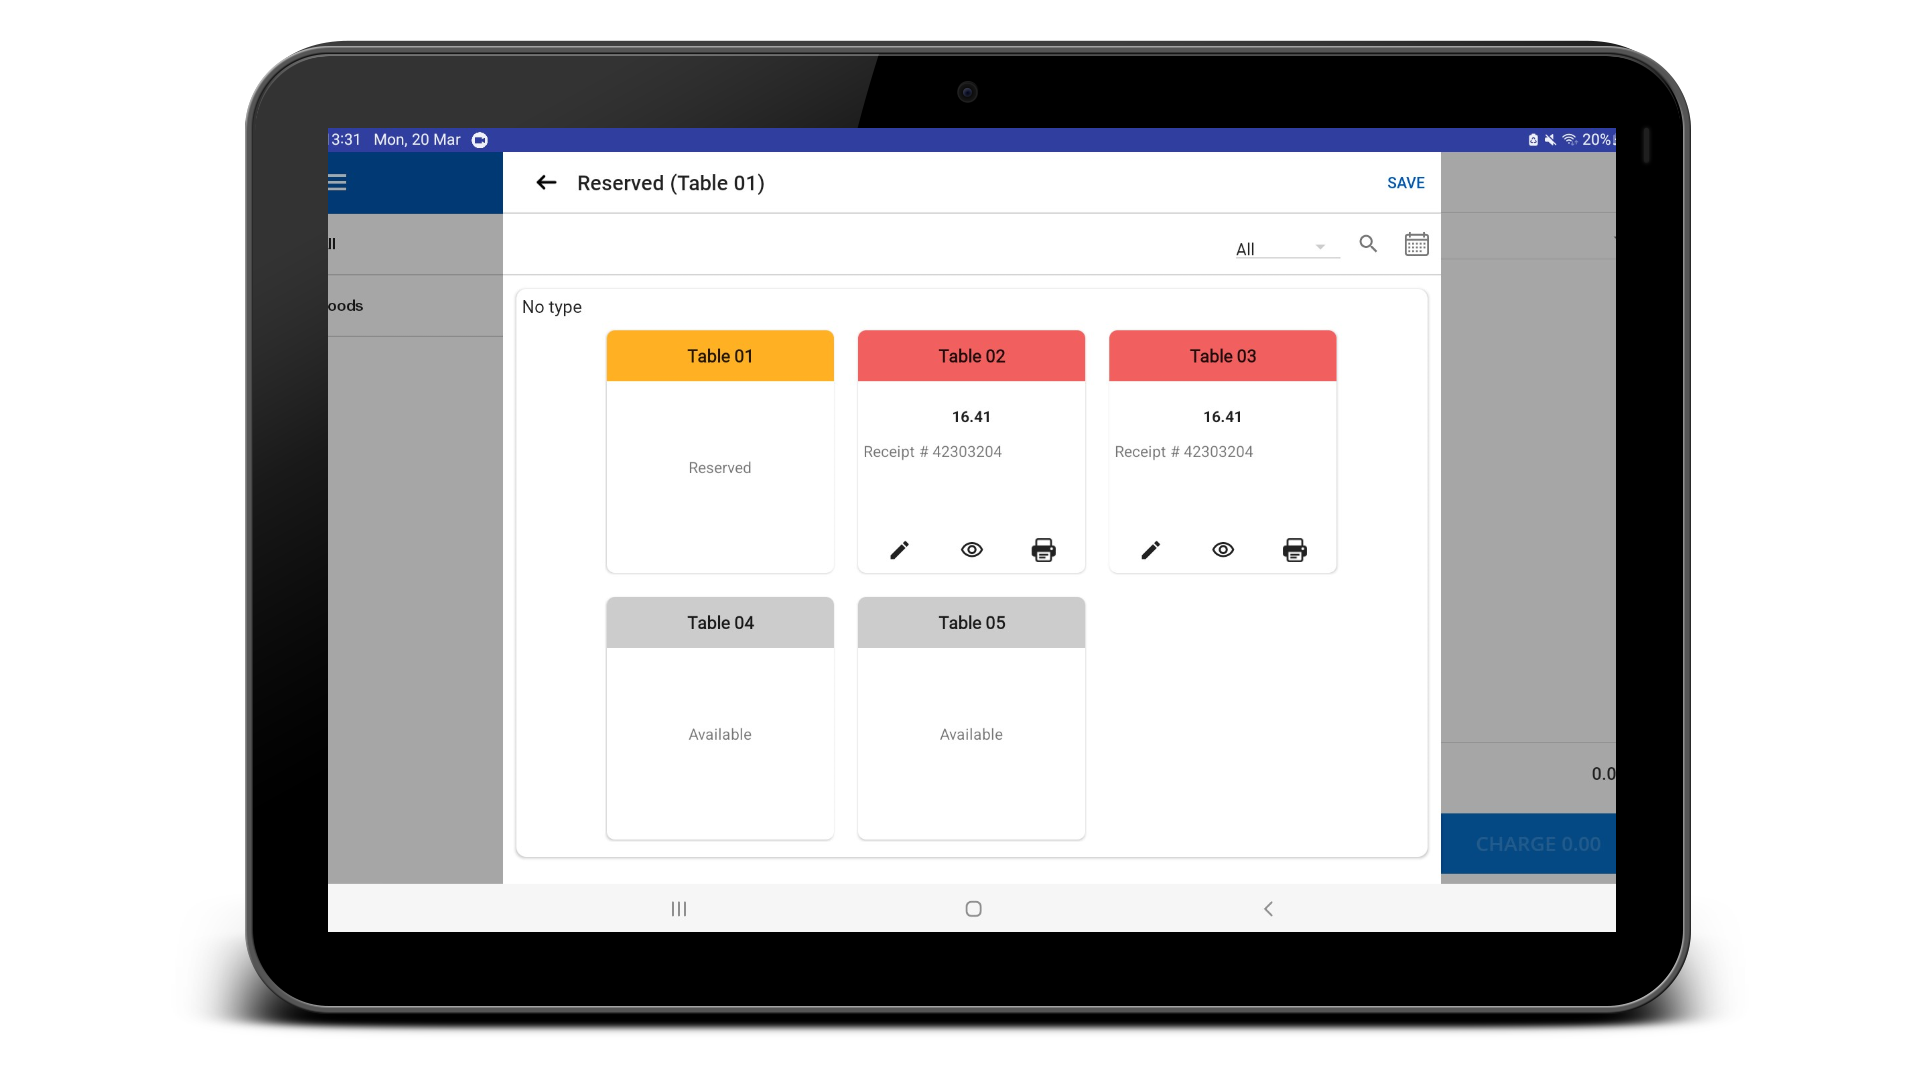
The table status is indicated by different colors:
- White – Available
- Red – Occupied
- Yellow – Reserved