What is QR Ordering, Web Store and Digital Menu ?
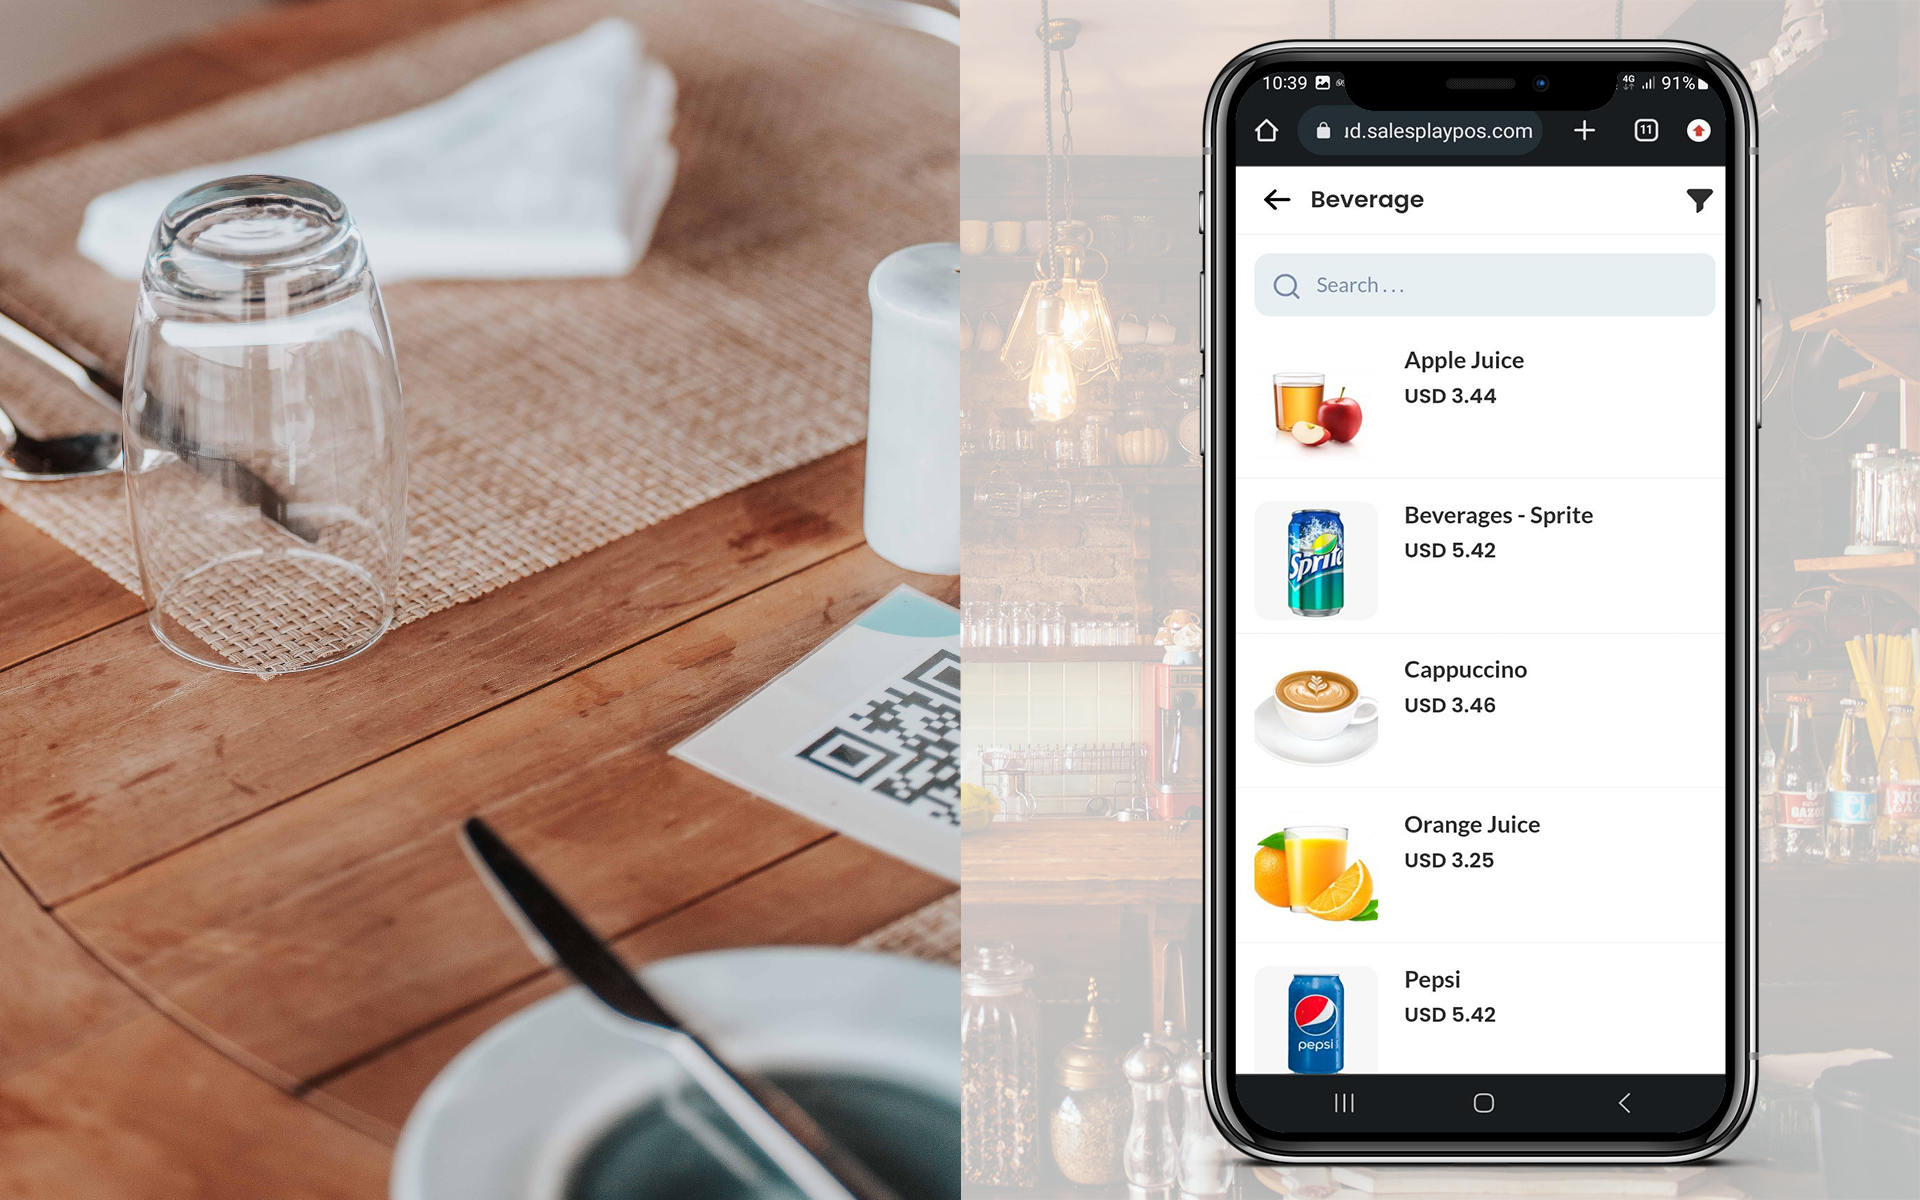
- QR Ordering System
The QR Ordering System is integrated into the Point of Sale (POS) system, offering a seamless and efficient way for customers to interact with item carts or menus. Learn More - Web Store
The POS System now includes a “Create Web Store” feature, enabling businesses to showcase their products on a dedicated URL. Customers can conveniently place orders through this web store, and the received orders seamlessly integrate with the POS App. Learn More - Digital Menu
The QR Code Digital Menu in the SalesPlay POS system refers to a solution that replaces traditional paper menus with a digital alternative.
Login to POS Back Office > Select “Integrations” from the main menu > Go to the “Apps”
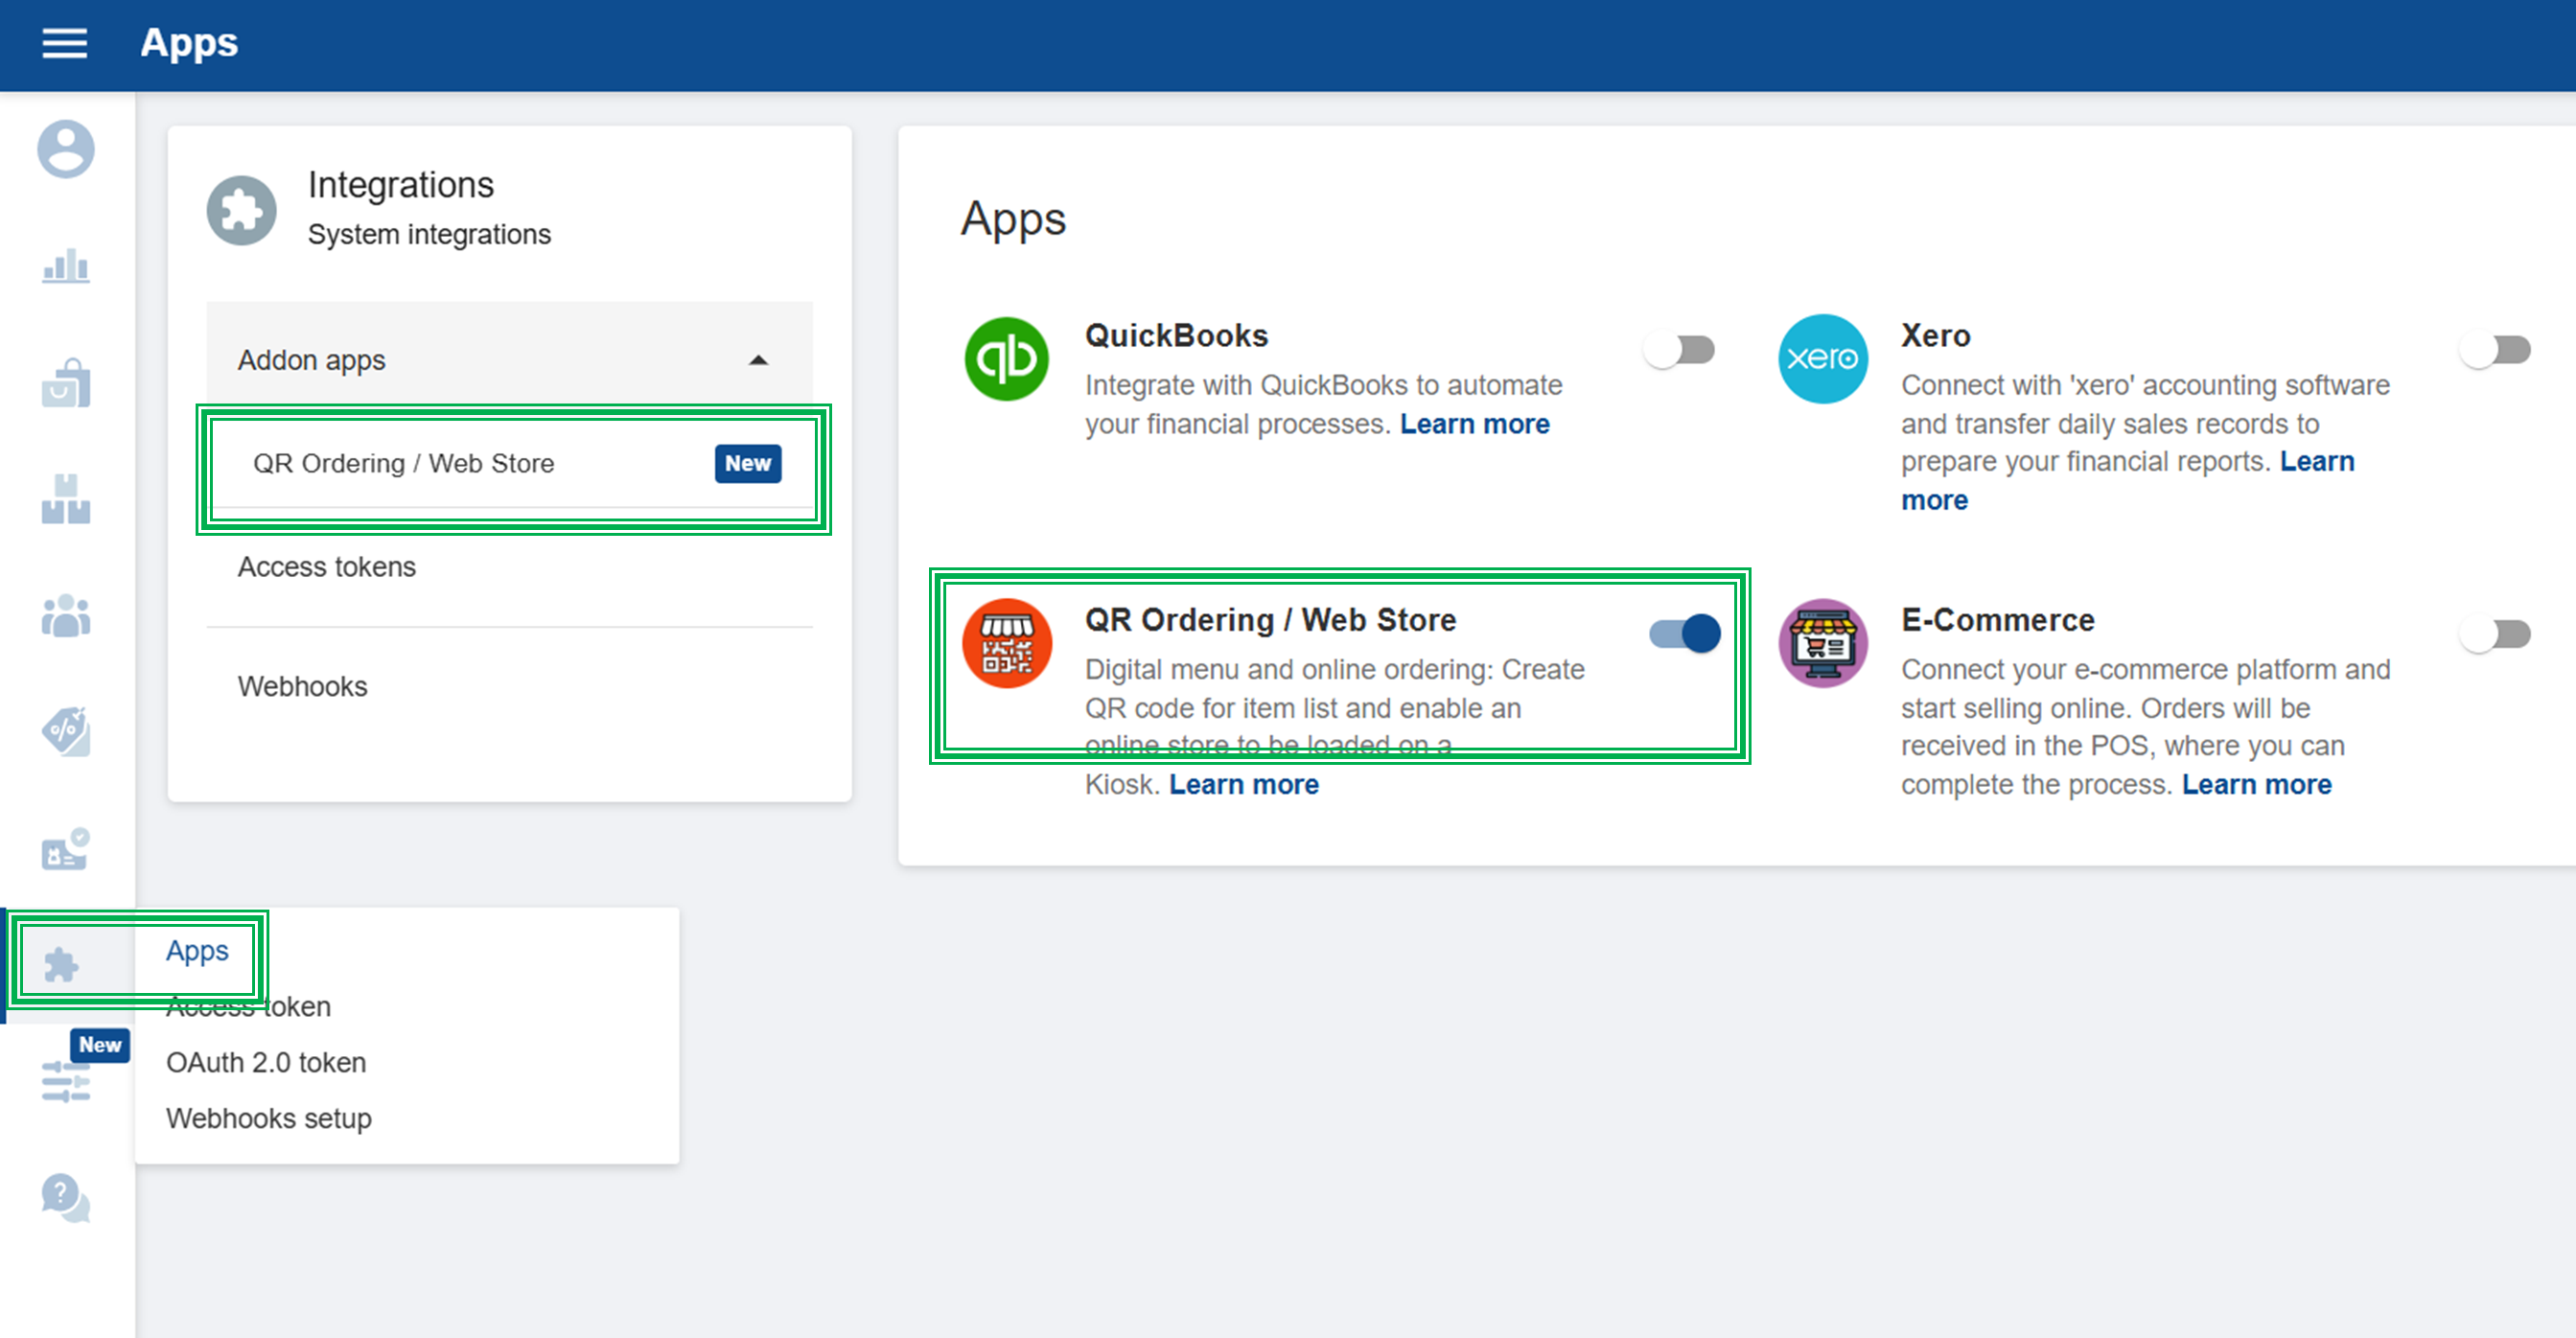
Tick ON “QR Ordering / Web Store” button
- Click “Save”
(Once you tick ON “QR Ordering”, it will appear as a sub-menu in the Integrations section)
Select QR Ordering and click “Generate QR/ Web Store”
Select a QR size and click OK button
- Select a SHOP & Terminal and Click status ON
- Click “Save”
QR will be generated with the option to COPY URL and Download the QR
- To download the QR, please click 3-dot button
Copy URL and share
How to Process QR Orders in POS App
First, you need to Tick On “Open Receipts (Bills)” in the FEATURE section in backoffice.
- Login to POS Back Office Webportal
- Select “ Settings ” from main menu
- Go to the “ Feature”
- Tick ON “Open Receipts (Bills)” button
- Click “ Save”
Once you ON “Open Receipts (Bills)”, it will appear on POS APP as “Open Bills” in new sales interface.
SalesPlay POS now offers an order notification sound feature, ensuring that external orders like “WEB STORE ORDER” or QR Ordering are never missed. A sound will play when a new order arrives and continue until the order is checked, helping cashiers and users stay on top of incoming orders efficiently. More
Go to POS App main menu > Select “ New Sale ” > Click “Open Bills” section
Now you can see the QR orders
Click the QR order and select either ACCEPT or REJECT
- Once you ACCEPT the order, the user can proceed with the payment by clicking the payment icon.
Web Store
Copy URL
- Login to POS Back Office Webportal
- Select “Settings” from the main menu
- Go to “Feature”
- Tick ON “QR Ordering” button
- Click “Save”
!! Customer Information Requirement !!
When creating a Web Store, the Customer Information section will always remain enabled by default.
This section collects basic customer details such as Name and Contact Number when an order is placed.
The Customer Information option cannot be disabled, as this information is required for:
- Identifying the customer who placed the order
- Contacting the customer if there are issues with the order
- Managing order records within the POS system
Only the “Comment” field can be enabled or disabled based on your preference.
If enabled, customers will be able to leave additional notes or instructions with their order.
Click “Save”
(Once you click “Save”, the Web Store URL will be generated with the option to COPY URL)
(To copy the URL, please click on the “Copy Web Store URL” section)
How to Create a Web Store
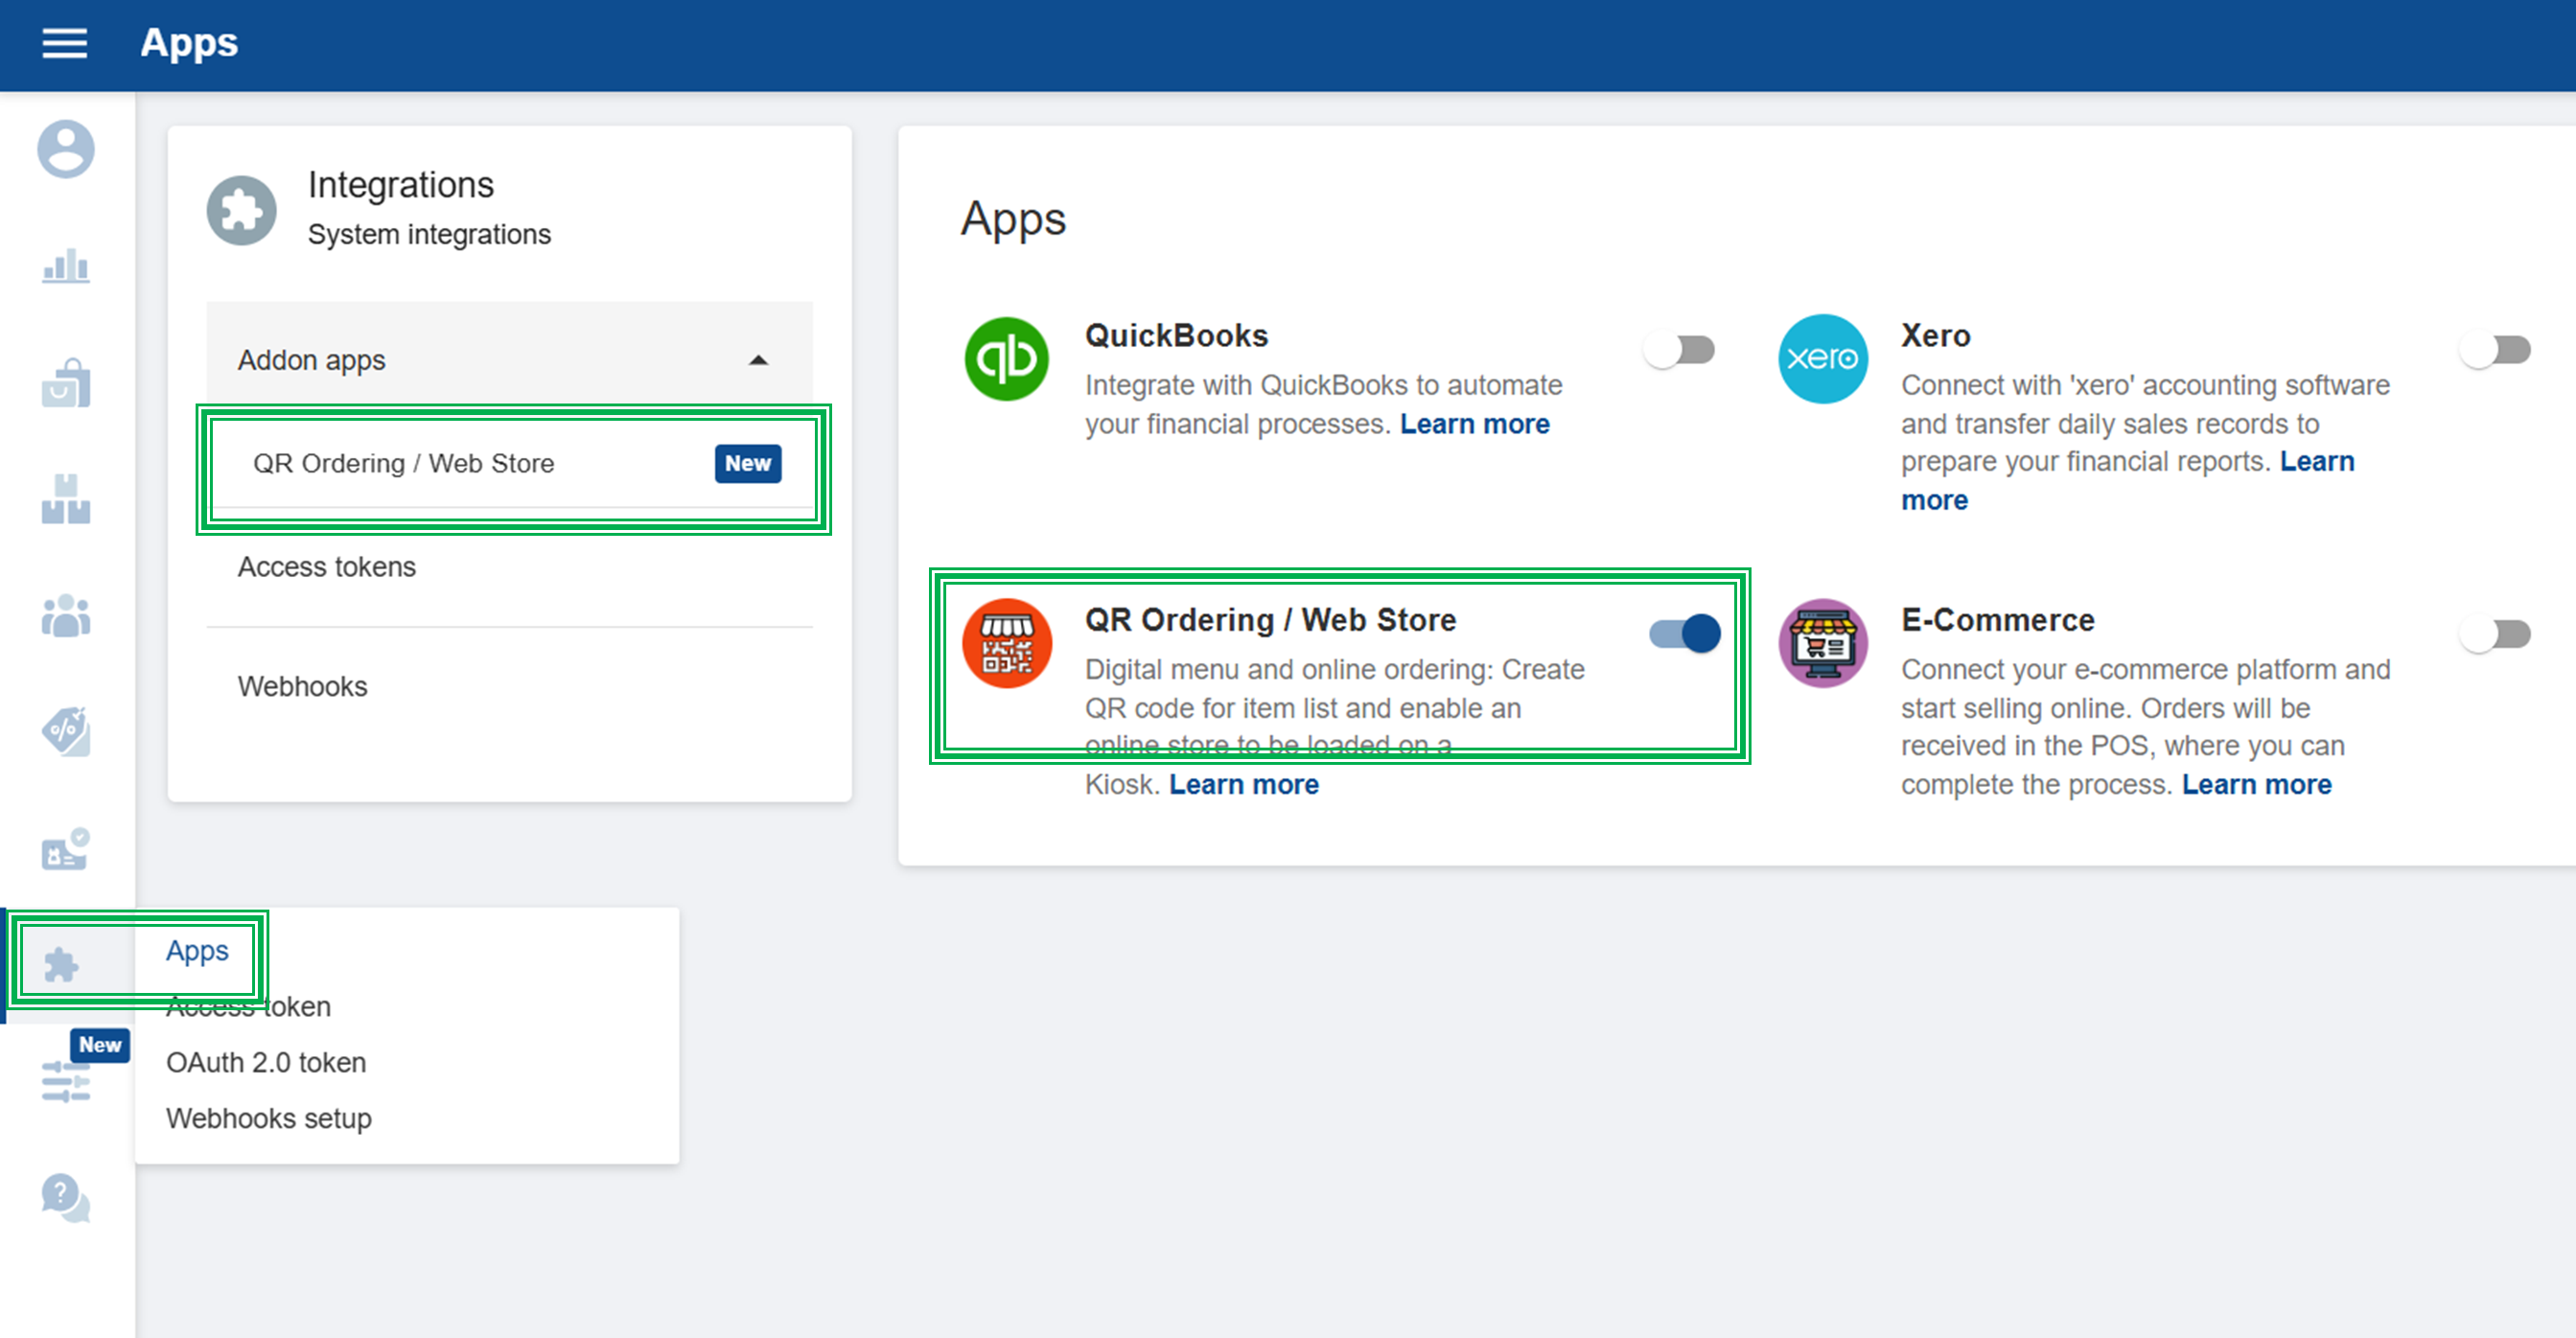
- Login to POS Back Office Webportal
- Select “Integrations” from the main menu
- Go to the “Apps”
- Tick ON “QR Ordering / Web store” button
- Click “Save”
(Once you ON “QR Ordering”, it will appear as a sub-menu in the Integrations section)
Select QR Ordering > Click “Generate QR / Create WEB Store”
Select Web Store URL from dropdown
Enter name and select SHOP > Select a Terminal > Click status ON
- Click “Save”
(Once click ‘save, Web Store URL will be generated with the option to COPY URL)
(To copy the URL, please click on the “ copy web store URL” section)
How to Process Web Store Orders in POS App
First, you need to Tick On “Open Receipts (Bills)” in the FEATURE section in backoffice.
- Login to POS Back Office Webportal
- Select “ Settings ” from main menu
- Go to the “ Feature”
- Tick ON “Open Receipts (Bills)” button
- Click “ Save”
(Once you ON “Open Receipts (Bills)”, it will appear on POS APP as “Open Bills” in new sales interface)
POS App main menu > Select “ New Sale ” Click “Open Bills” section
Related Articles
User can see Orders under New Orders section > Click the Order and select either ACCEPT or REJECT
- Once you ACCEPT, the user can prepare the order and can proceed with the payment by clicking the payment icon.
SalesPlay POS now offers an order notification sound feature, ensuring that external orders like “WEB STORE ORDER” or QR Ordering are never missed. A sound will play when a new order arrives and continue until the order is checked, helping cashiers and users stay on top of incoming orders efficiently. More