Key Points to Remember
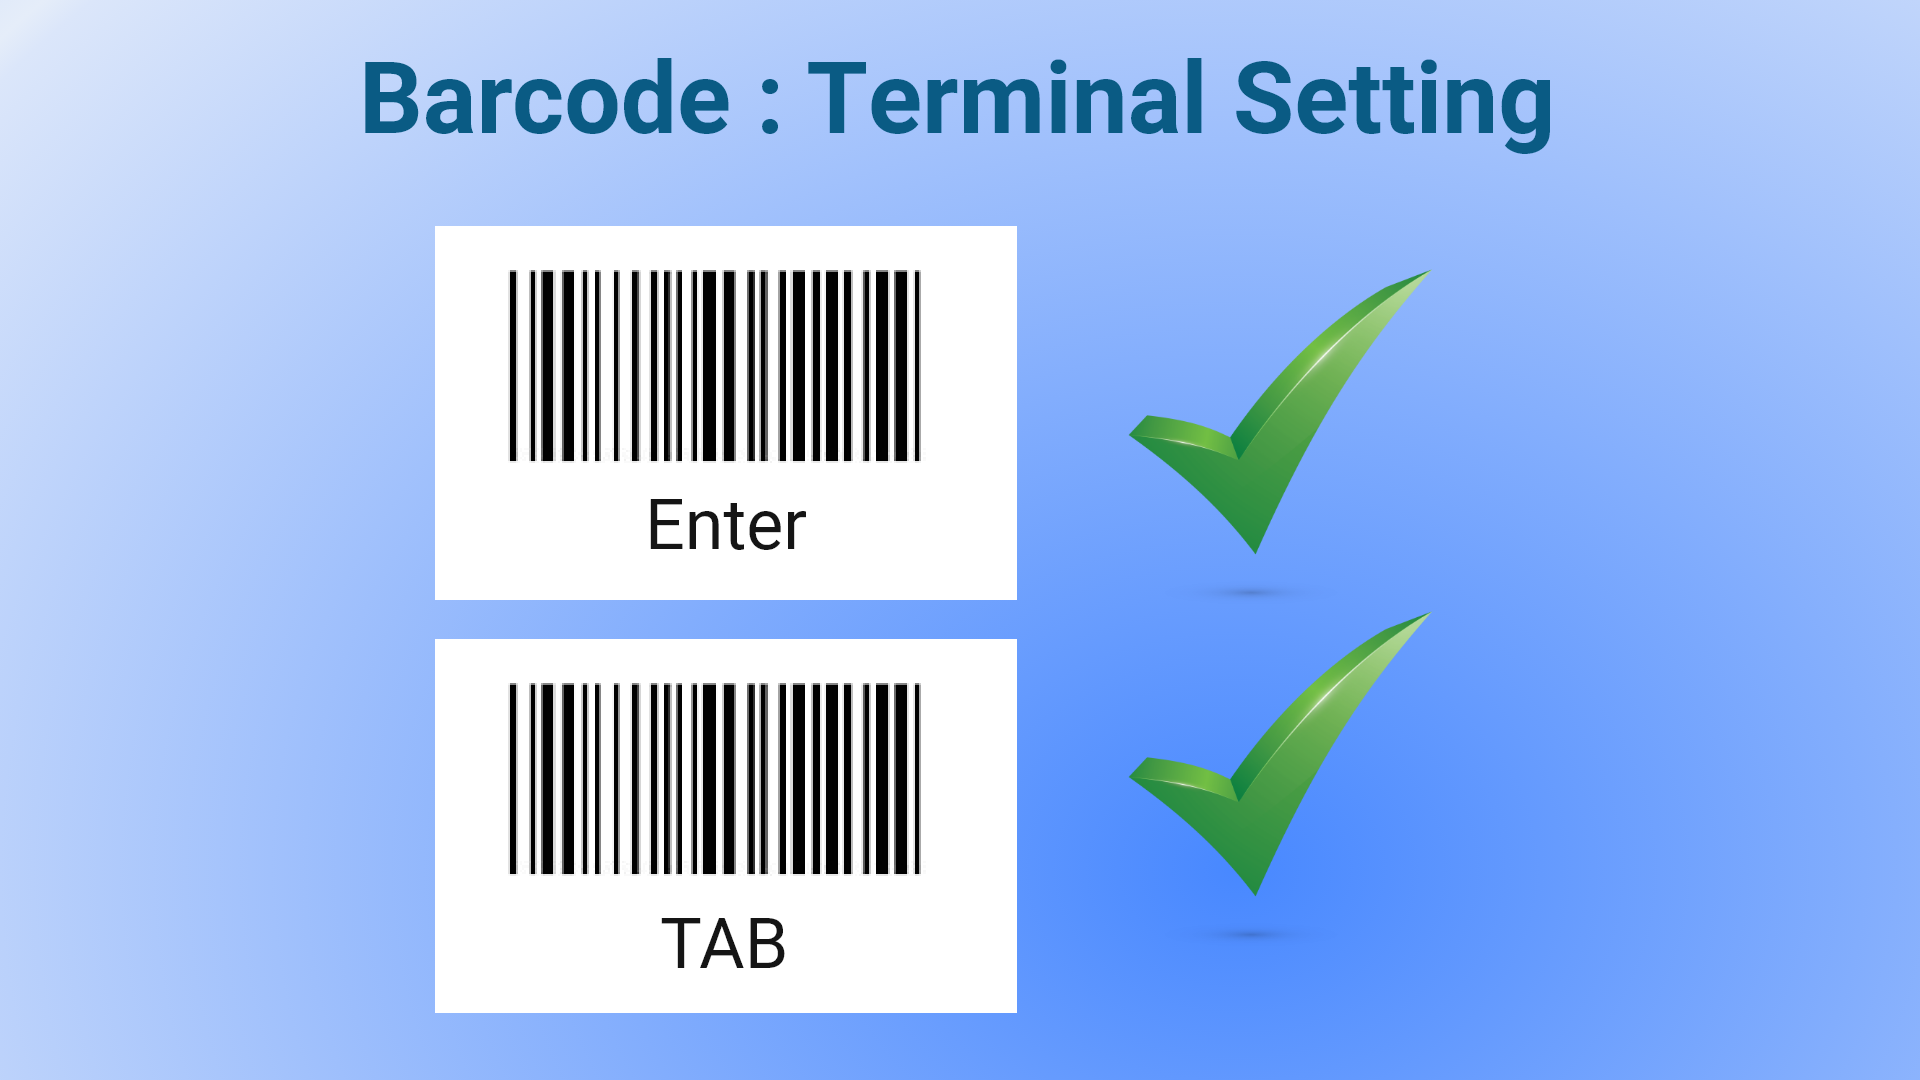
- Ensure barcode terminal settings are configured to include “Enter” or “TAB” keys. Otherwise, barcode functionality may not work properly.
Enable Internal Barcode Scanning
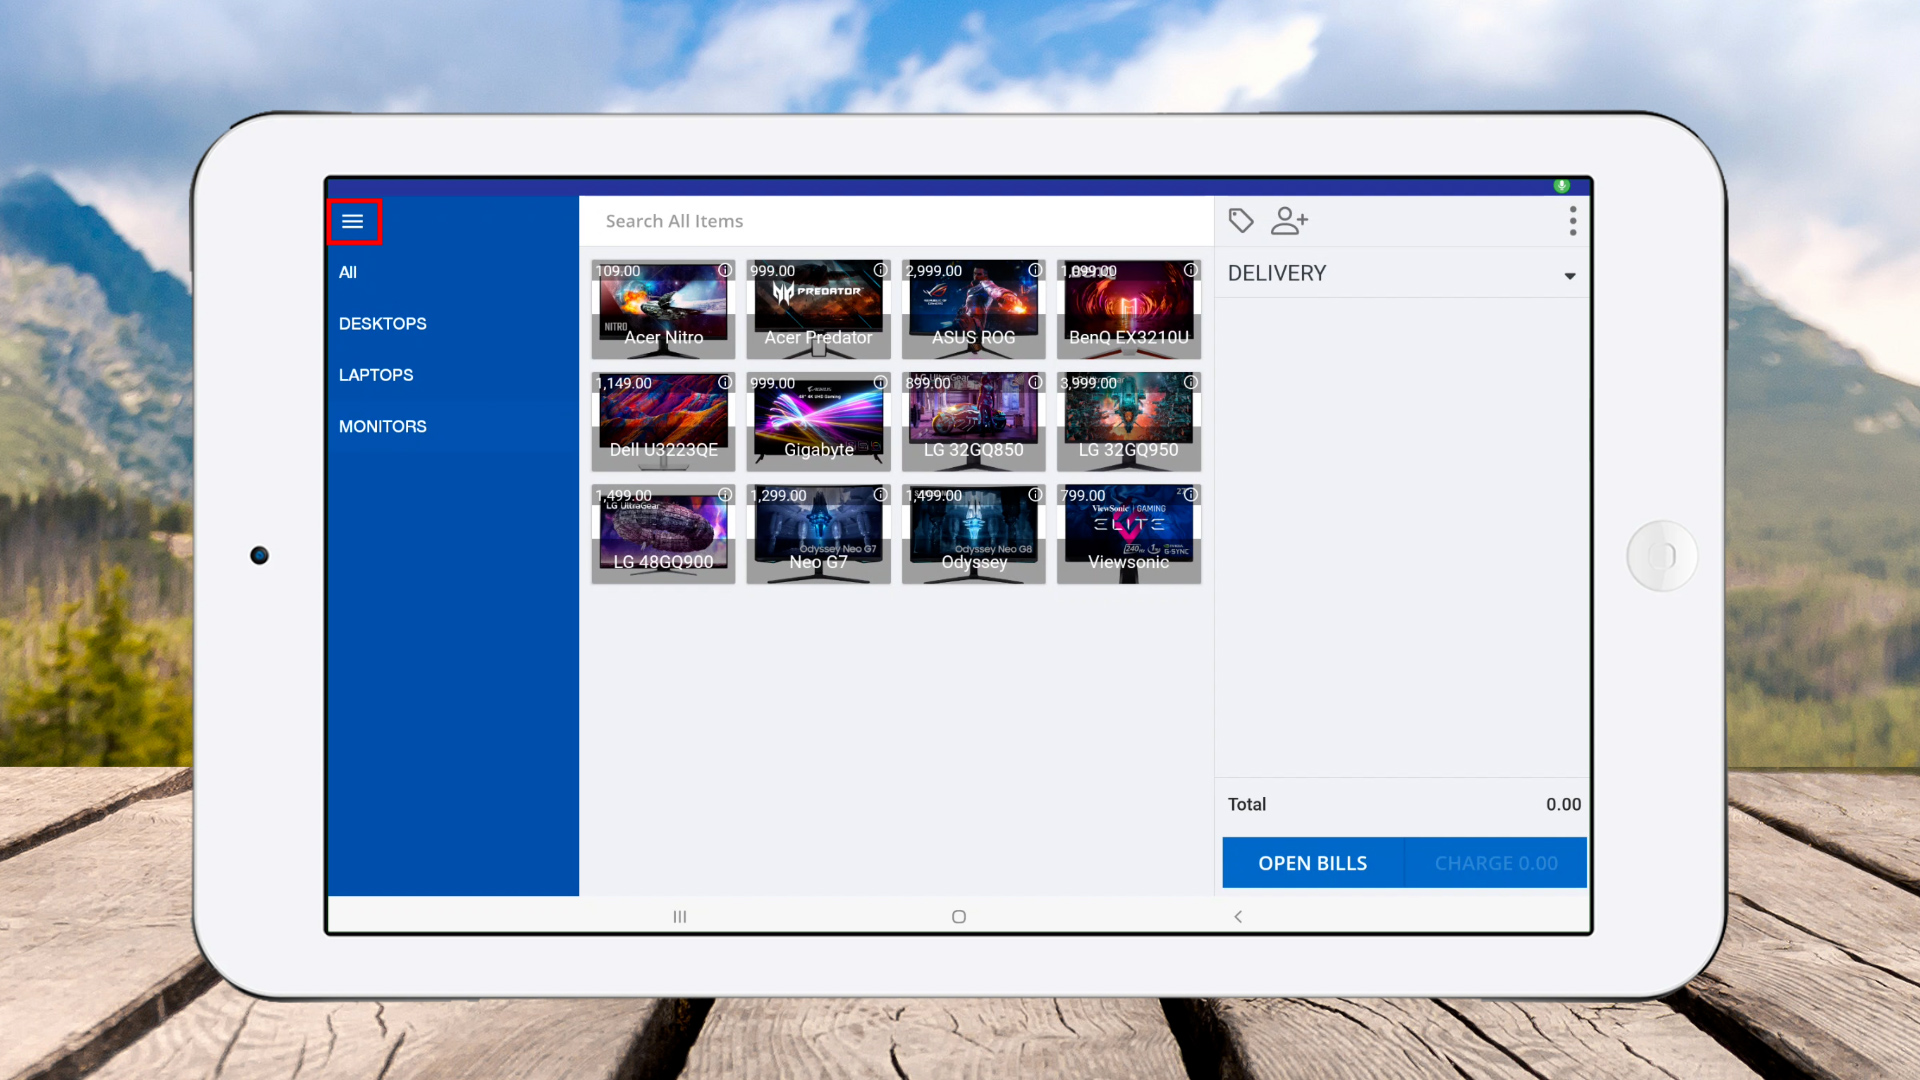
- Open SalesPlay POS App and go to Main Menu.

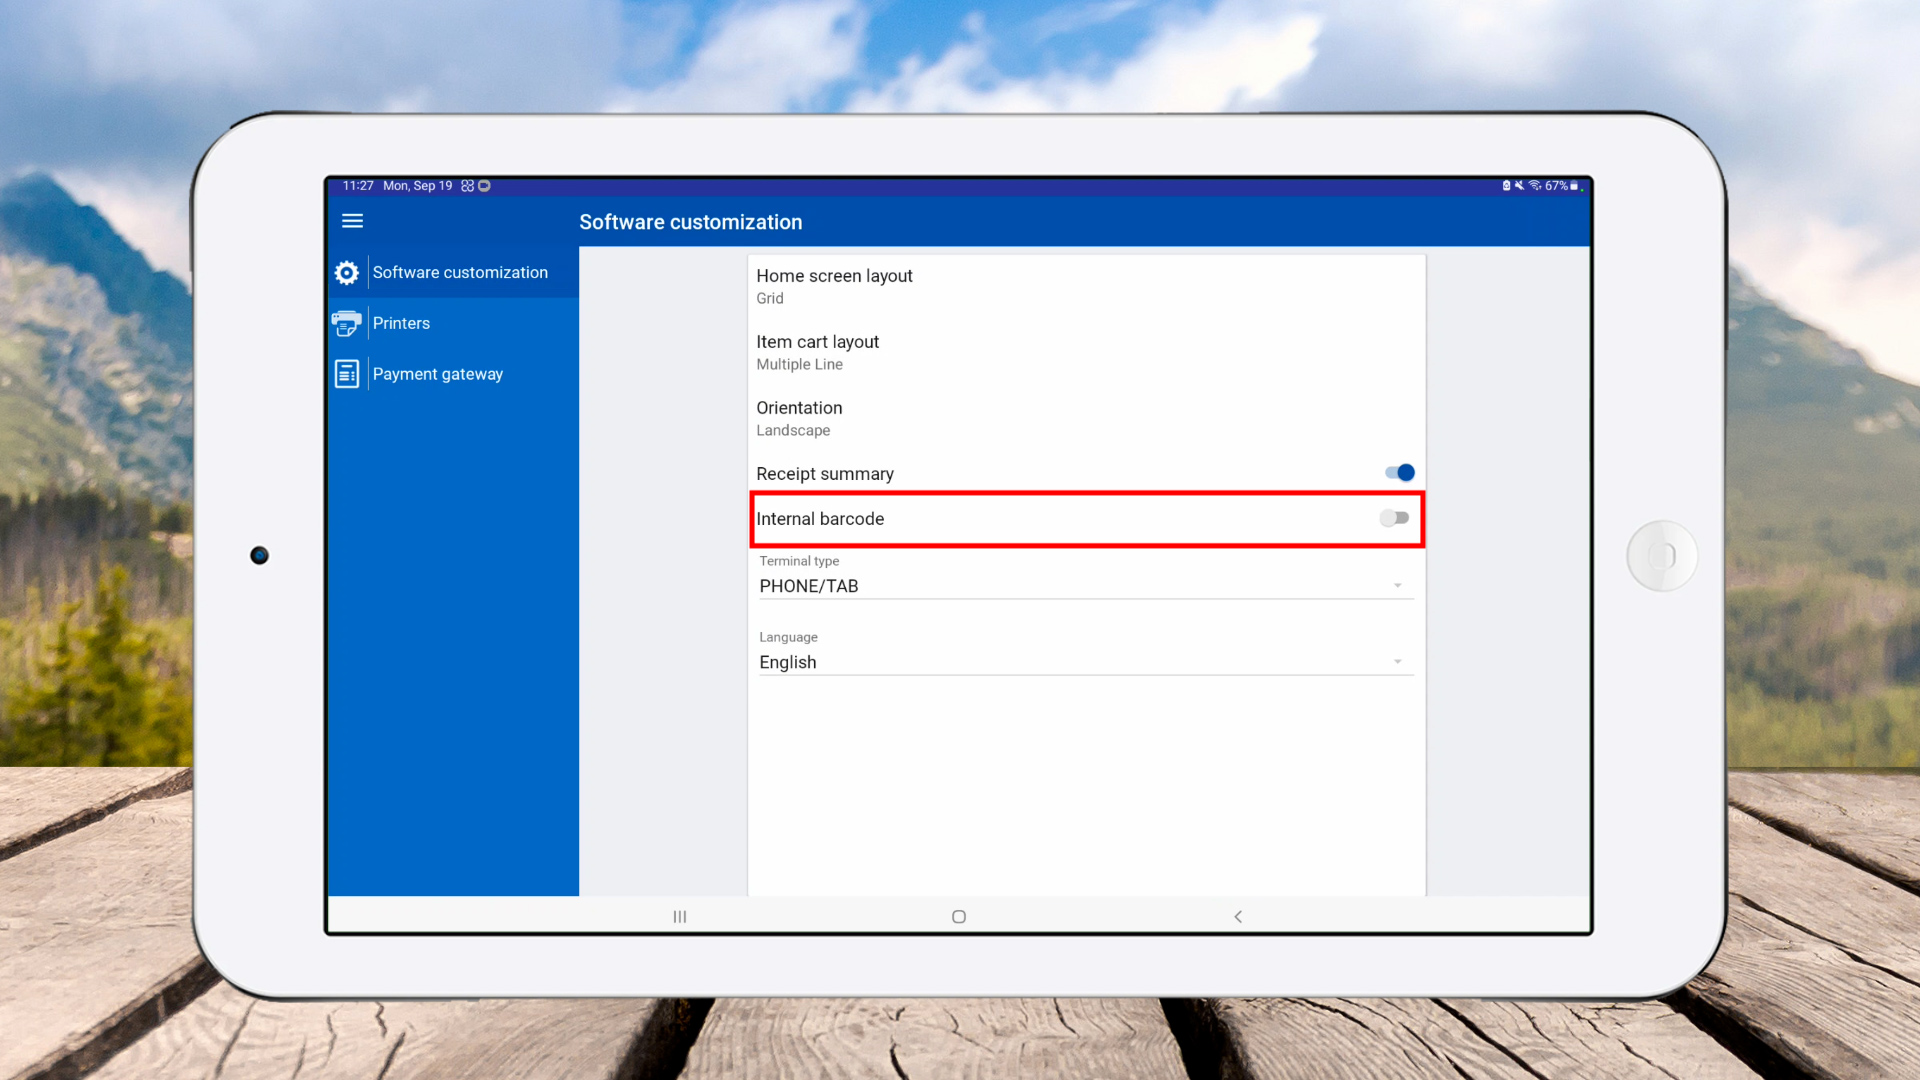
- Click ‘Settings’ > ‘Software customization’.

- Enable internal barcode scanning by toggling on “Use camera to scan barcode”.

- Go back to Main Menu > Click ‘New Sale’.
- You will see the barcode icon on the screen, indicating the internal barcode scanner is active.

How to Add Barcodes to Products
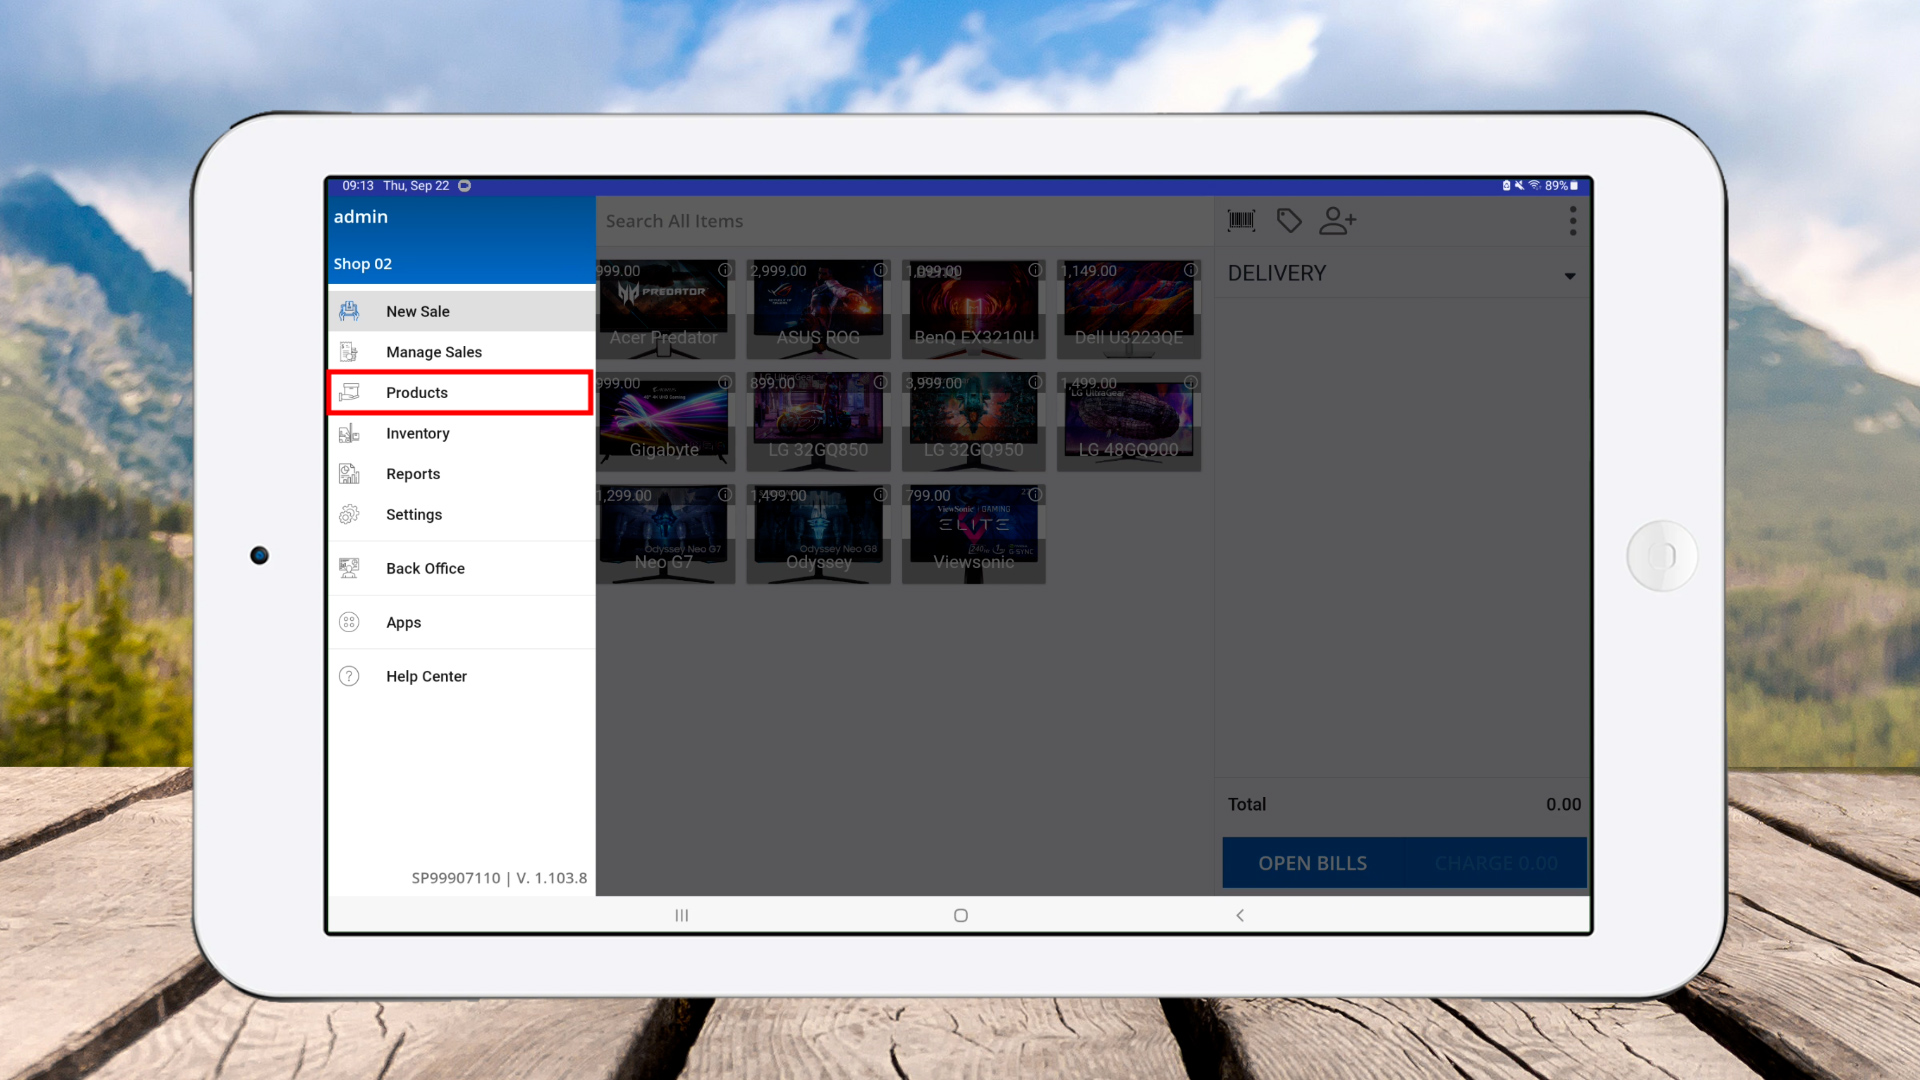
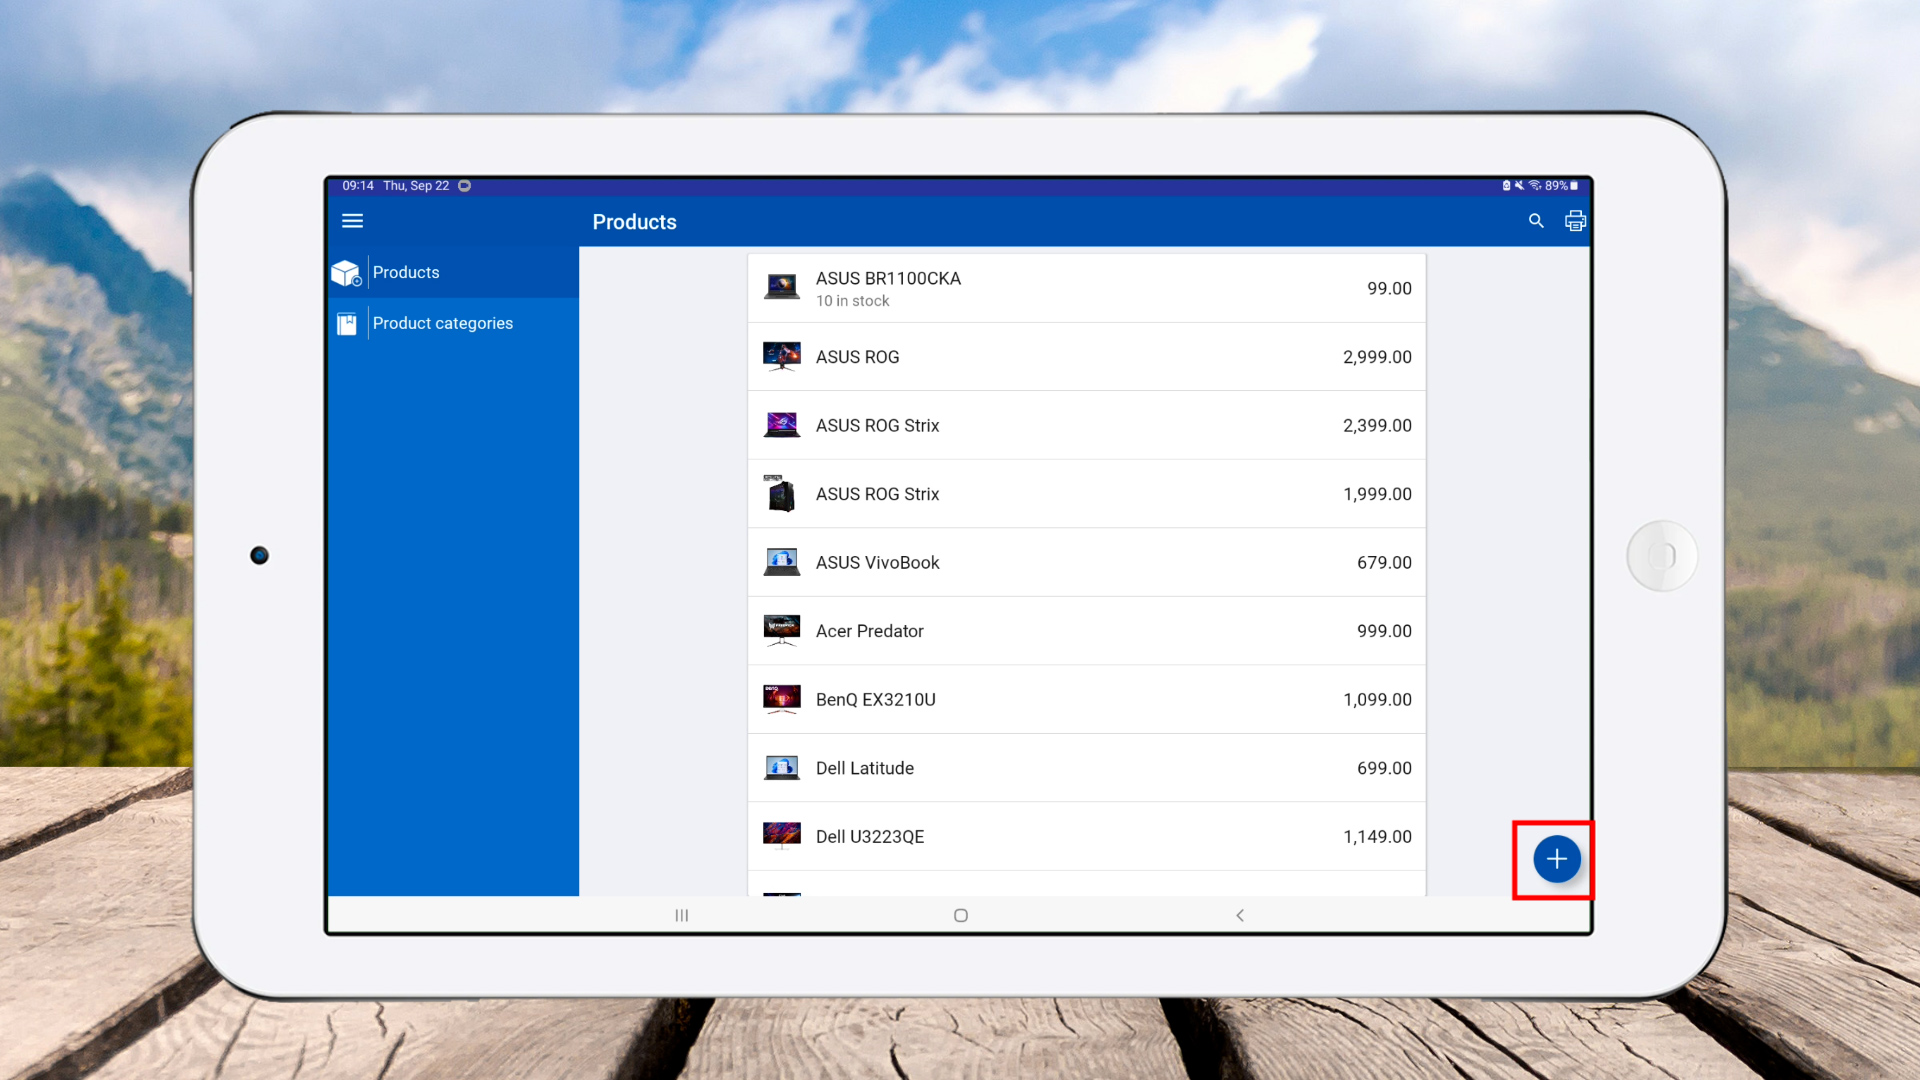
- Go to Main Menu > Products.
- Click the plus (+) button to add a new product.

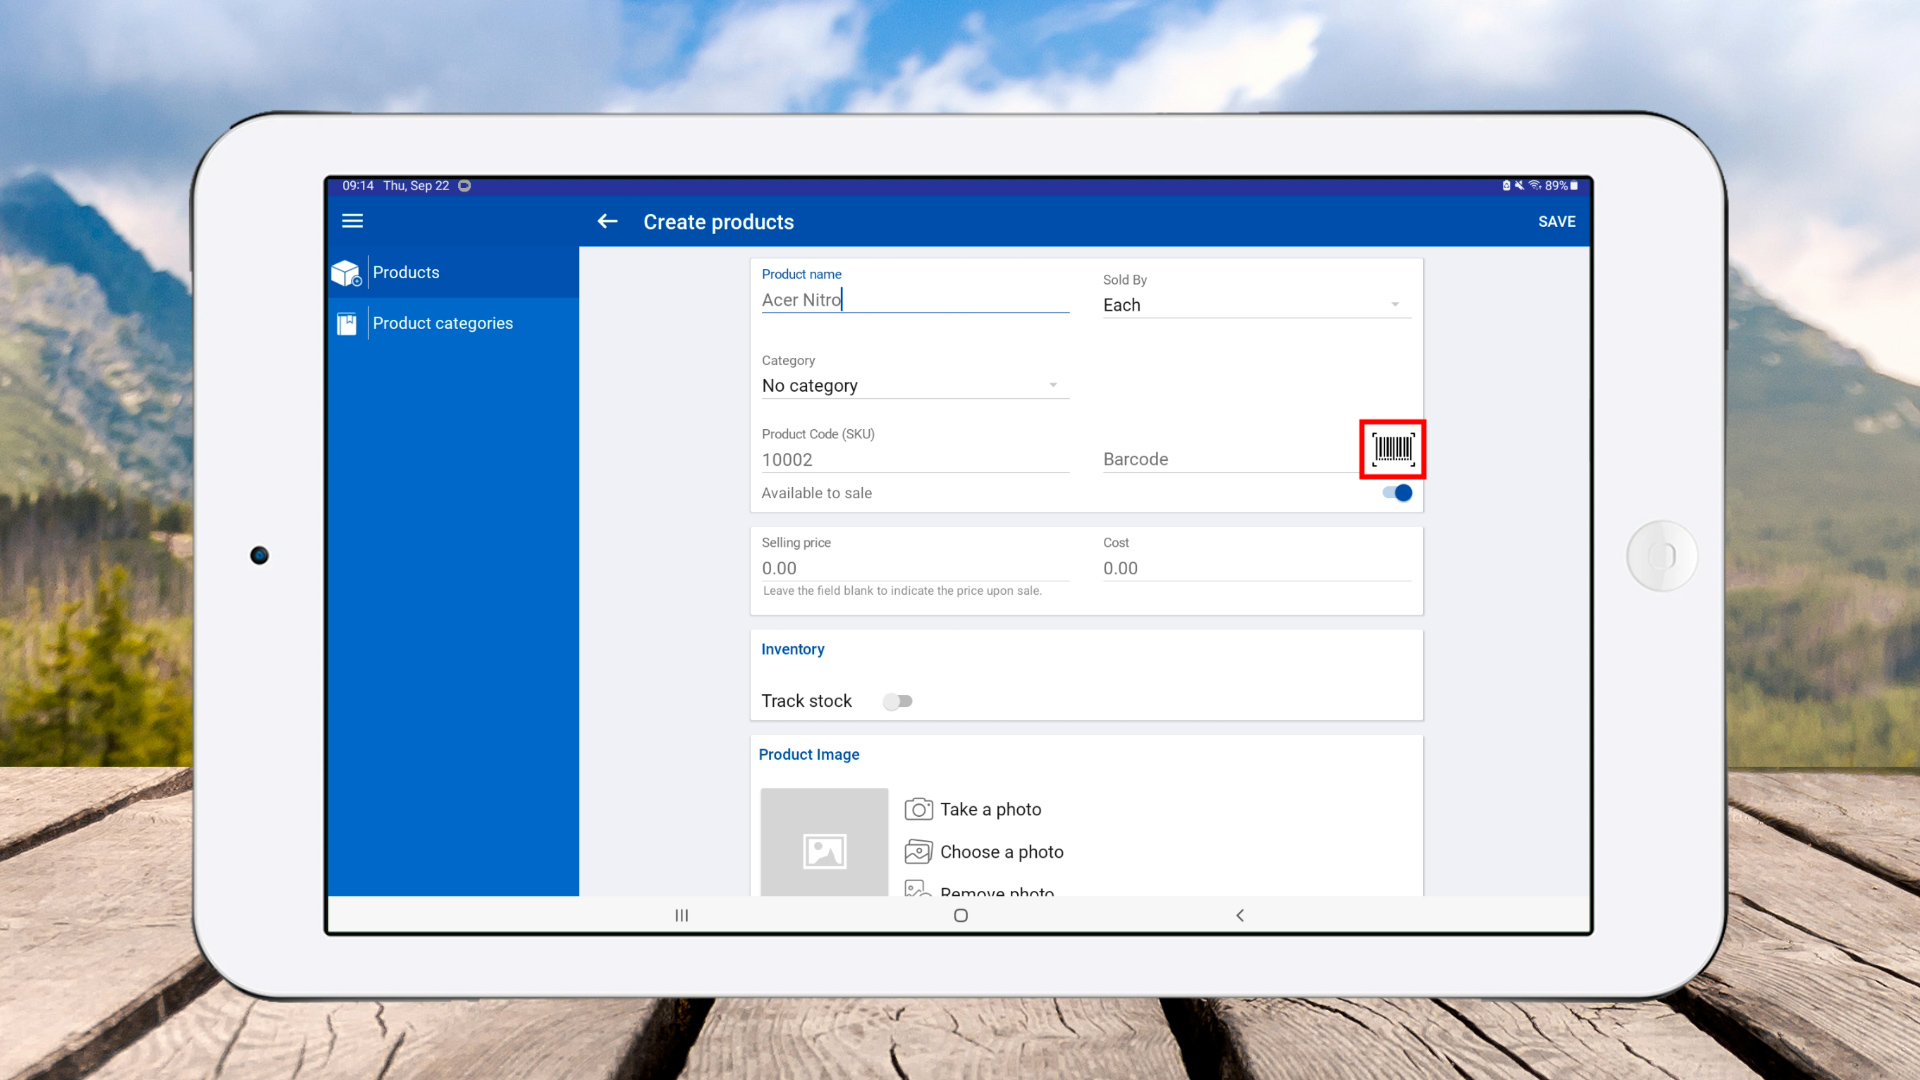
- Enter product name > Click the barcode icon.

- Scan the barcode for the product.
- After scanning, make sure to click ‘Save’ to store the barcode.
How to Scan Barcodes Using In-Built Camera
- Click the ‘Barcode icon’ in POS App.

- Scan the product barcode.

- Product will be added to the cart successfully.
How to Scan Barcodes Using External Scanner
- Connect external barcode readers via Bluetooth or USB.

- Open Bluetooth settings on your device.

- Scan available devices > Connect the barcode scanner (ensure scanner is in pairing mode).

- Once connected, click ‘Done’.
- Open SalesPlay POS App > Scan product barcode to add to the cart.

- Products are successfully added to the cart.
